Cutting down the binder to a more appropriate size (5 inches X 4 inches).  Two pieces of plastic are then joined together by clear tape to create a "pocket."

Bicycle Map Holder 2.0

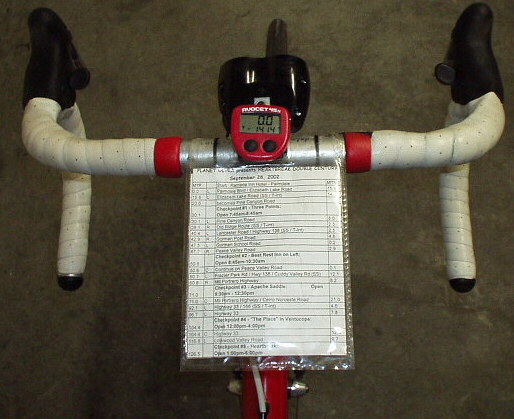
Each of the brevets (as is the norm) I did this year were entirely self-supported, meaning that being good at following a route sheet (instead of, say, arrows painted on the road as is typically in organized century rides) was critical. For years I was using the same handlebar-mounted map holder I made back in 2002, which worked well except for one caveat: my thighs or knees would sometimes graze against it while pedaling out of the saddle. So this year I decided to tweak the design. Call it Bicycle Map Holder 2.0.

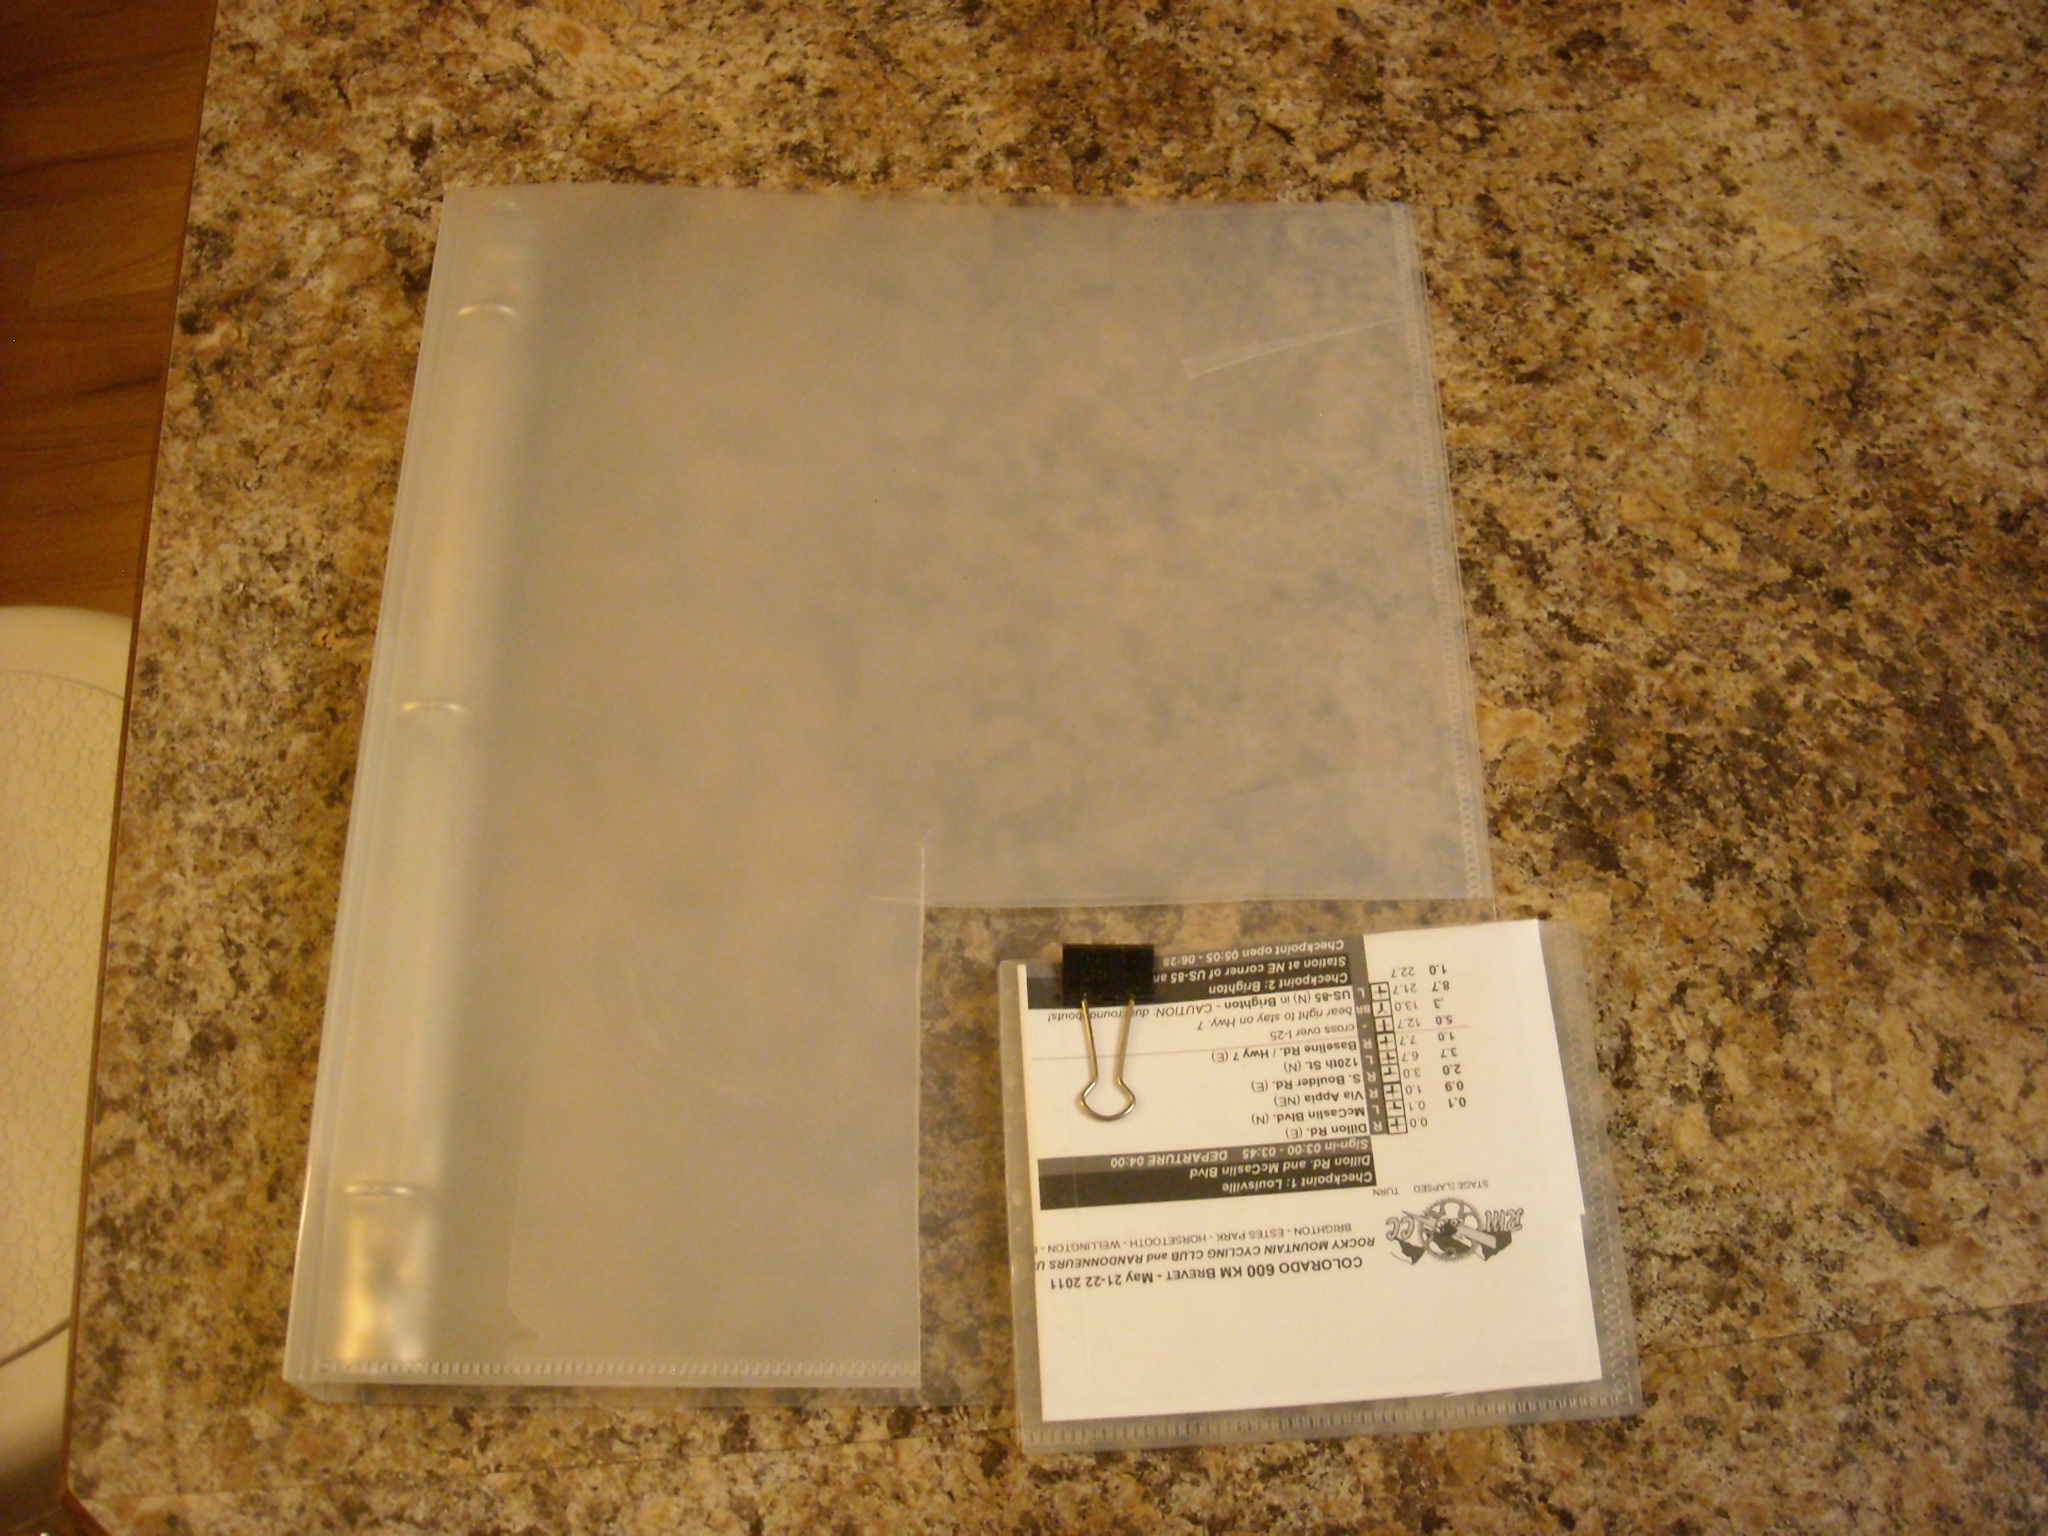
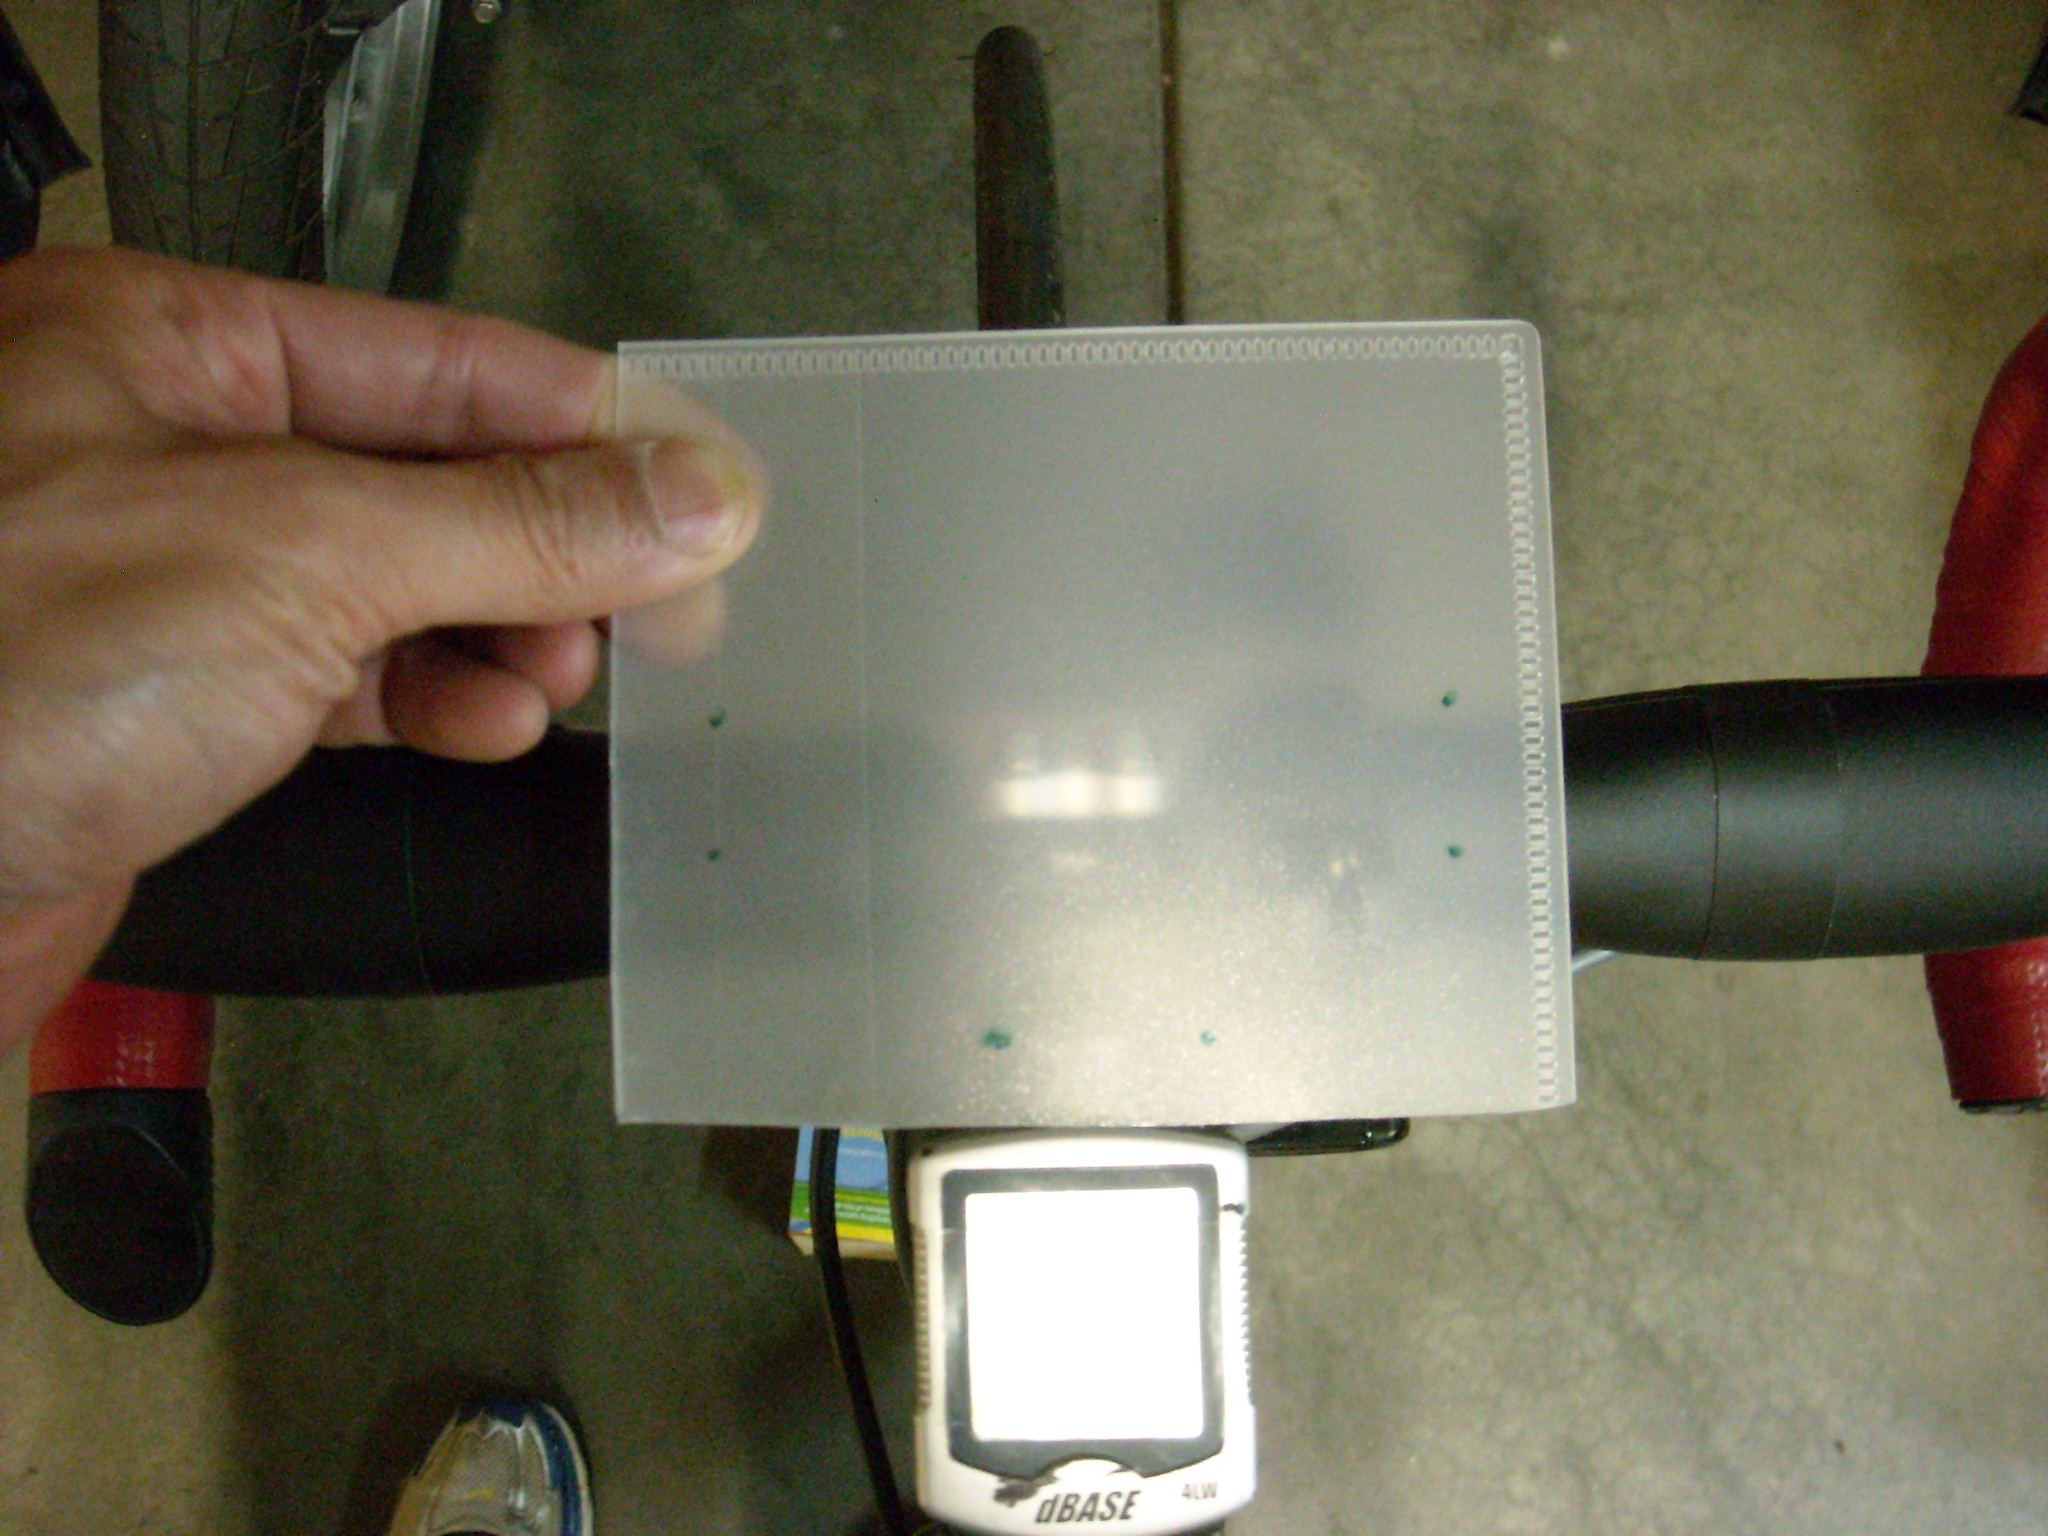
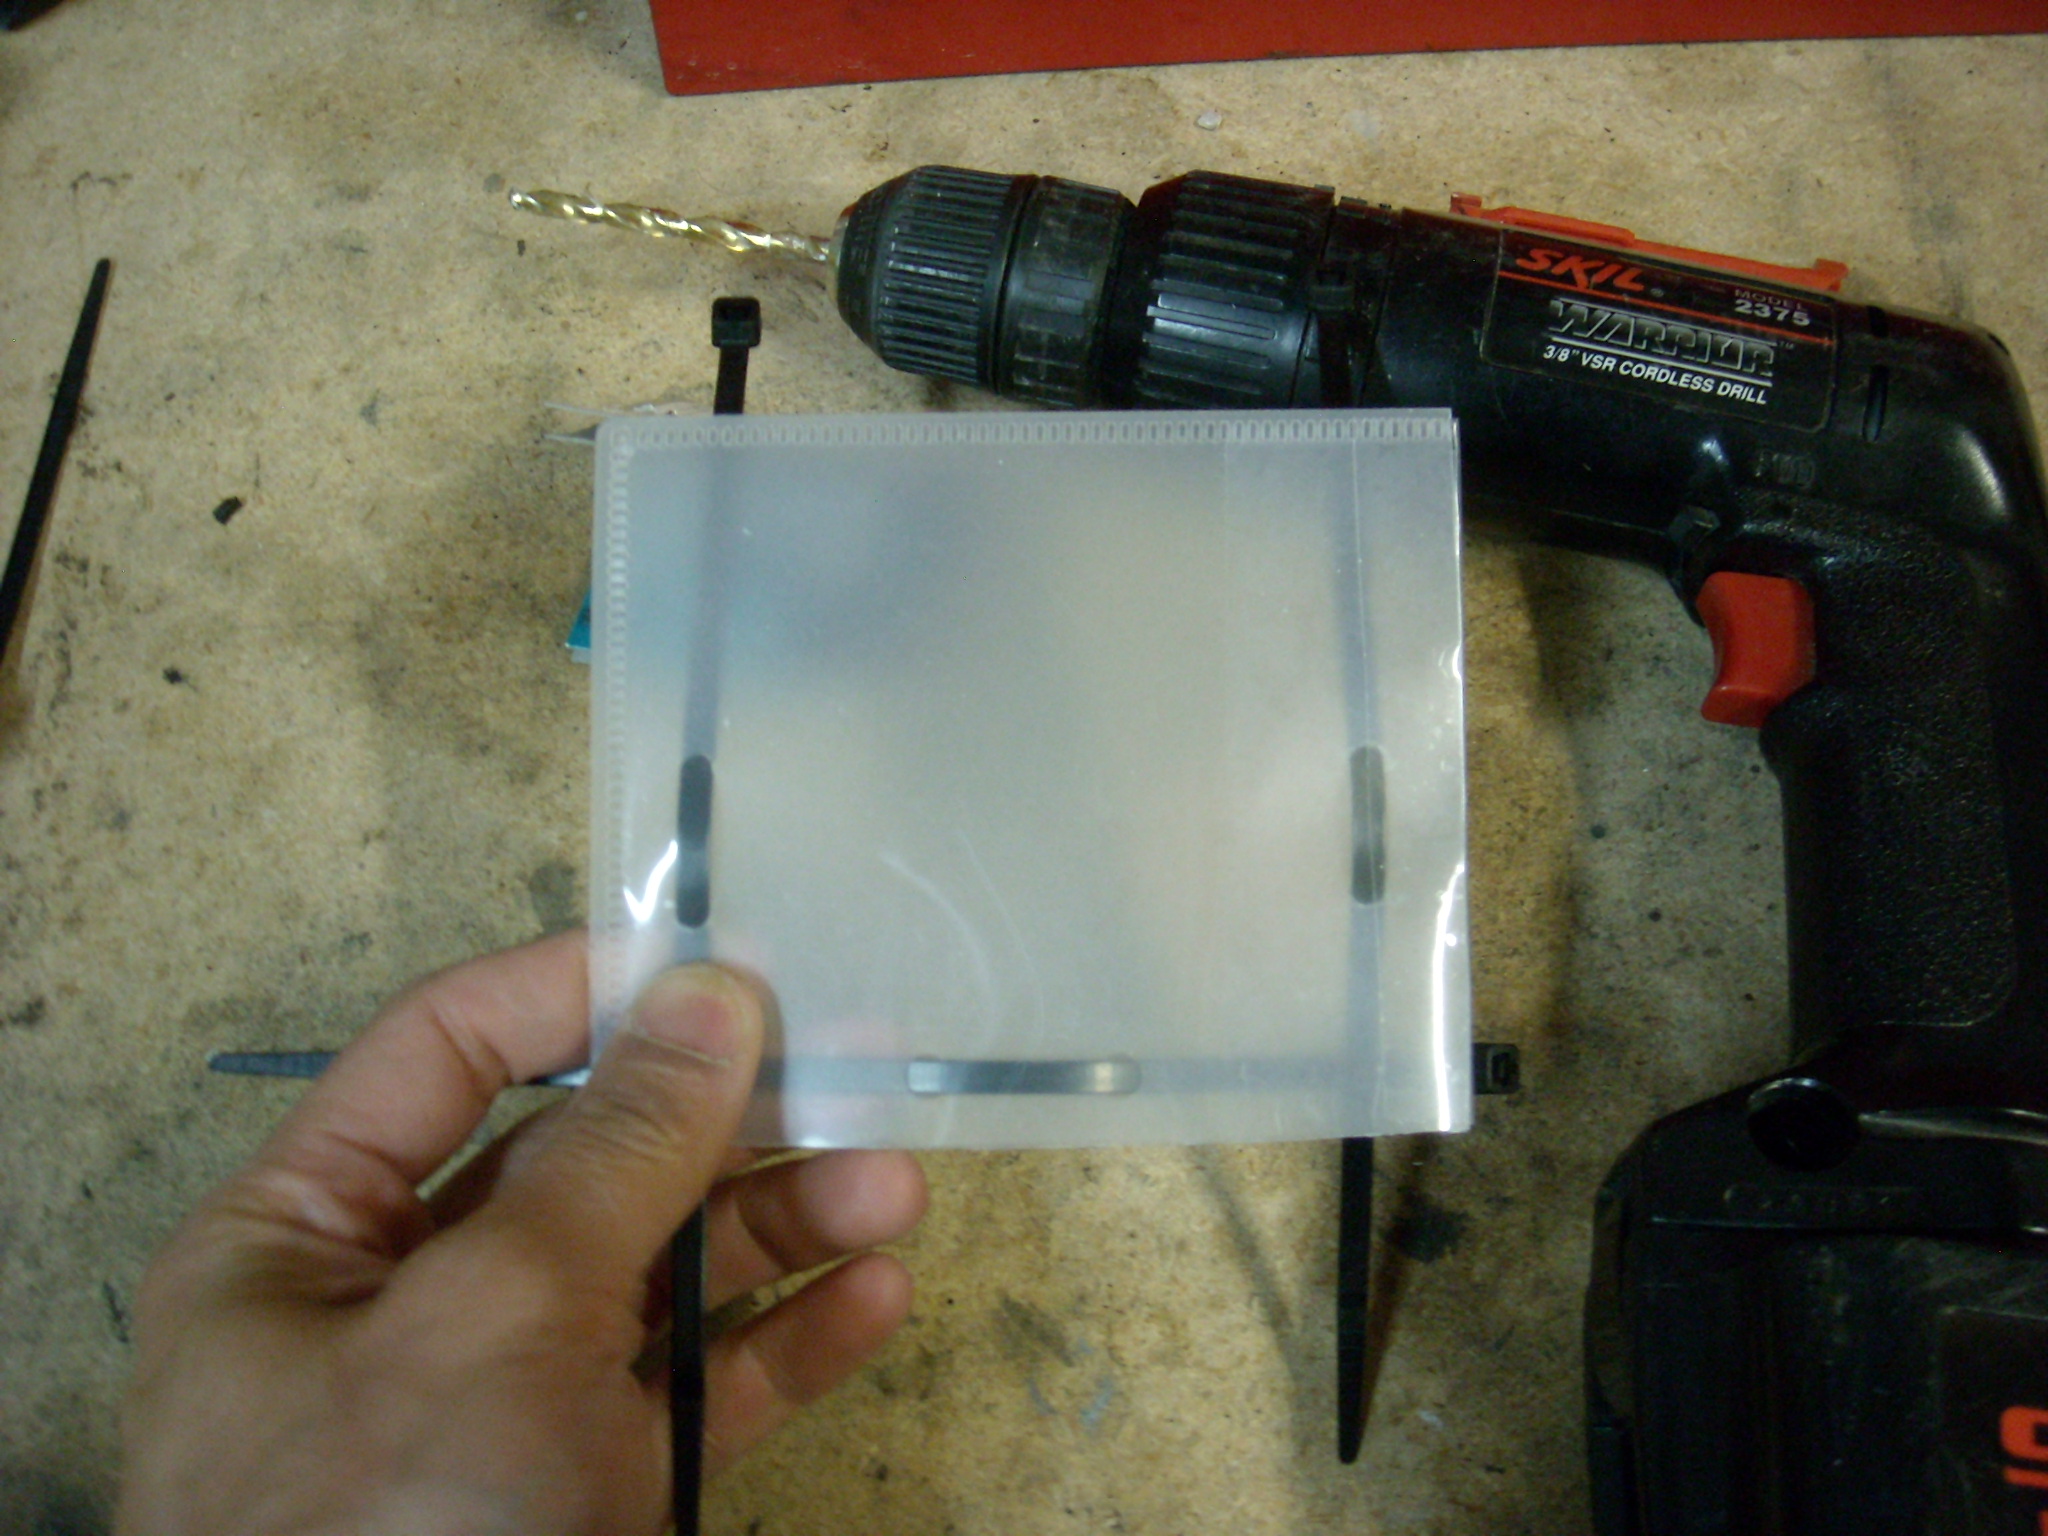
Below are photos detailing the creation process. They are pretty self-explanatory. Basically what I did was move the cyclometer rearward by mounting it on the stem with double-sided tape and clear packaging tape, and zip-tying the map holder in front of it to the handlebars and stem.

For those of you looking to make a bigger one, I made a large map holder via the same process for the 2008 Tour Divide that fit Adventure Cycling maps well.

Map Holder 1.0: my first design (circa 2002) was good except that my knees would occasionally graze it when pedaling out of the saddle.
For the raw material, I picked up this plastic report binder from a local dollar store.
Cutting down the binder to a more appropriate size (5 inches X 4 inches).  Two pieces of plastic are then joined together by clear tape to create a "pocket."
Cutting down the binder to a more appropriate size (5 inches X 4 inches). Two pieces of plastic are then joined together by clear tape to create a "pocket."
Preliminary fitting, with pen marks indicating where holes for zip ties should be drilled through the bottom piece of plastic.
The map holder with zip ties installed after drilling.  The zip ties were then secured around the handlebars and stem.
The map holder with zip ties installed after drilling. The zip ties were then secured around the handlebars and stem.
Side view of the map holder installed on the Super bike.