As I mentioned in my recent Nokia Lumia 520 vs. 820 post, I’ve been trying to enhance my work flow by upgrading computing devices that I have to do no waiting for. A natural target, then, was the venerable dual Xeon 3.65 GHz Hewlett-Packard xw6200 workstation sitting in my home office, which probably cost upwards of $3,000 brand new but is now going on nine years old.
In truth, I never thought that computer was slow—heck, it’s still way faster than the 2012 Microsoft Surface I’m still very fond of—and this video I made of it demonstrates that the HP still performs reasonably well. Even with some not-too-complicated assemblies in SolidWorks, I never found myself twiddling thumbs too much. Microsoft deserves a lot of credit here—with each new generation of Windows (Vista excepted), Windows has gotten noticeably speedier.
But nine years is an eternity in computer years, especially when you consider that Moore’s Law has observed that the doubling of transistors on a computer chip occurs every two years or so. That means that a chip in 2014 could potentially have 2,262% as many transistors as one made in 2005.
Other technological advances made during that time include faster RAM (e.g., 1600 mHz vs. 400 mHz), USB 3.0 for up to 10X faster data transfer from USB 3.0-compatible storage devices, and perhaps most significantly, solid state drives which are much faster than hard drives with rotating parts. Power efficiency of chips has also greatly improved.
So I set about researching workstation computers. From a couple hours of Internet research, I learned the following:
CAD work and video editing is CPU intensive, and I’d want the latest Intel i7 chip which supports hyper-threading, or a Xeon chip with a good graphics card.
An i7 has an onboard GPU, whereas a Xeon doesn’t. The i7’s onboard GPU is good for CAD work, and a graphics card would only be advisable if I was a heavy gamer. But in fact, I am a zero gamer. (Funny fact: I own an xBox 360, but don’t have a single video game. I use the xBox strictly for media streaming.)
A solid state drive (SSD) would make perhaps the most dramatic difference in speed, significantly reducing boot-up and application launch times.
8 GB of RAM is ample for just about anything, and is something I could easily and cheaply add to in the future.
Then I went to Dell’s and HP’s website to look at how much they were selling their workstations for. A Dell Precision T1700 and an HP Z230, both of which meet the i7 and 8GB RAM requirements, cost $1,113 and $1,249, respectively. That’s after some rather large holiday discounts, but before taxes. And they don’t even have an SSD.
Next I went on eBay to see what custom workstation sellers like felinepc were building. One of their builds entitled “Intel Haswell 4th Gen Core i7-4790K, 120GB (hybrid) SSD Windows 7 or 8.1” was going for a mere $910.
Ultimately, I decided to emulate the aforementioned listing with a few further custom tweaks (like a larger, non-hybrid SSD and a cooler-running, non-overclocked Intel i7-4790)… and build the computer myself! PCPartsPicker.com was really helpful for this, providing all the tools you need to devise hypothetical builds from real component sources of compatible components. It also allows you to quickly determine where to source the parts as inexpensively as possible, be it Amazon, NewEgg, SuperBiiz, etc. Using the website is completely free; the site earns commissions if you purchase through their affiliate links, which is what I did in order to reward the site owner for his good work.
After I received the purchased components, I spent a Saturday evening piecing them together. Then, using a laptop with a DVD drive, I created a bootable USB pendrive to install Windows 8.1 Pro. Once I installed the operating system on the new computer with the pendrive, Windows automatically restored my Start screen, apps, favorites, settings, and files (via OneDrive), that were on the HP xw6200 workstation and automatically backed up to the cloud. It was easy-peasy and amazing; almost like magic. All I had to do was re-install a few legacy x86 desktop programs. Kudos to Microsoft again.
Here is a link to my final build, and below is what I posted on the PCPartPicker build page.
This is my first computer build. It is a workstation I pieced together in about three hours that met three criteria: inexpensive, reliable, quiet, and FAST!
I got the regular i7-4790 instead of the overclocking-enabled i7-4790K to meet those four goals, in addition to getting a smallish, but ample for my needs, 256GB SSD instead of a hard drive with 8X the capacity. Even skipped out on getting a CD/DVD drive as my laptop has one for the once a year I need to play a CD/DVD. Figured I could add that later if need be.
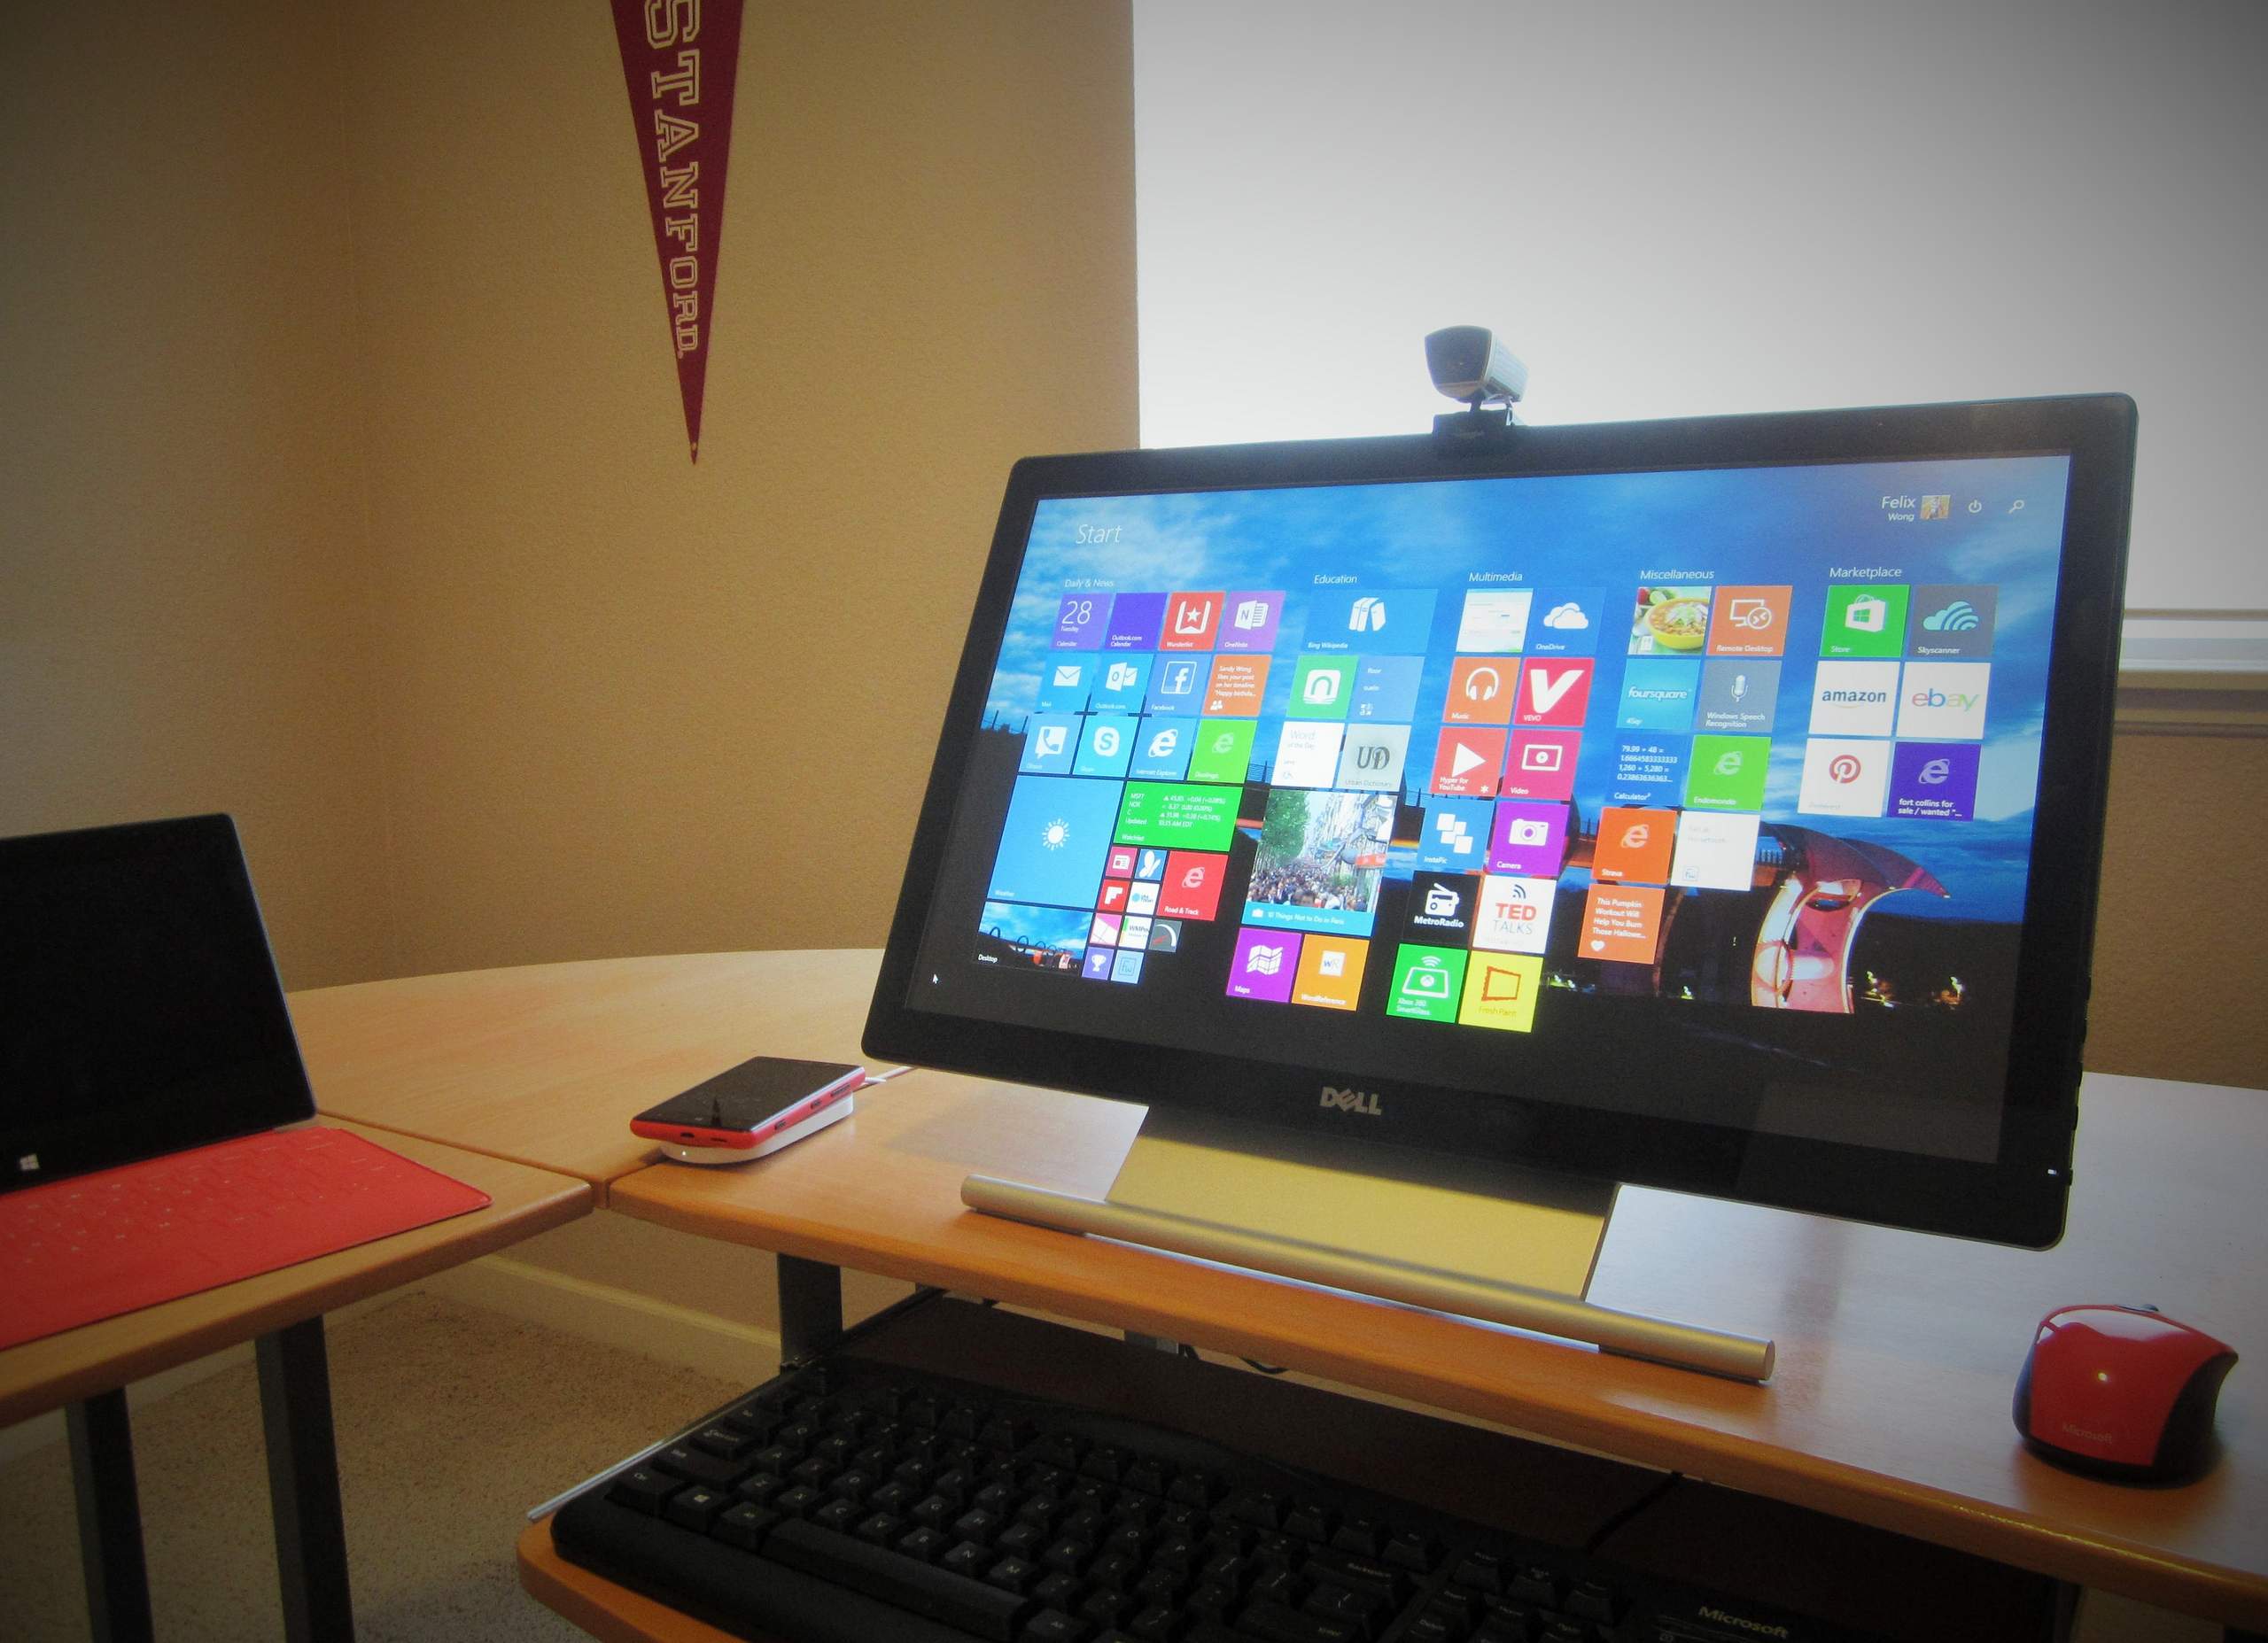
You can see how speedy the computer is in this video. A friend of mine calls it “The Beast”!
I also used IC Diamond thermal paste, so add a few more dollars to the specs below.
I purchased Windows 8.1 Pro from an authorized Microsoft refurbisher. All prices below include tax and shipping.
In the future, I may increase the RAM to 16 GB, but for now, everything I throw at it is virtually instantaneous, just as the video shows. The computer is virtually inaudible too. Very happy with this build.
The computer can boot up from off in under eight seconds, or less time than the old HP x6200 could resume from standby. It is also much quieter as it runs less fans less often, and has no spinning hard drive to listen to.
As you could see from the link to the build, the total cost was less than $700!
I did, however, later purchase an $8 Microsoft 200 keyboard and flame red, $13 Microsoft Sculpt wireless mouse, which is both gorgeous and a joy to use. You can add these items to the list of products, including Surface, xBox, and Nokia Windows phone, that augment my Microsoft fanboism bona fides.
For this build, I also got a Microsoft wired keyboard and a gorgeous and great-feeling, flame red, wireless Microsoft Sculpt mouse. Using a different computer with a DVD drive, I created a USB pendrive to install Windows 8.1 Pro.
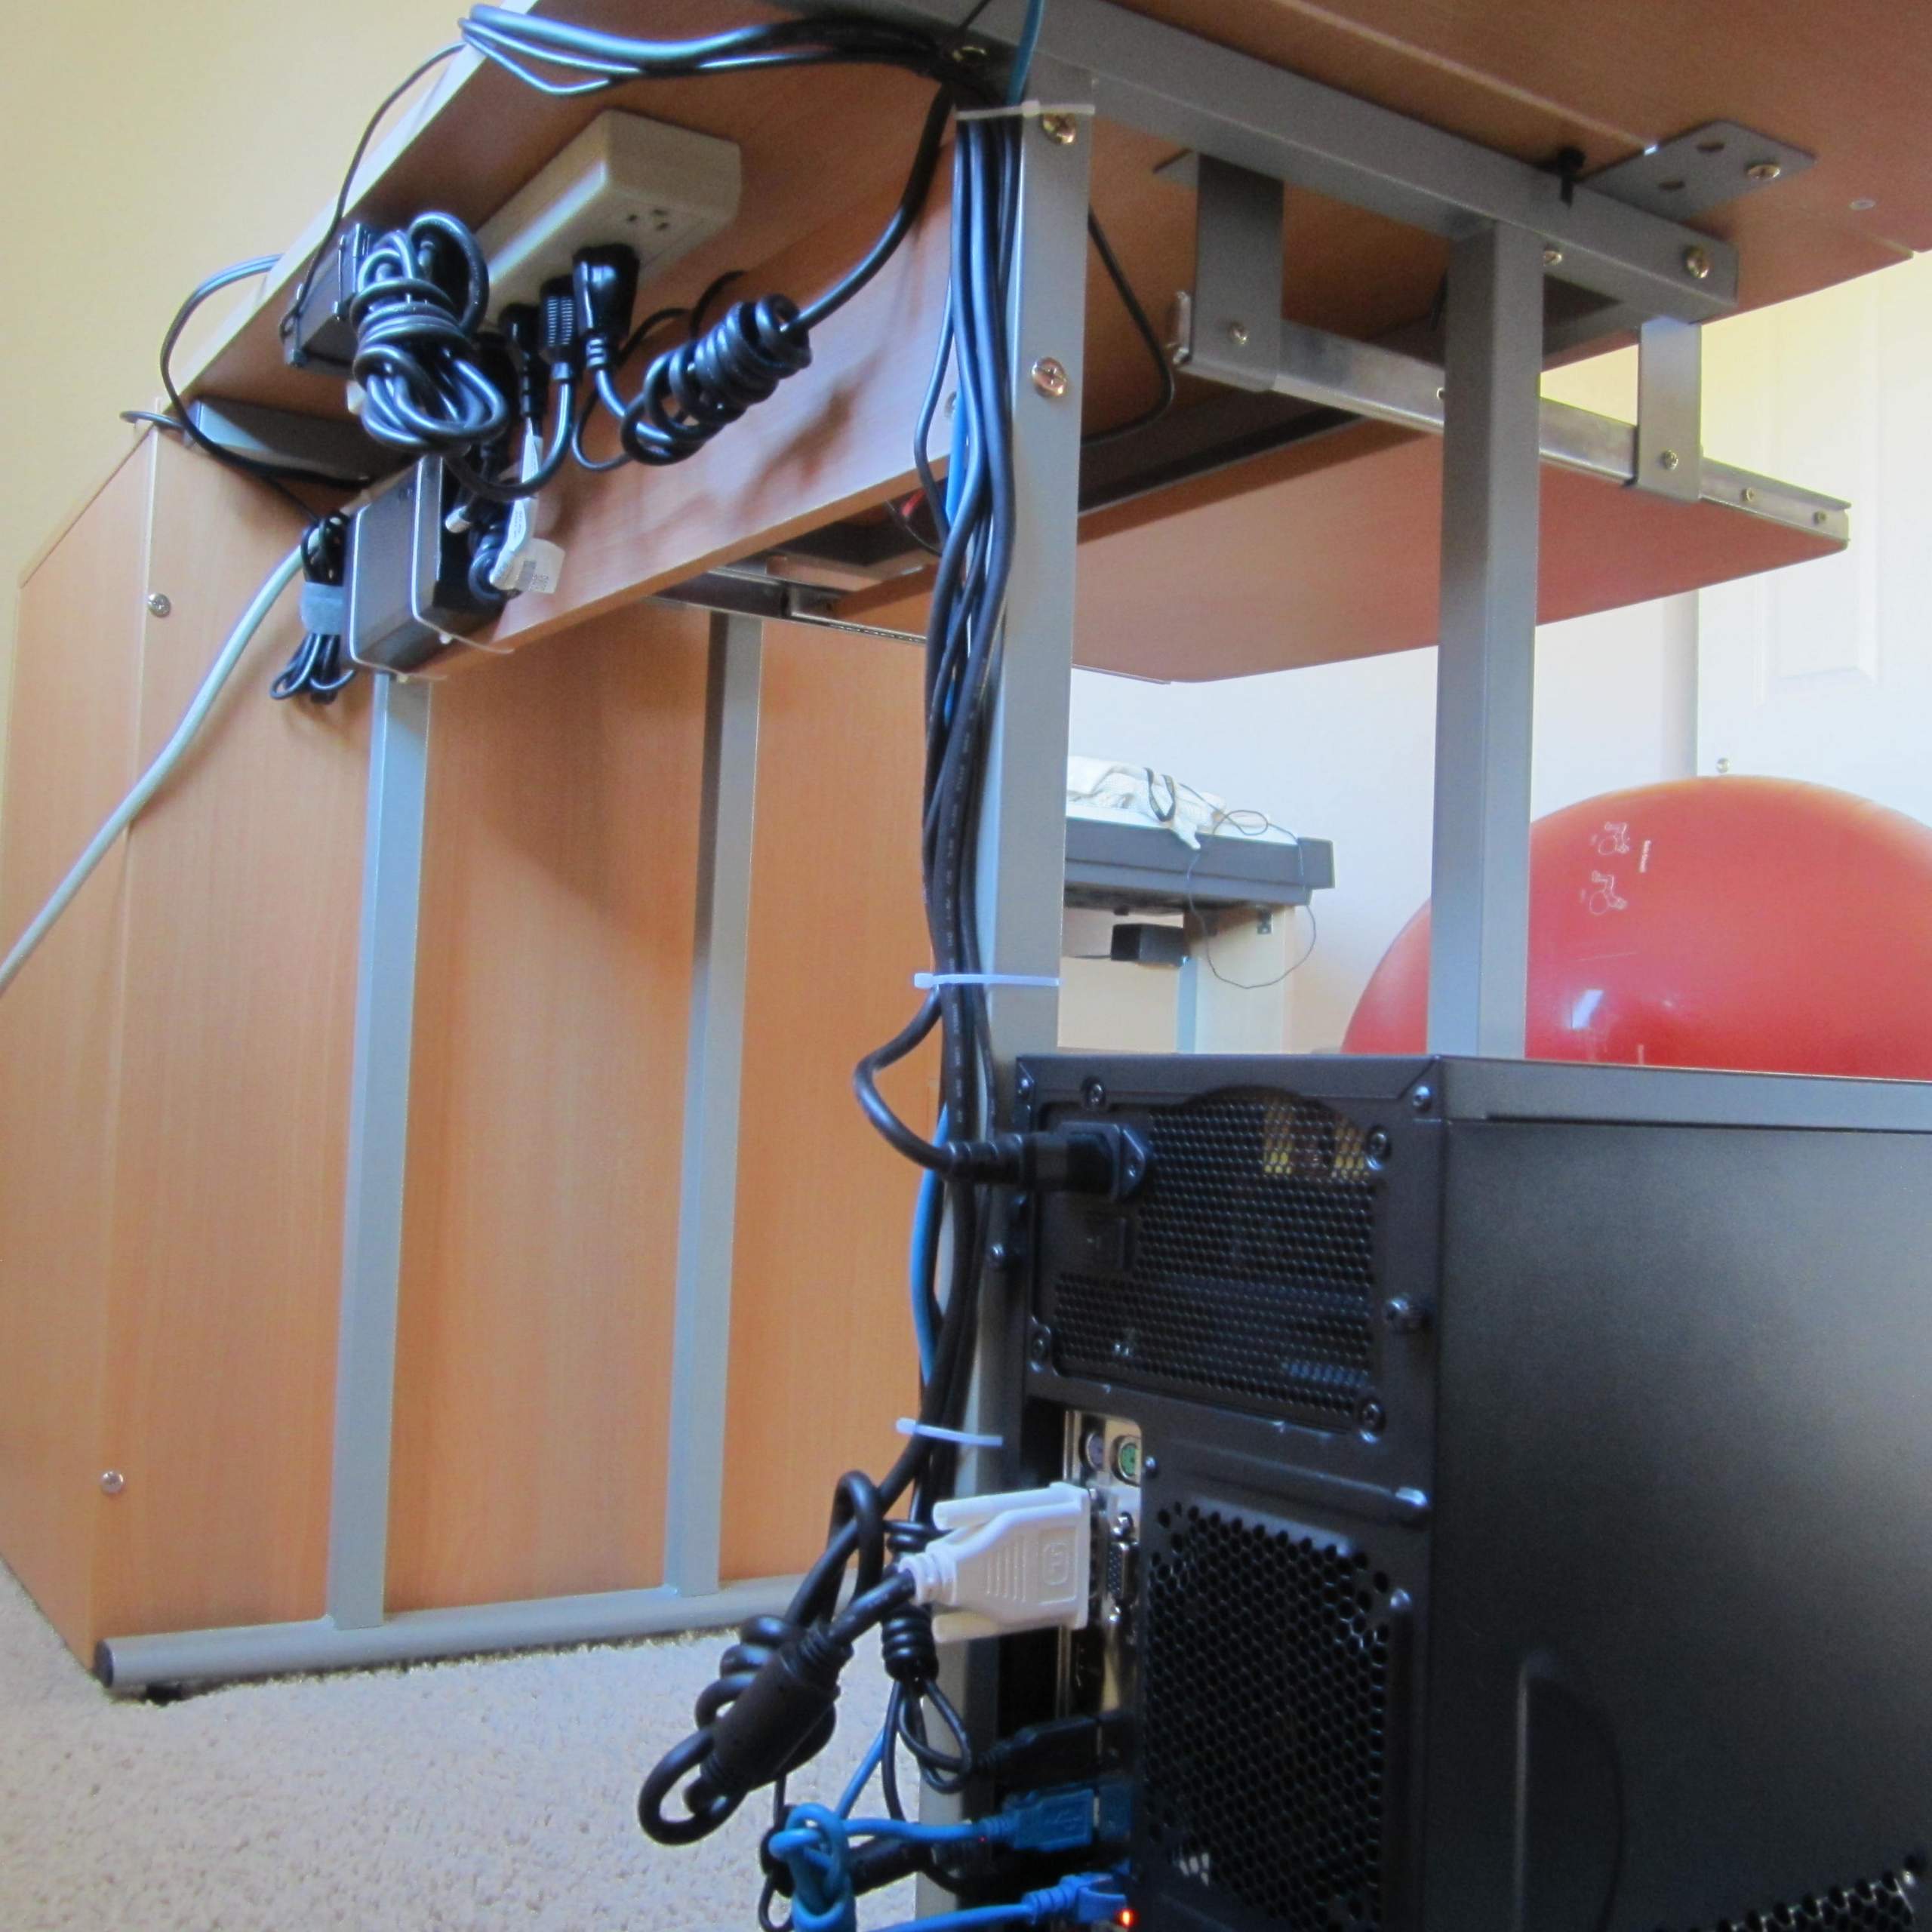
I also neatly routed the multitude of cables to it, so they are virtually hidden unless viewing my desk from behind. Zip ties came in very handy here.
Building my own computer turned out to be both a fun and educational process. I highly recommend it as a geeky weekend project. The end result was definitely worth it.
Now I just need to sell the venerable HP xw6200. Anyone want to buy it for cheap?
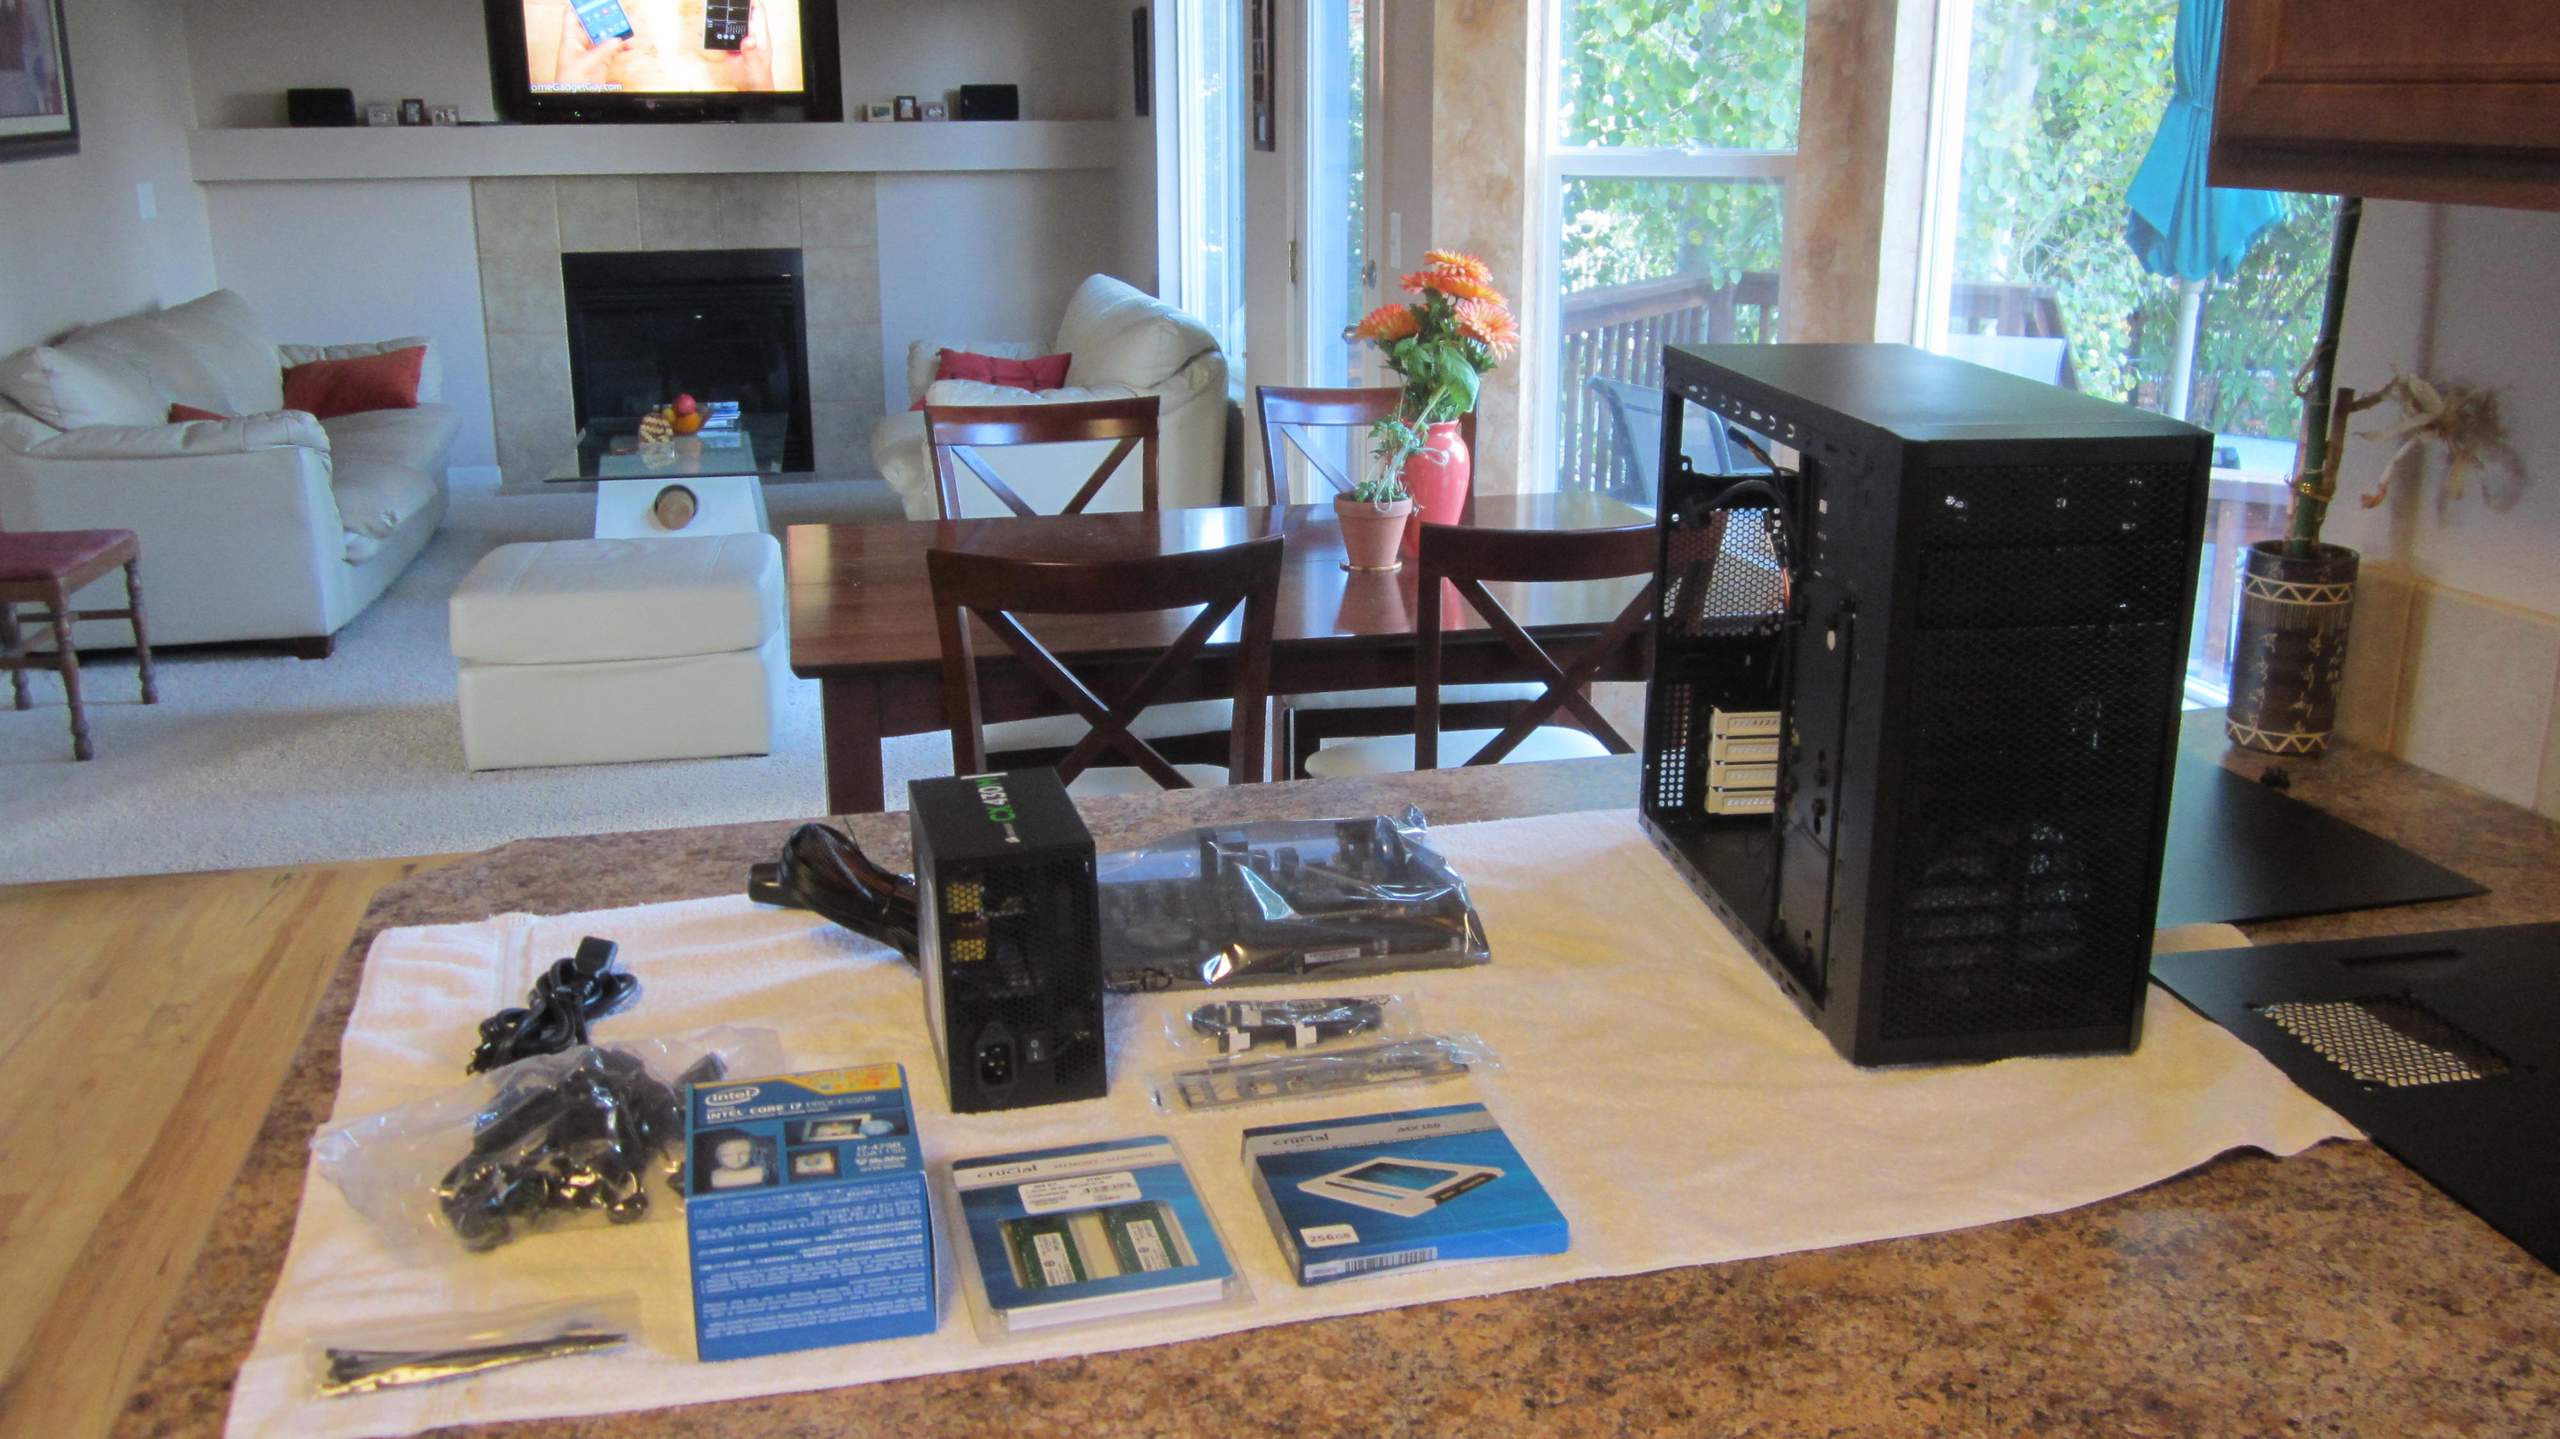
Laying out all the computer parts on a towel on the kitchen tabletop.
There were a lot of screws and other bits of hardware that came with the Fractal Design Core 1000 case. I ended up not needing them all.
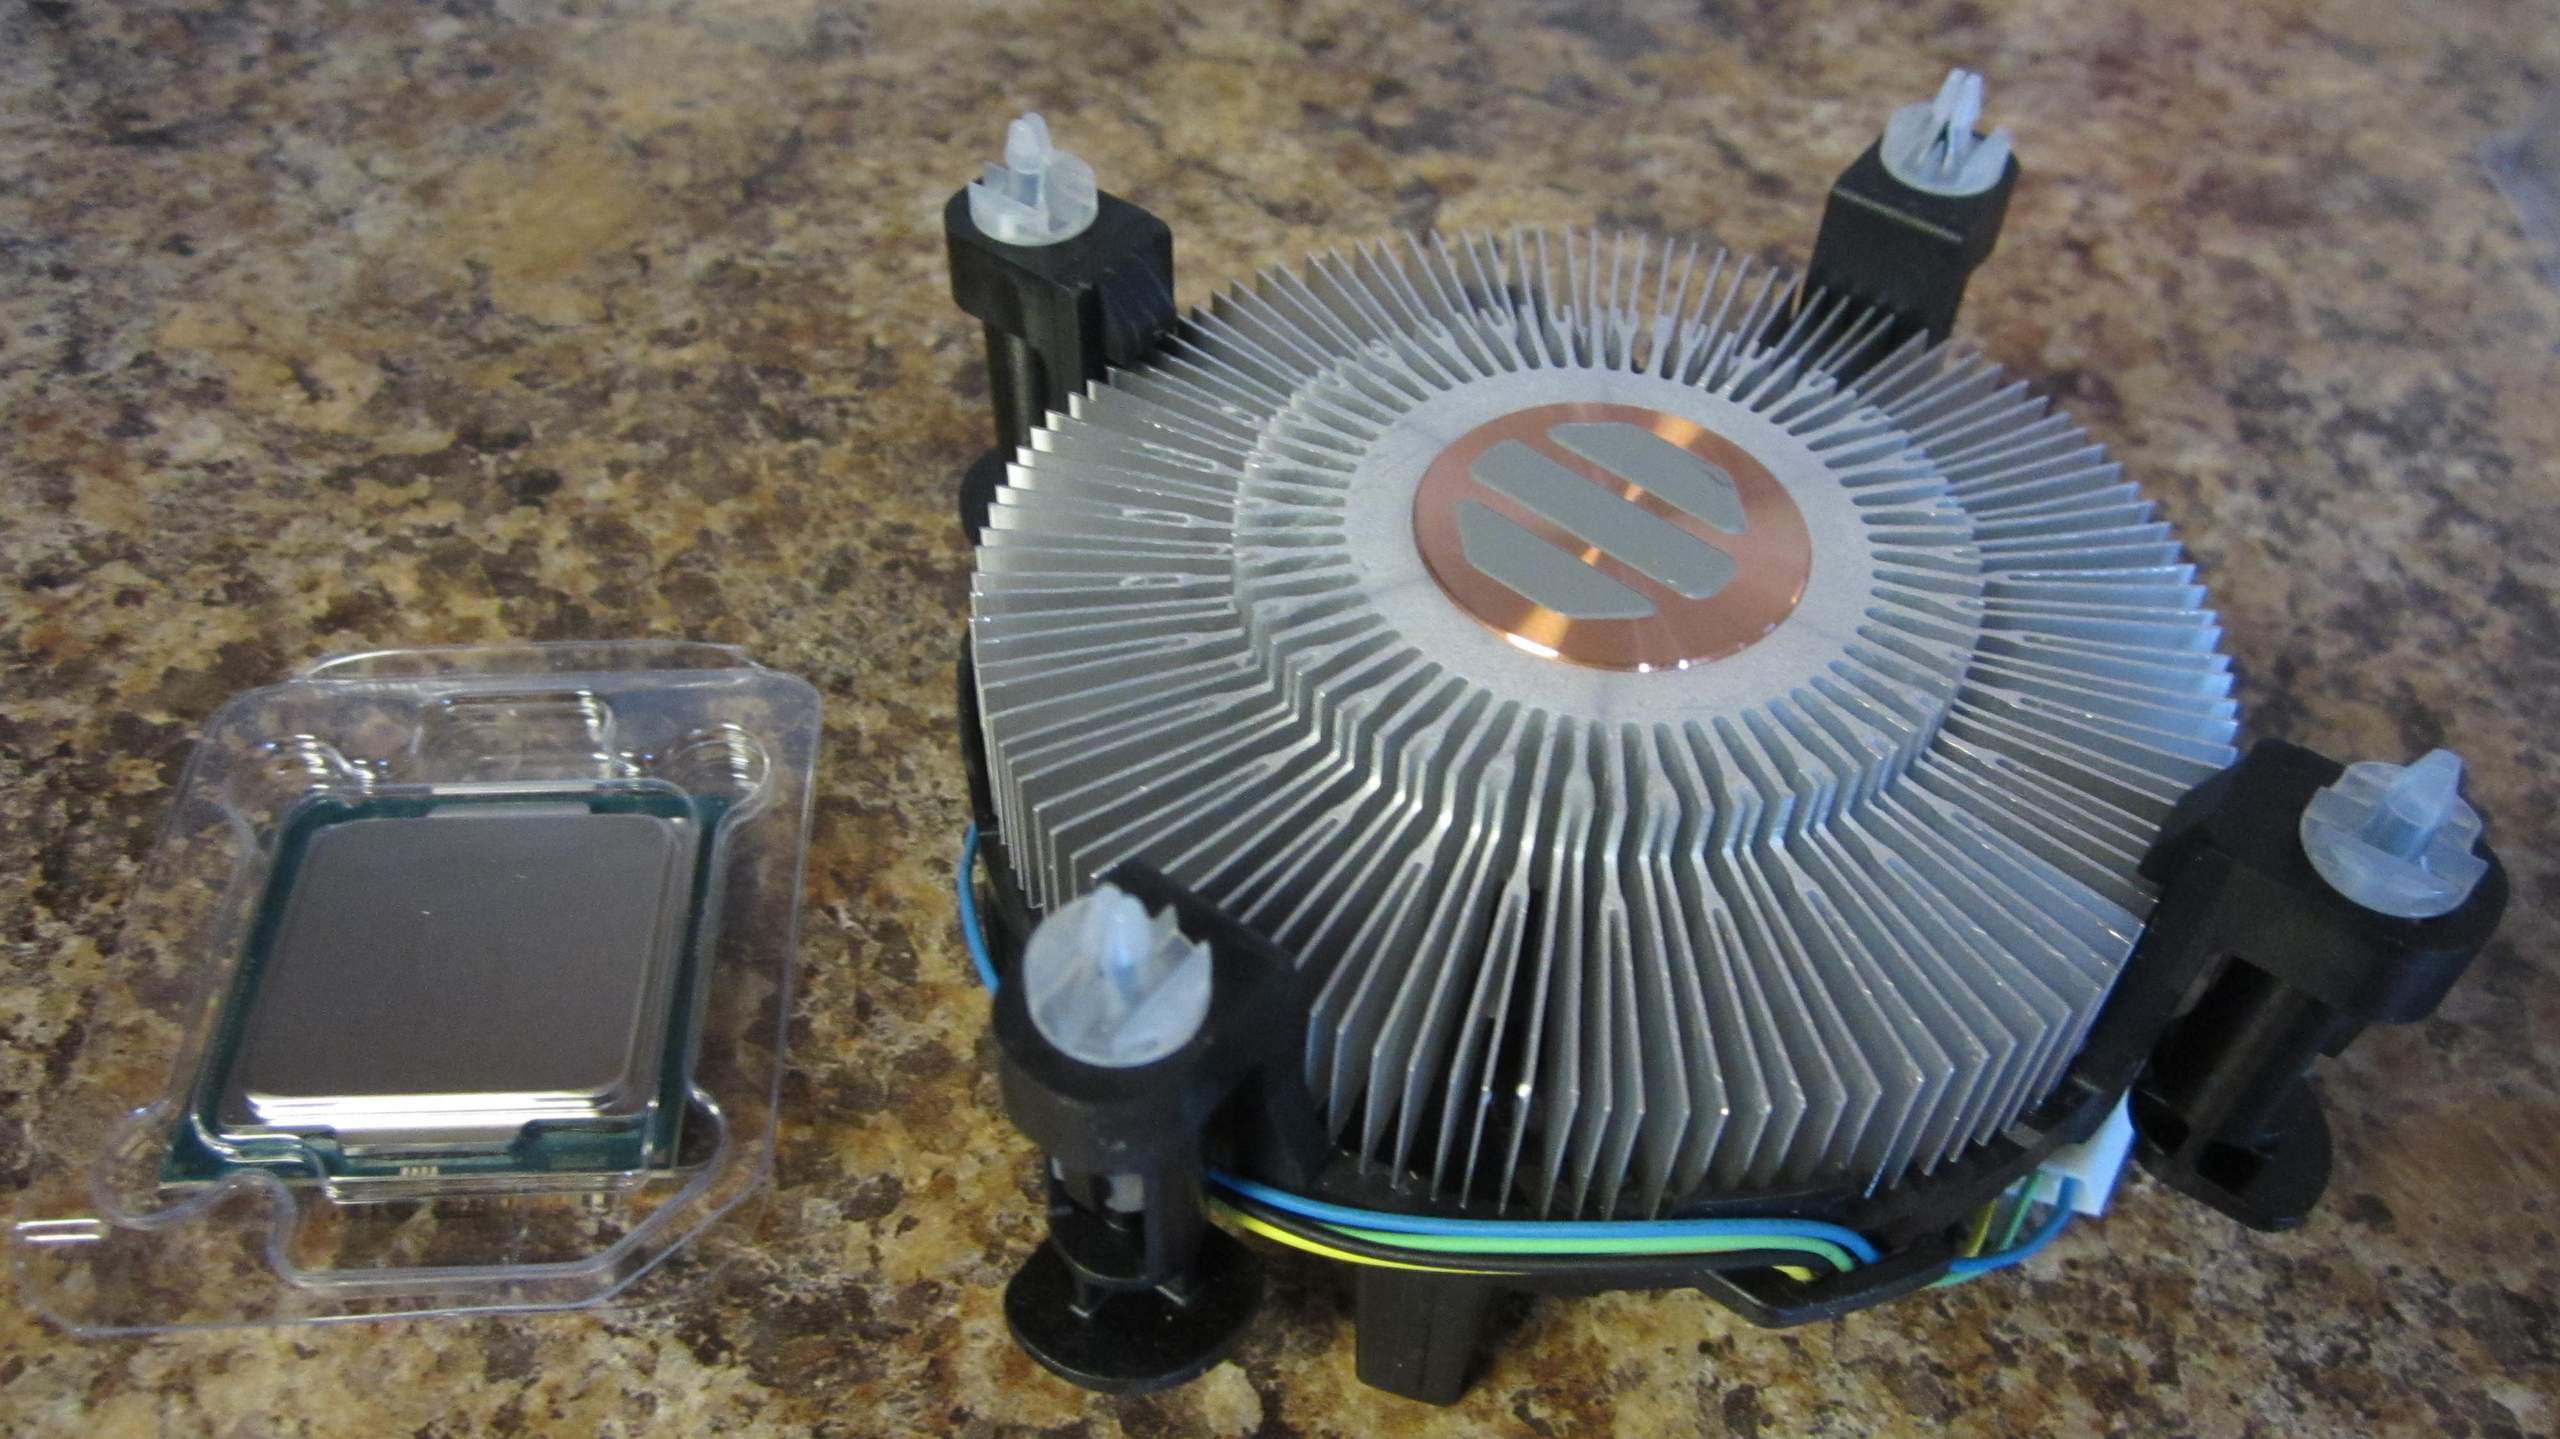
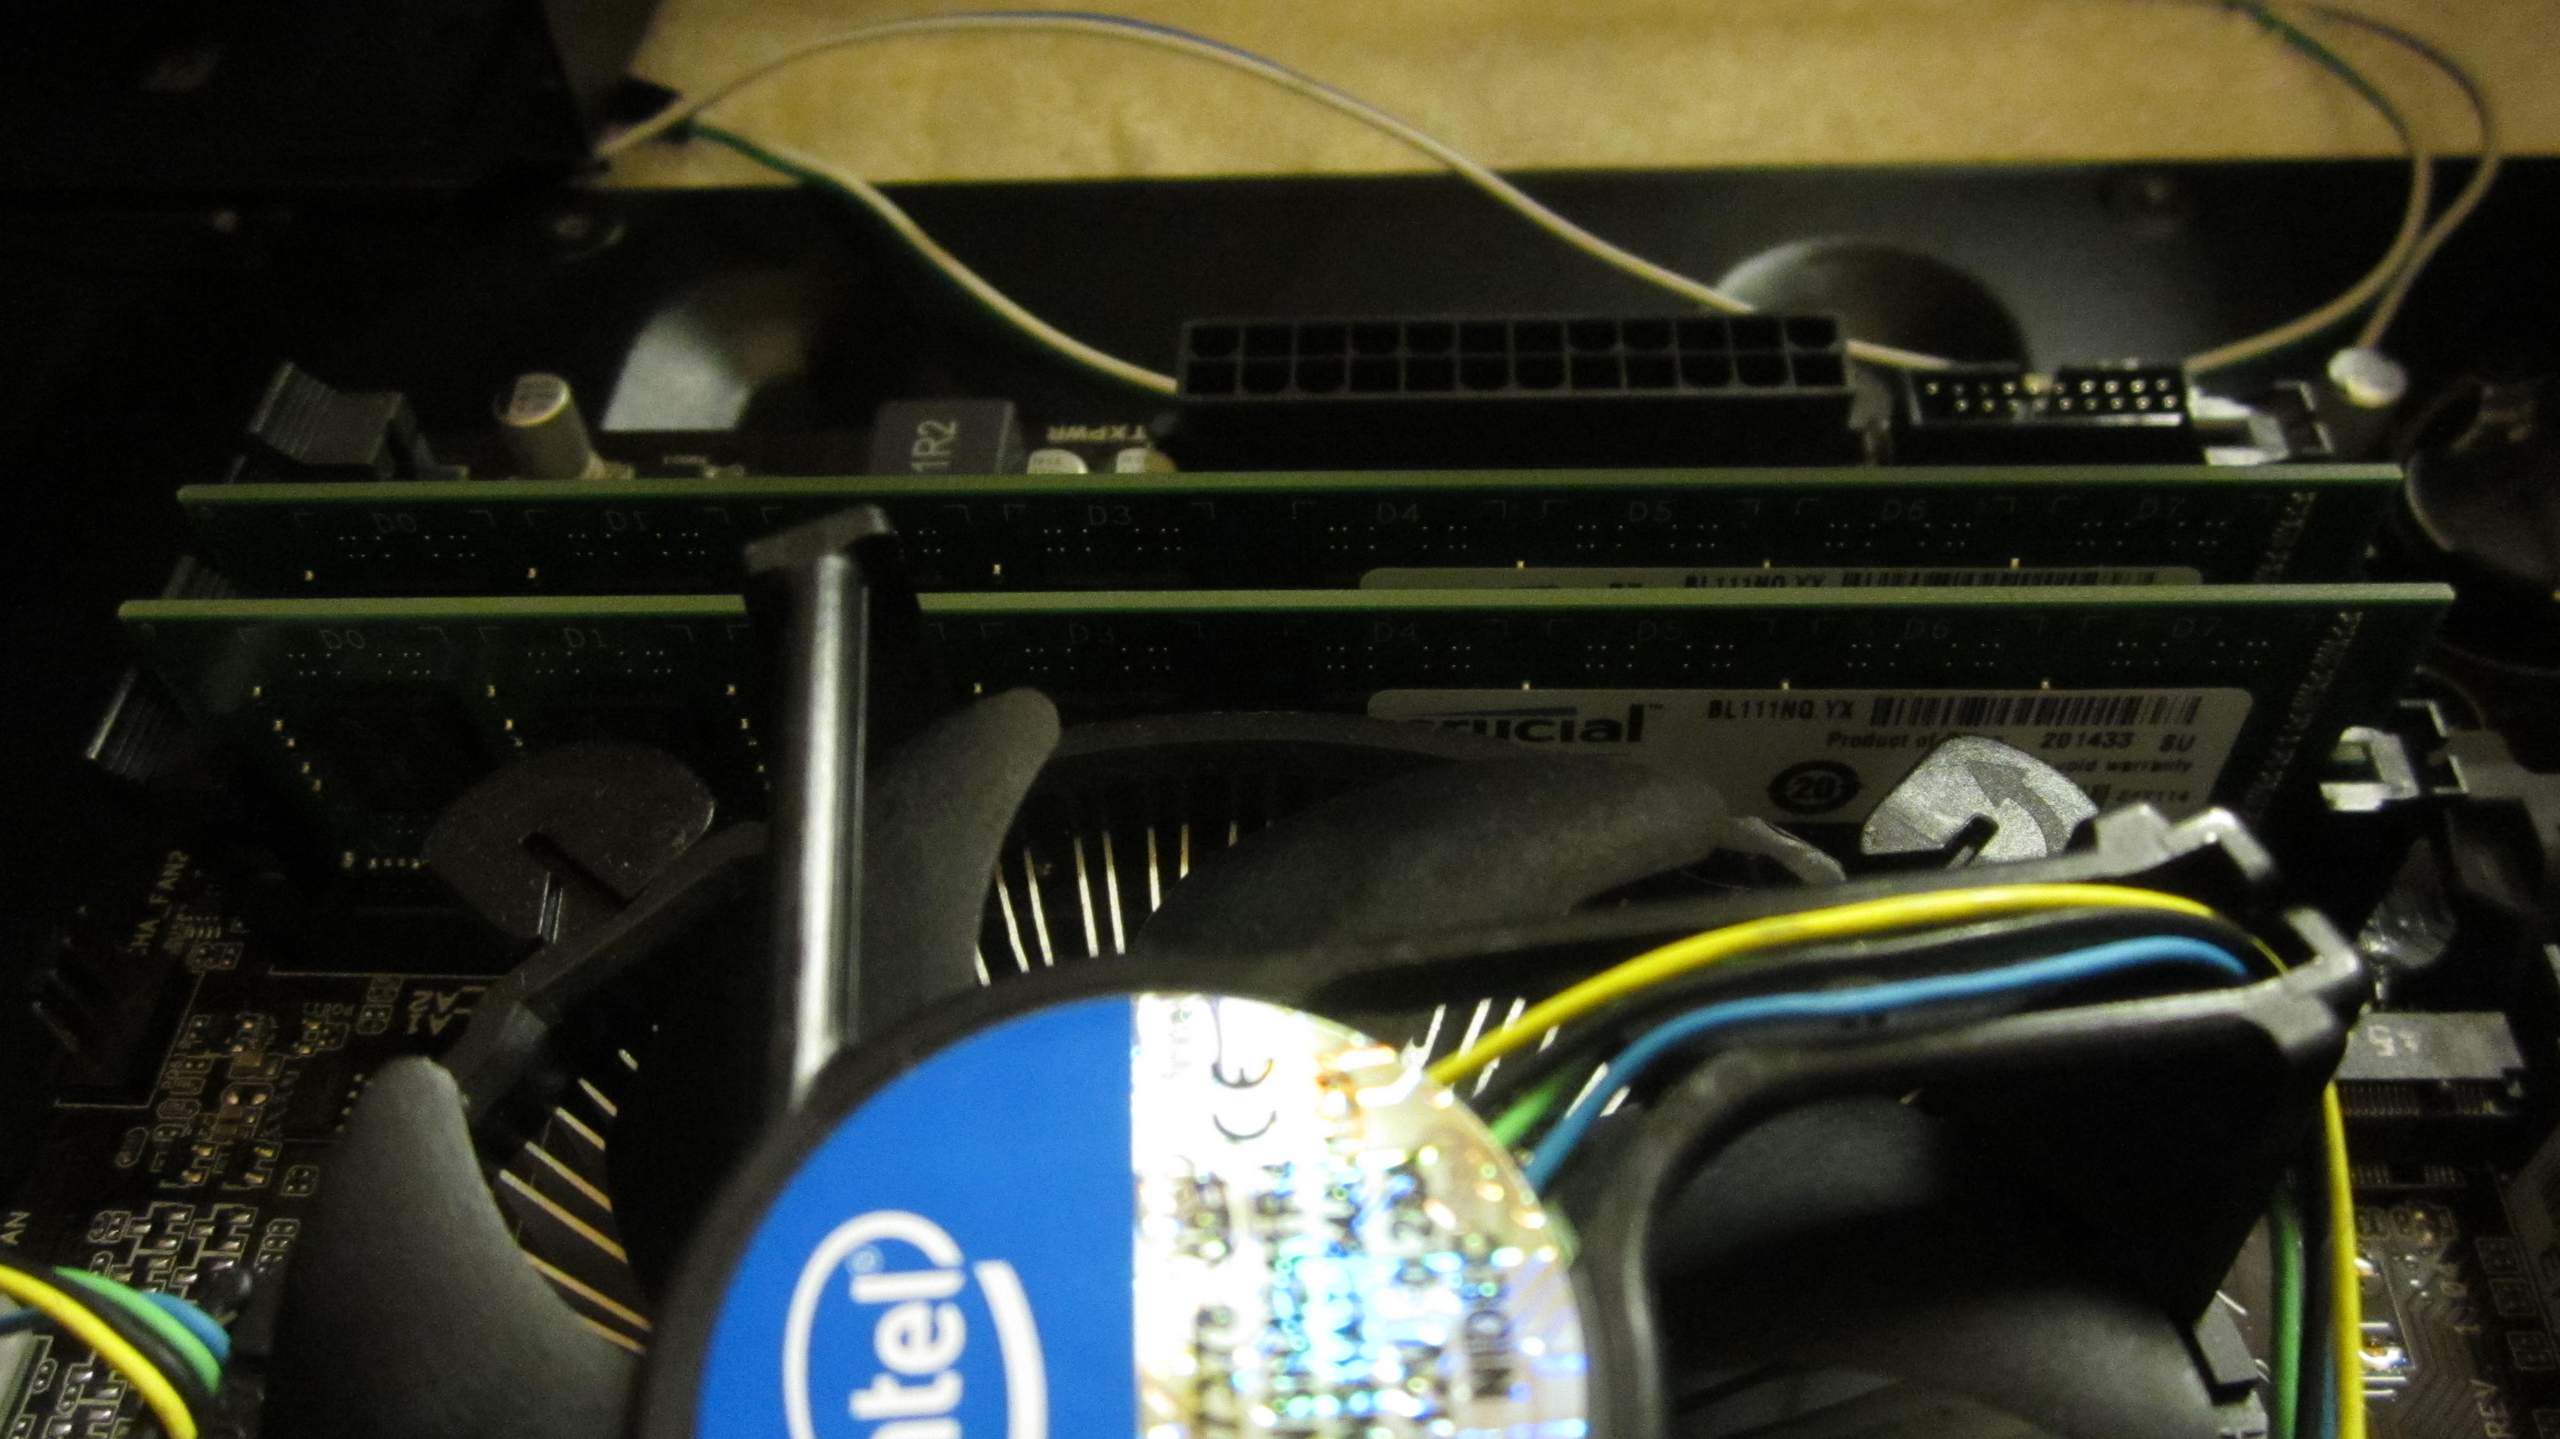
The Intel Core i7-4790 3.6GHz Quad-Core CPU and the cooling fan it came with. The fan came with thermal paste already applied but I wiped that off and applied IC Diamond thermal paste instead.
Applying a pea-sized bit of IC Diamond thermal paste to the CPU, just as IC Diamond's website instructed.
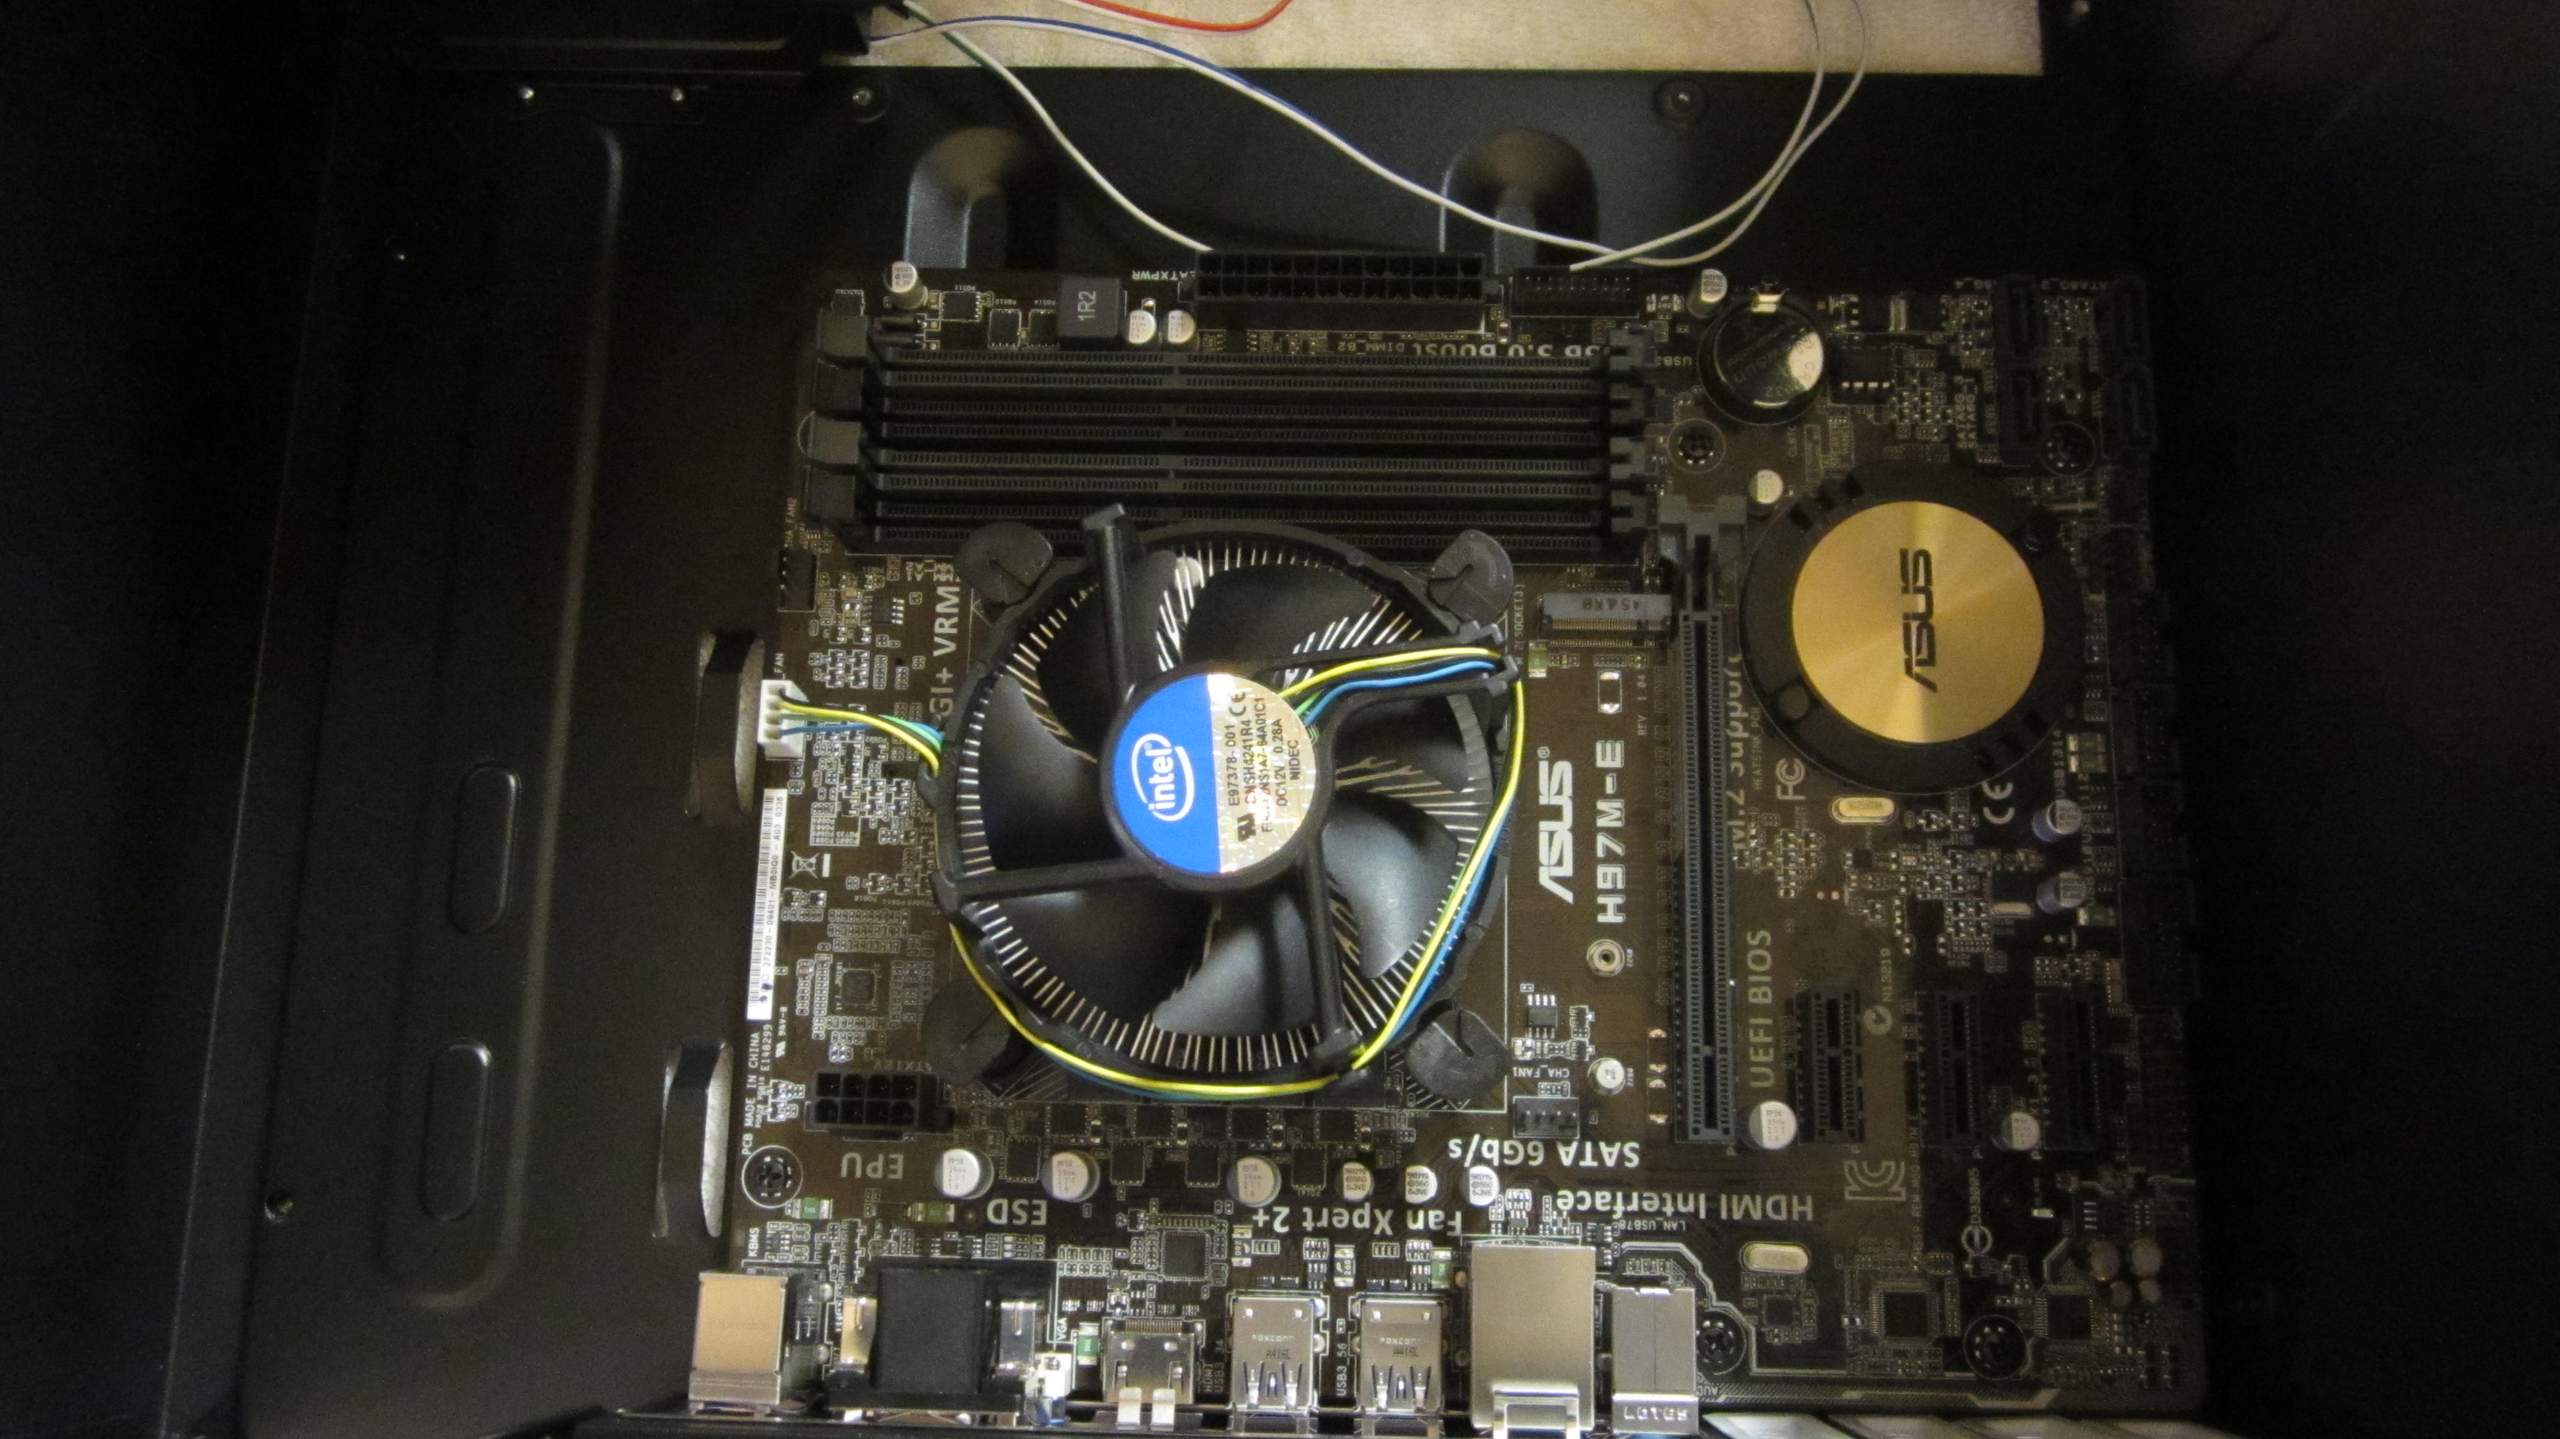
The CPU and fan installed on the motherboard, which in turn is installed in the case.
Crucial 8GB (2 x 4GB) DDR3-1600 memory modules.
The Crucial MX100 256GB 2.5" solid state drive.
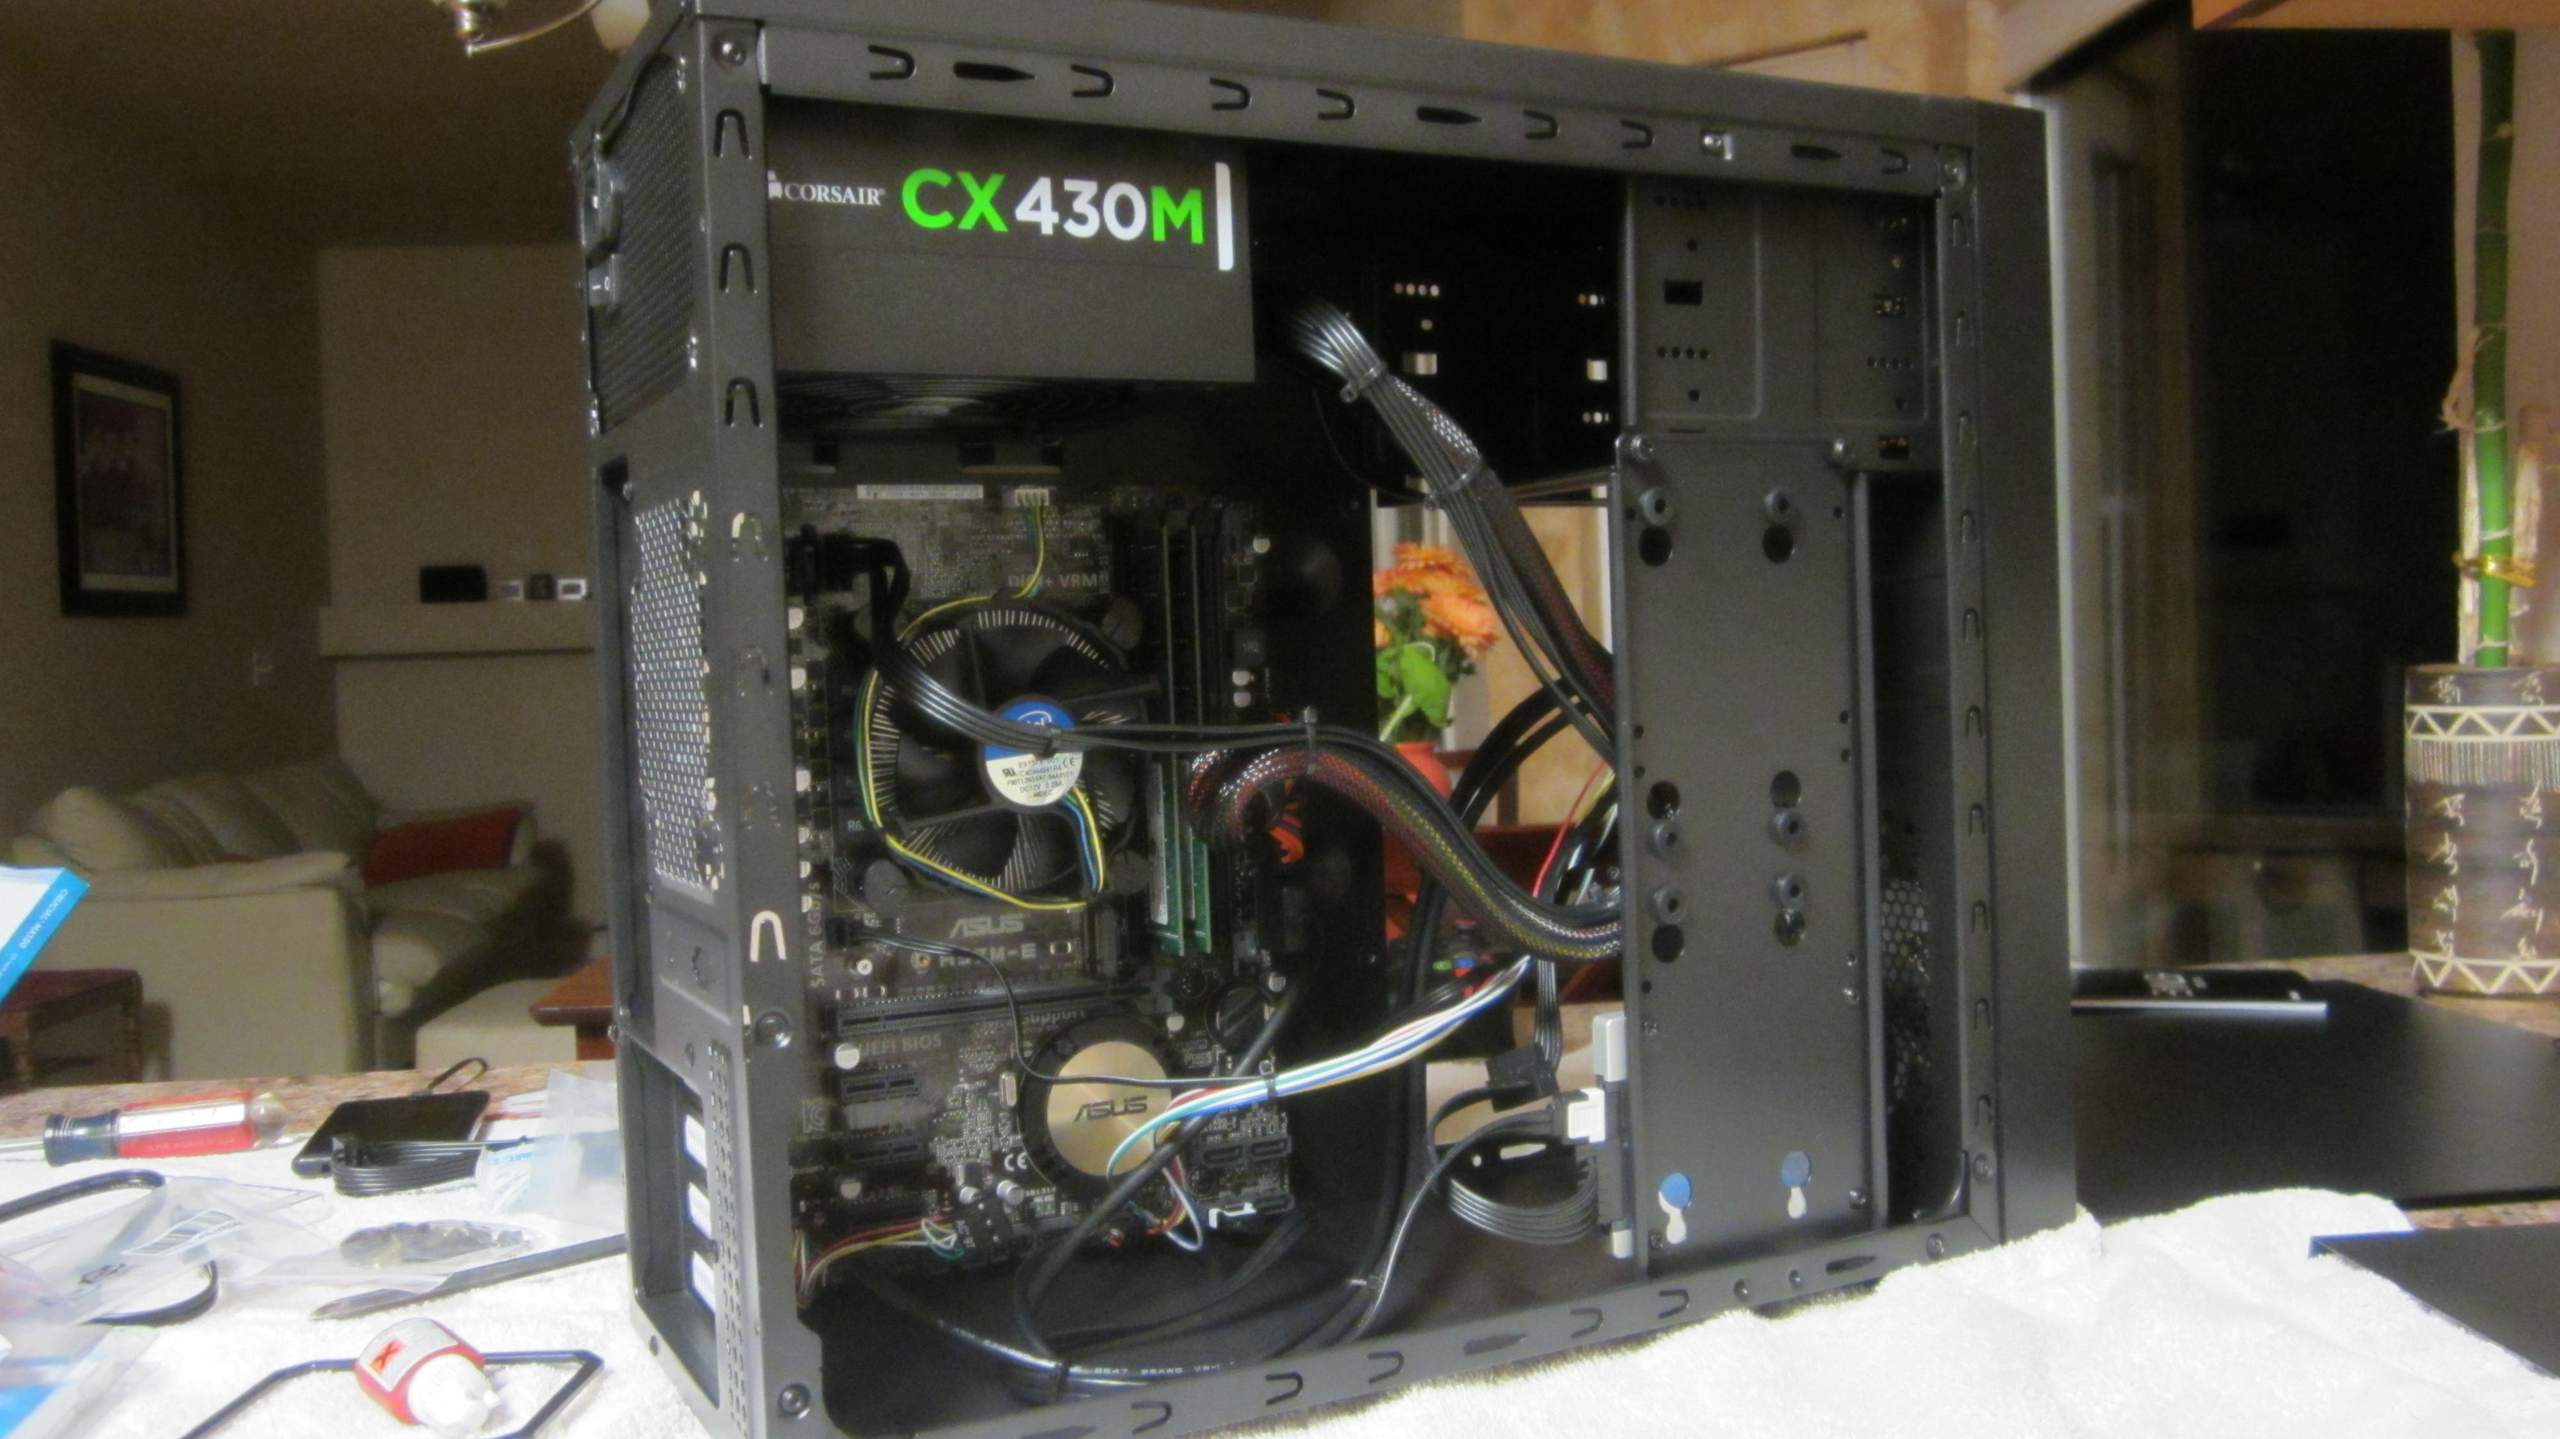
The components all installed, wired up and neatly zip-tied.
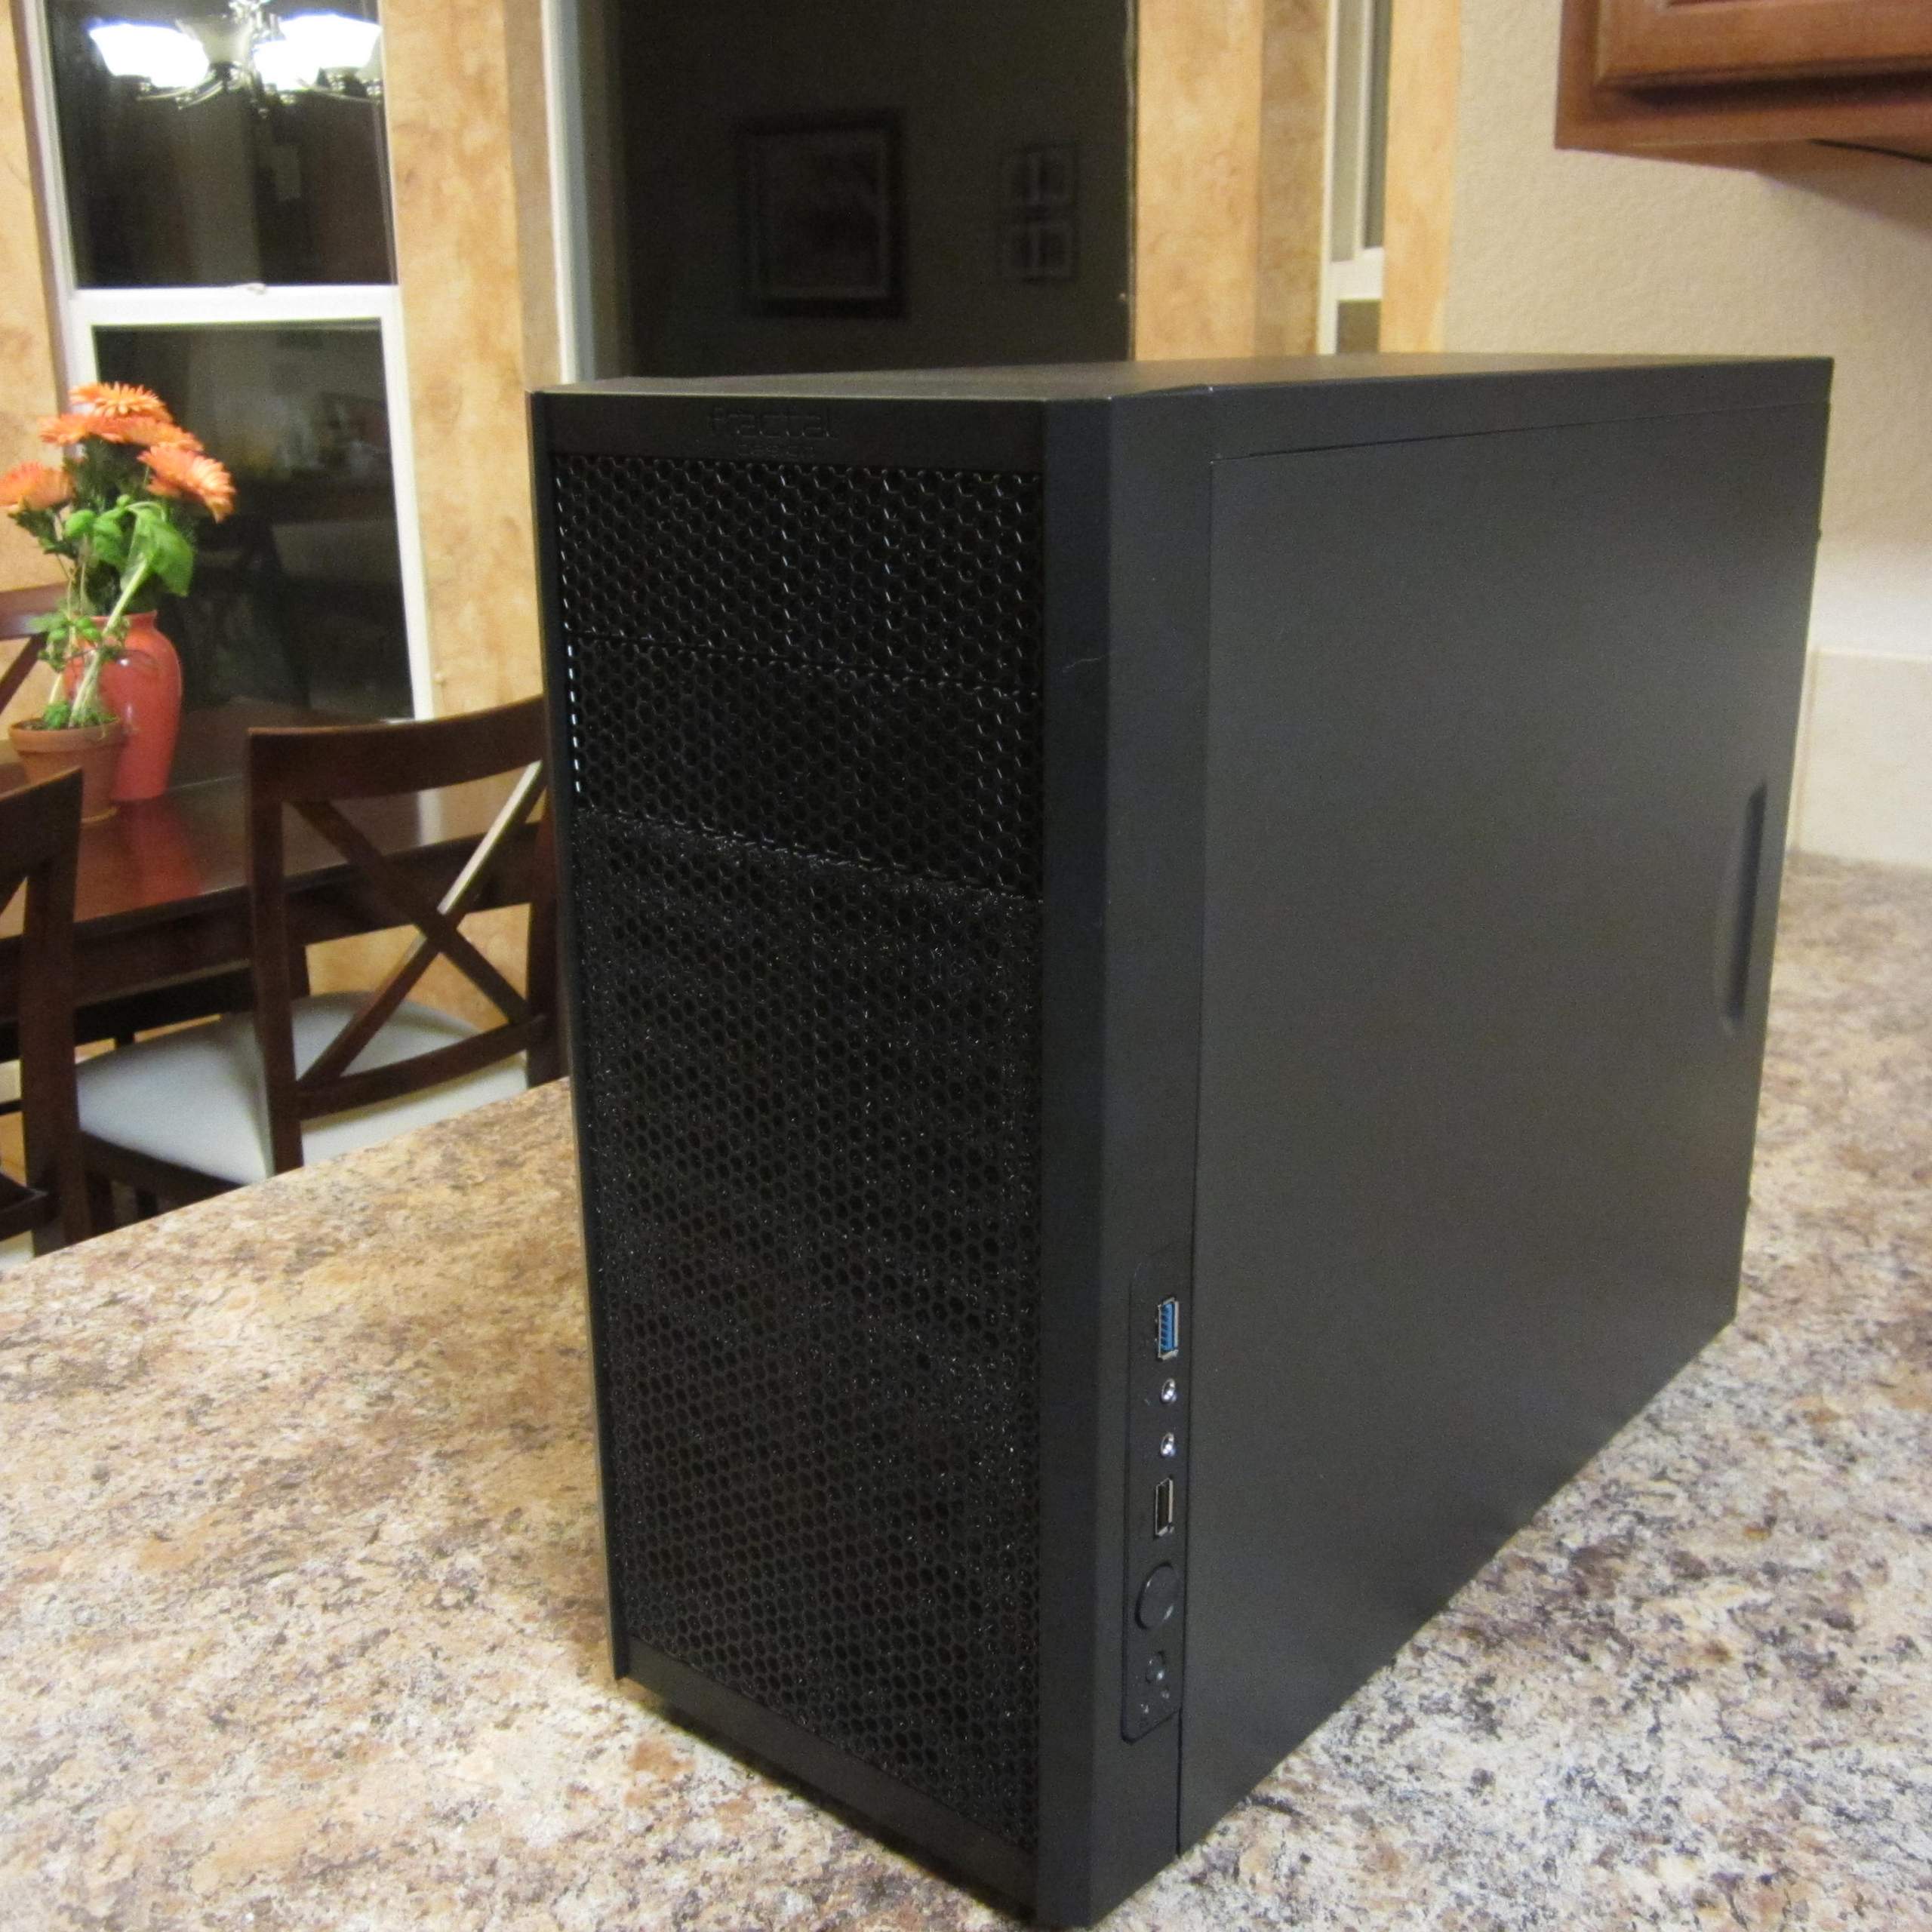
The Fractal Design Core 1000 USB 3.0 MicroATX Mid Tower case with all components installed inside.
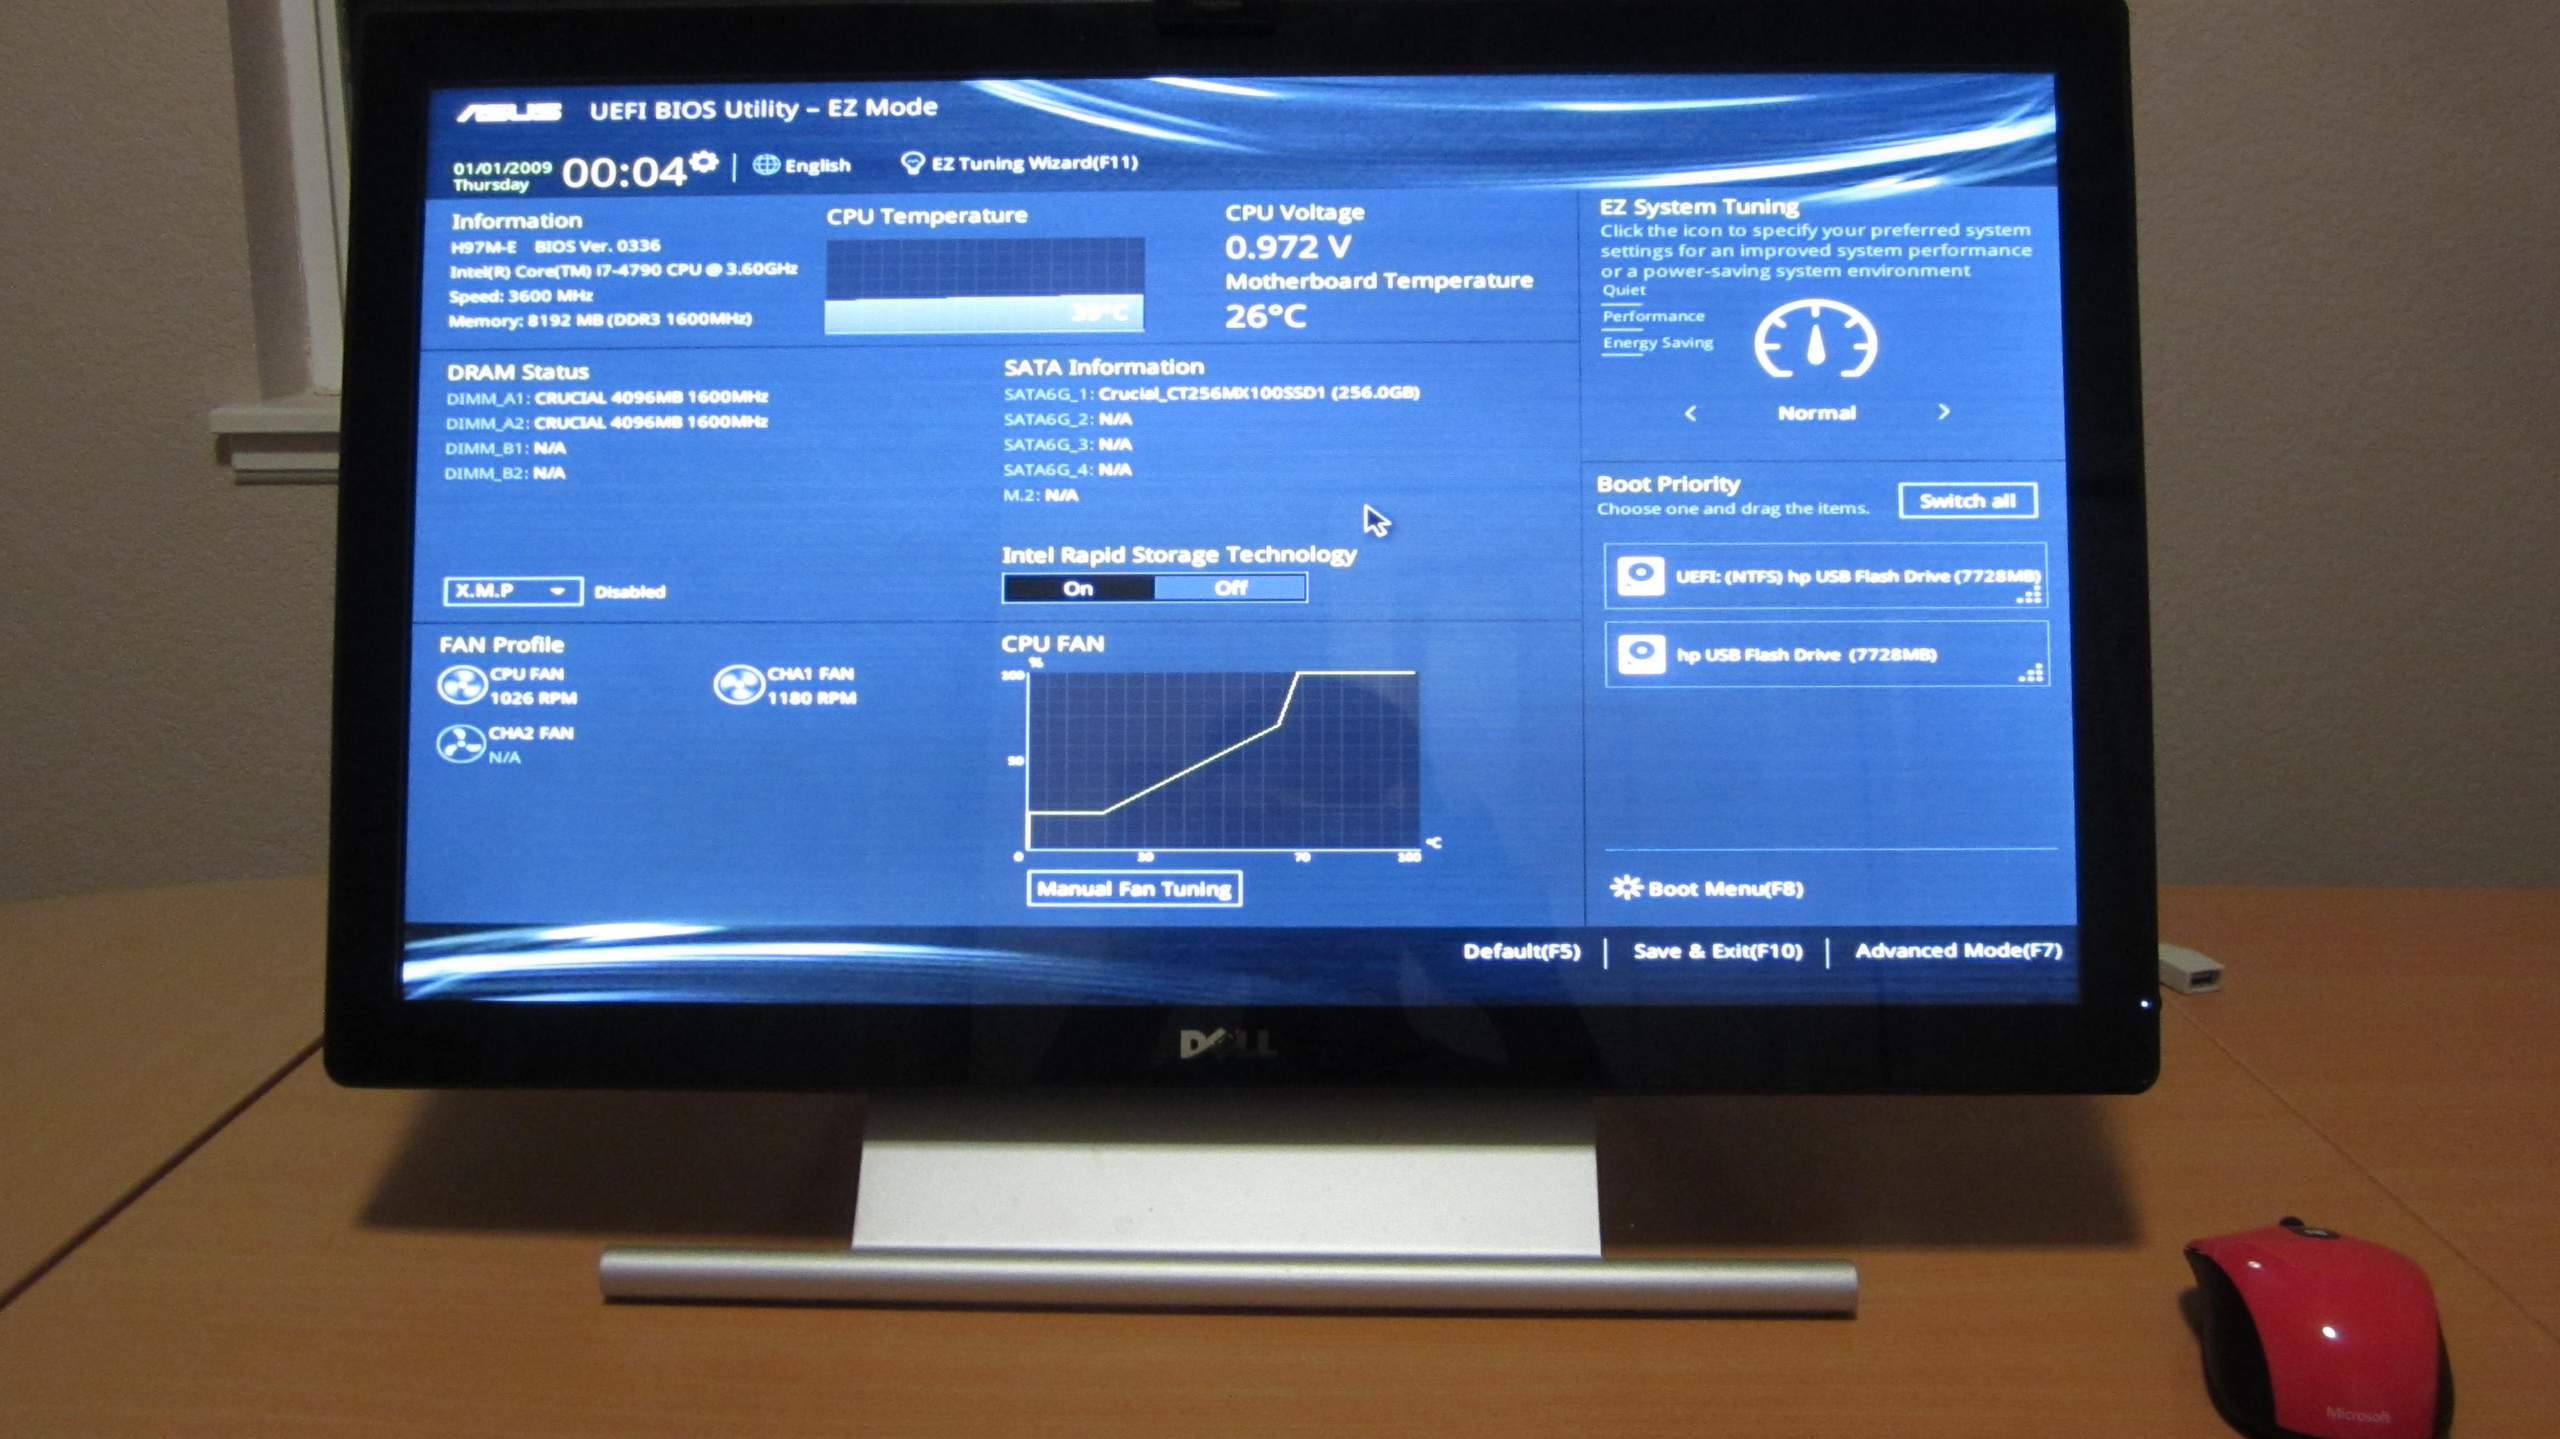
When I turned on the computer for the first time, I entered the BIOS and was greeted with this screen.
There were lots of cables, but I neatly zip-tied all of them out of the way and out of sight.