How to Transfer Your MP3 Library to Apple Music Without a Computer or USB Cable

This article is about how to get your MP3 collection into Apple Music/iCloud Music Library even if you do not have a physical PC or Mac to connect to your iPhone or iPad. This method uses a virtual PC and only first-party software, specifically iTunes with iTunes Match. It is NOT free but is an official method and not a hack.
I had heard the complaints about how difficult it is to transfer your MP3 files to Apple Music on an iOS device. These complaints started in the era of the iPod 20 years ago.
But I did not imagine that in 2022 I’d be spending three hours searching YouTube and the web for a way to get my music collection from OneDrive onto a new iPad Pro. There were plenty of click-bait articles, but they all fell into these camps:
- Connect the iPad to a computer with a USB cable, and transfer the music using iTunes. But I did not have another computer. My iPad Pro replaced a broken laptop.
- Transfer music to the iPad using third-party software. But the software still required having a computer and USB cable!
- Copy music onto the iPad’s local storage or a linked cloud service. Play the MP3s using a third-party app since the Apple Music app cannot play them. The only offline files Apple Music can play are those stored in your iCloud Music Library.
I seriously considered doing Method 3 above. Maybe I will one day, but I wanted to figure out the first-party solution first. (Update January 2024: After getting an iPhone 14 Pro, I did do Method 3 above. See this post for how.)
The stock Apple Music app is full-featured and beautifully designed. But again, the only offline files Apple Music can play are those stored in (and then downloaded from) your iCloud Music Library. If only it were possible to transfer MP3s into the iCloud Music Library without a computer and USB cable.
As it turns out, there is a way.
Solution: Use iTunes + iTunes Match on a Windows Virtual Machine
You will need the following three things for this method to work. No USB cable is needed.
- A virtual machine (VM) running Windows. A virtual machine is a computer running on the cloud. You can create one on Microsoft Azure. It’s quick to do so—once you know the steps—and very affordable. For this task, the VM doesn’t need to have more than 4 GB of RAM (1 GB might even work) or even a solid-state drive (SSD). It would not cost more than 10 cents/hour for the VM, disk space, and bandwidth. You can even sign up for a free trial! You can delete the VM after completing the music transfer.
- Microsoft Remote Desktop on your iPad. Install this from the App Store.
- iTunes. Install this from the Windows Store on the VM.
- A subscription to iTunes Match. You can subscribe to this after launching iTunes. There’s a link in iTunes to it. It costs $25, and the subscription is valid for a year. You can cancel the subscription before the year is up, and the music you already downloaded from the iCloud Music will still be playable with Apple Music on your iPhone or iPad.
(Caveat to #4: A month after you unsubscribe from iTunes Match, you won’t be able to download songs that weren’t originally purchased from iTunes from iCloud anymore. So if you get a new iPhone or iPad, you will either need to subscribe to iTunes Match again to get all your music onto the new device, or use methods that require a USB cable to transfer/copy songs from your old Apple device to your new one.)
Twenty-five dollars might sound a little steep, but consider:
- A subscription to a music streaming service like Spotify is $10/month.
- Ad-free offline music players in the App Store are $10-20. They are much worse than the Apple Music app.
- iTunes Match scans your music and places a match from Apple’s iTunes catalog into your iCloud Music Library. Your songs are upgraded to DRM-free 256 Kbps AAC files automatically. I.e., the songs played in Apple Music will likely be better quality than your originals, especially if you were like me and ripped songs from purchased compact discs at only 128 Kbps.
The procedure for transferring songs to the iCloud Music Library is as follows:
- Log into the VM from your iPad using Remote Desktop.
- Copy (download) all the MP3s in your existing music library to a folder on the VM. I recommend c:/users/your-username/Music, which should already exist. In my case, all my music was in OneDrive, so all I had to do was download it from onedrive.com using Microsoft Edge on the VM.
- Install and launch iTunes on the VM.
- Subscribe to iTunes Match by following Apple’s instructions.
- After you subscribe, iTunes will automatically scan your VM for matches. It can take some time to upload all your music to the iCloud Music Library. For my collection of 1000 songs, it took several hours.
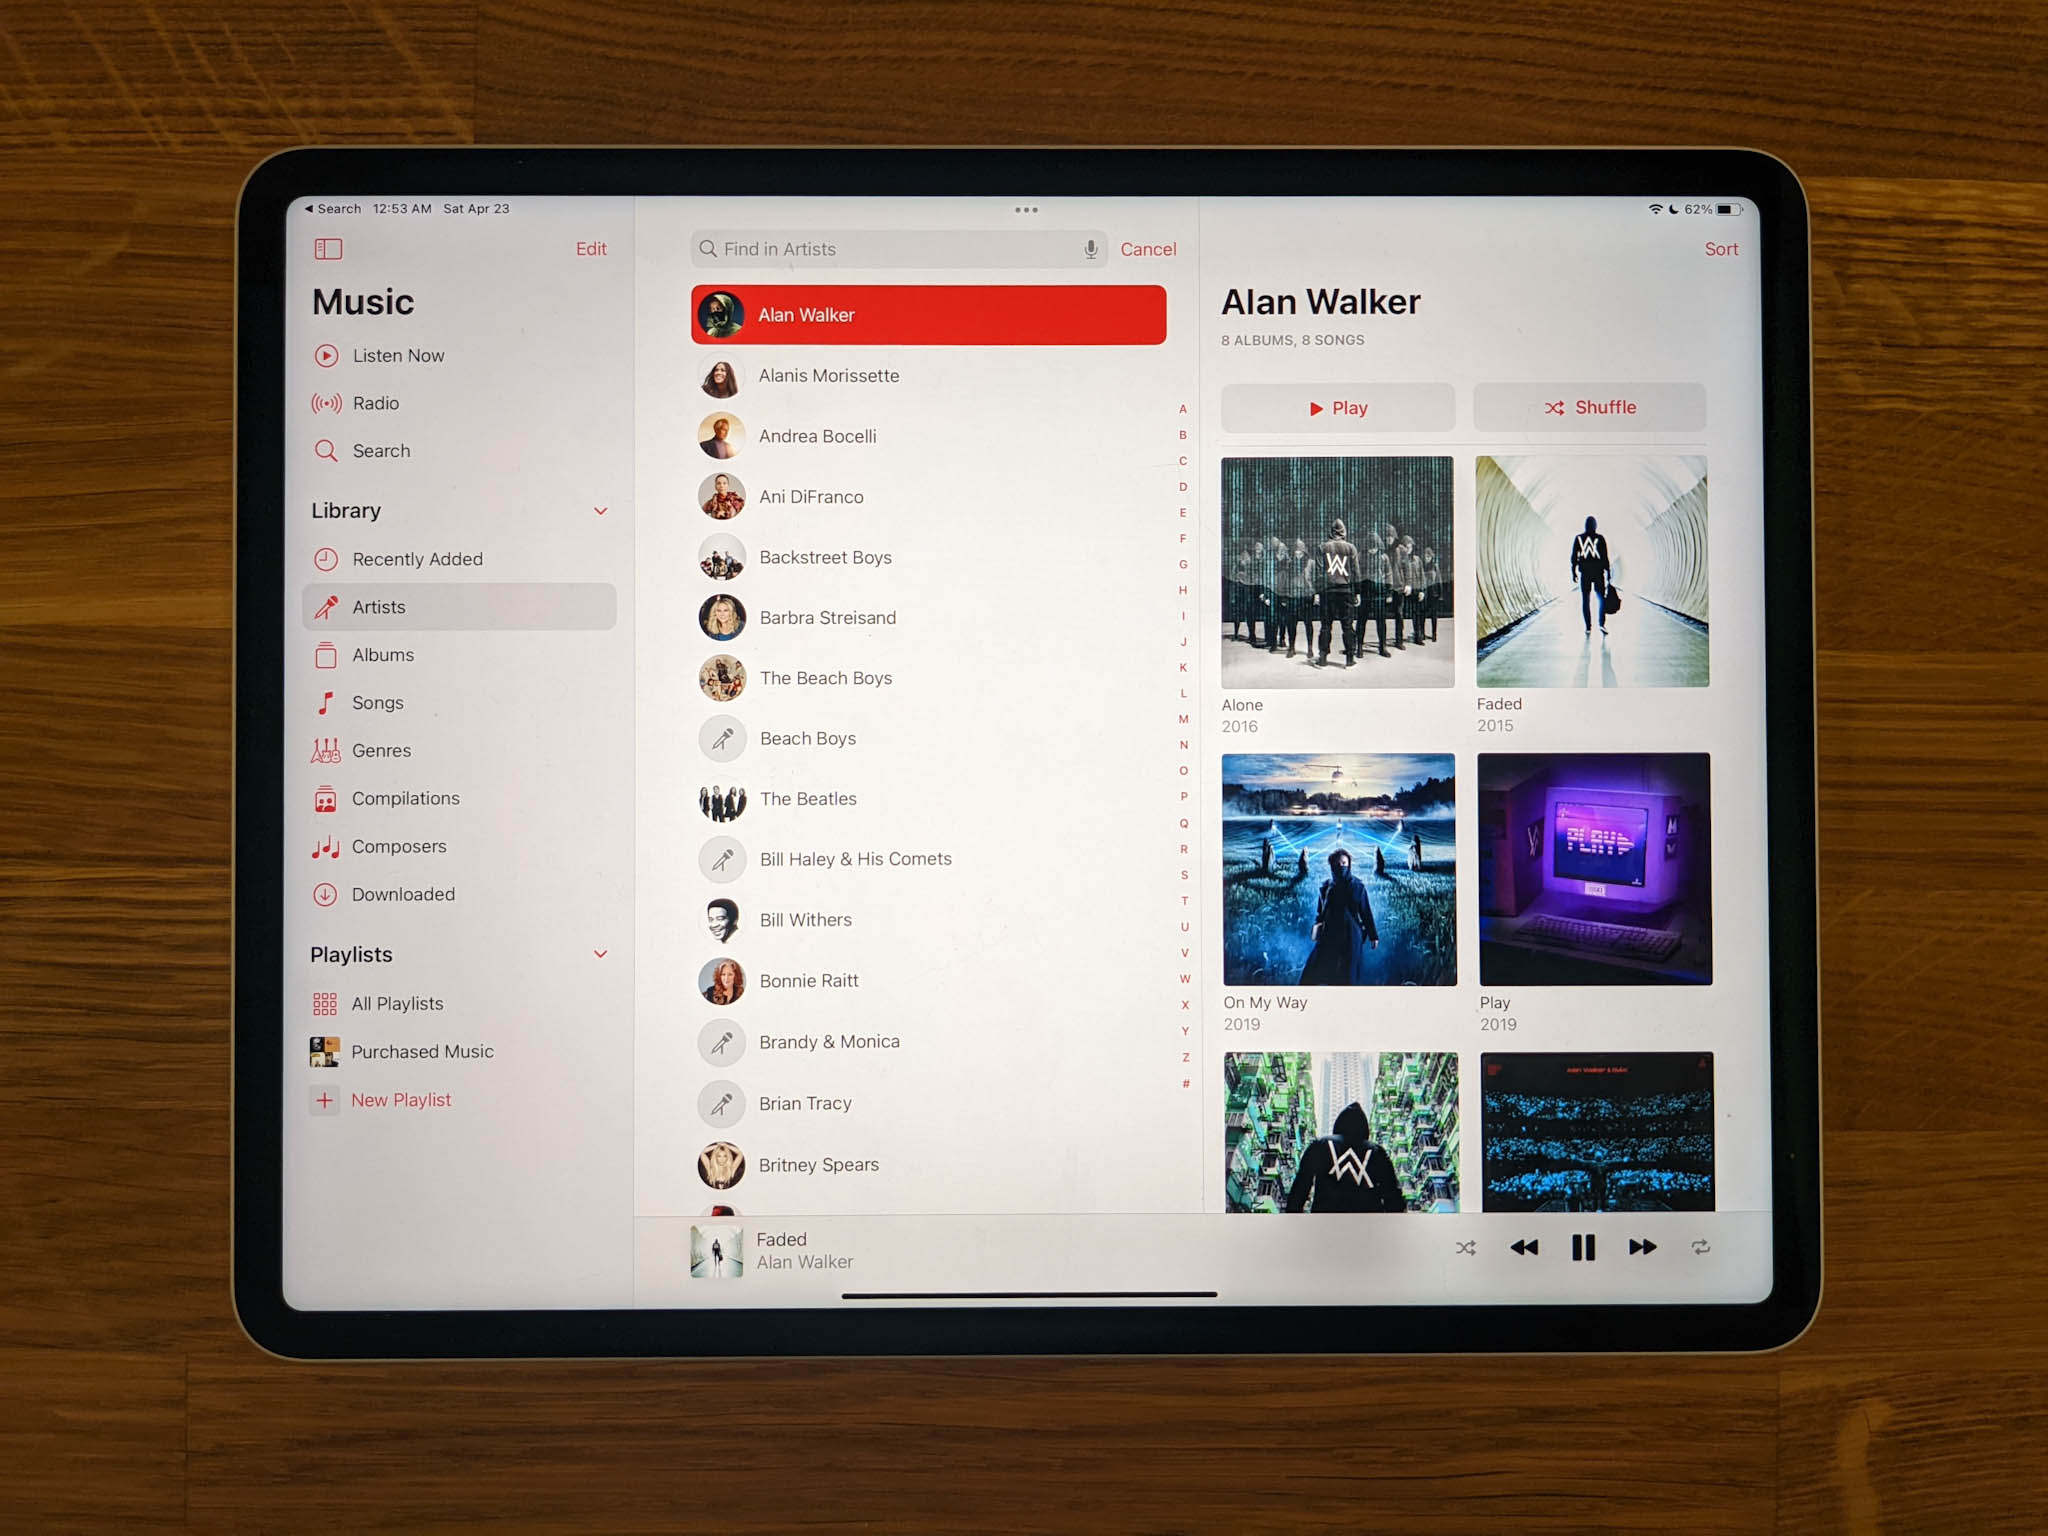
I had iTunes do the music matching overnight. When I got up in the morning, all my music was in the Apple Music app on the iPad Pro. Success!