Bicycle Map Holders

For most organized bike rides, a map is provided. This map is often handy, if not essential, for making sure you stay on course. However, it is inconvenient to be checking it often if it remains in your bicycle jersey all the time.
The solution is to have your map located where you can readily see it: on your handlebars. I have seen several riders do this in my 9 years of riding, but never could find a suitable map holder. Finally, after several episodes this year of losing maps (lost 2 during the 2002 World’s Toughest Century) or losing time while pulling the map out of my jersey pocket, I decided to make my own. It only took about 10 minutes, and it worked fabulously. Here’s how I made it.
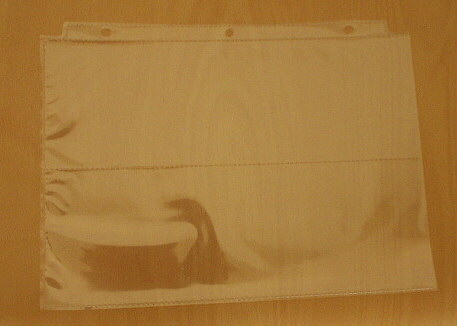
I took a clear photo album sheet that had two “halves” (pockets) for 4″X11″ panoramic photos. I cut and discarded one of these halves, and trimmed down the other half to the size depicted below. Then I reinforced the top with clear packaging tape, cut a cutout for my cyclometer on my stem, and punched two holes with a hole puncher. These holes would be used to attach the mapholder to the handlebars via zip-ties. See the photos below.
It worked superbly in the 2002 Heartbreak Double, which was plagued with the worst winds of any ride I’ve ever done! Despite 40+ mph winds, it was not flapping around at all. It is so thin, yet stiff, that it sliced through the air.

One comment:
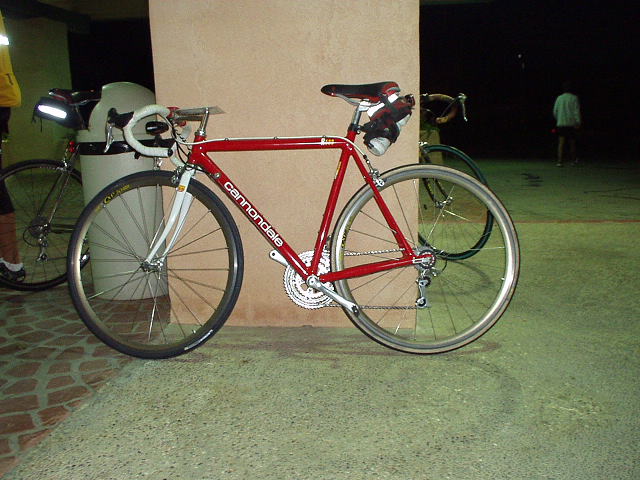
I have a bicycle touring company which supplies our customers with cue sheets (ride instructions). Since our instructions are based almost entirely upon mileage furnished by a bicycle computer, this causes us a problem because the computer gets in the way of mounting the map holder directly to the handlebars. I have not seen a map holder that mounts satisfactorily to the handlebars with any form of rigidity (Resist wind and still not be too heavy or cumbersome). It sounds like your idea might work, what do you think? Any ideas would be greatly appreciated. Thanks, Larry P.S. We too, use Canondale Bikes.