Back on the Road & Running Great

It took me forever (well, four months), but I finally got Goldie the MG running again for the first time since the epic drive to Colorado from California in late July. This entailed obtaining and refreshing a new (used) smog-legal cylinder head, which turned out to be quite an ordeal. How much of an ordeal? Well, this is what happened:
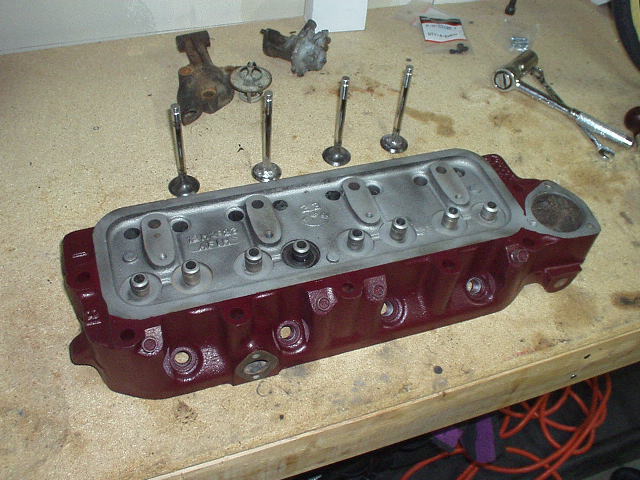
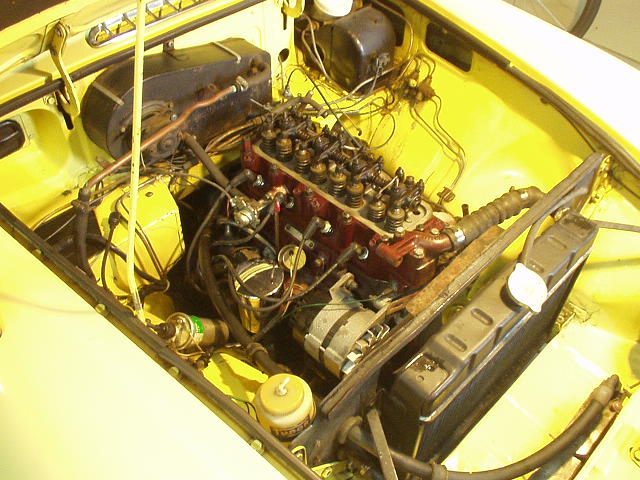
- Circa 2000, I had replaced Goldie’s cracked cast-iron cylinder head with an aluminum one. The Al one didn’t have air injection ports, but as cars older than 1974 (and now, I think more than 25 years old) are exempt from smog checks in CA, it was little concern to me to ditch the air injection manifold and smog pump.
- Colorado, however, has stricter smog laws than CA for older vehicles! To pass smog my MG would have to be spec’d as it was in 1969, air pump and all. So time to find the correct head.
- In August and September, I placed a wanted ad on Craigslist for a 1968-74 MGB cylinder head (it was the same during those years). An MG buff in Longmont replied, saying he had a couple. I went over to his place and bought one.
- As it turned out, the head was for a 1975-80 MGB. Fortunately, the seller was cool and let me return the head, although that meant going back down to Longmont and, of course, finding another head somewhere else.
- Within a week, I found a cylinder head from a 1970 MGB at Martin Supply in Windsor!
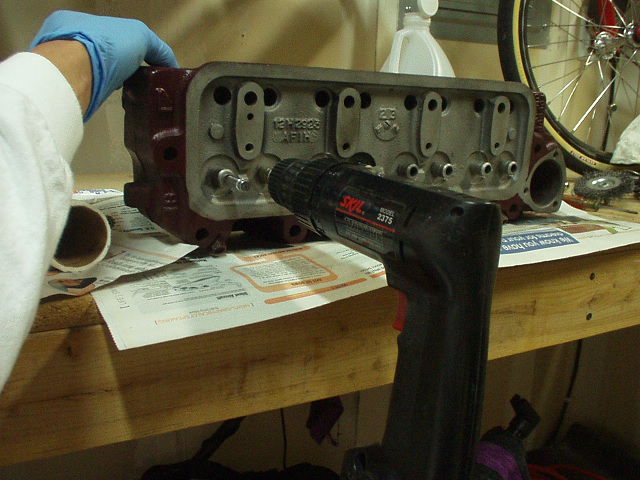
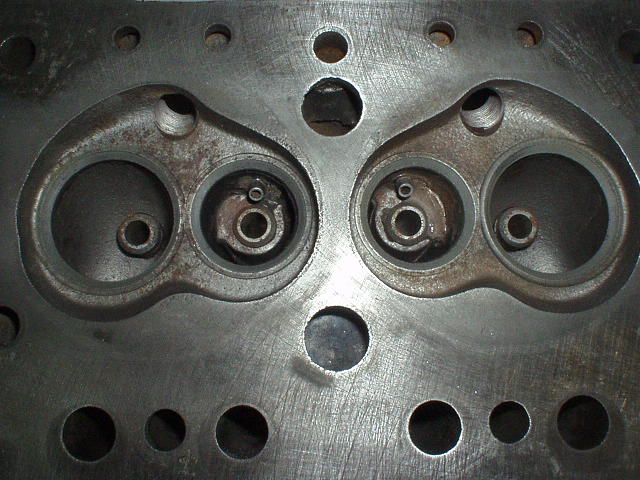
- Then I dropped it off at a local machine shop in Fort Collins for a hot-tanking and inspection for cracks. No cracks were found which was the good news. The bad news was the machine shop’s estimate for rebuilding the head seemed excessive (like over $500, and I’d have to procure new valves and springs for them since “we don’t use old valves”). I declined and just took the head back, thinking “well then, I think I’ll just rebuild it myself!”
- A three-week October visit to California meant more delays…
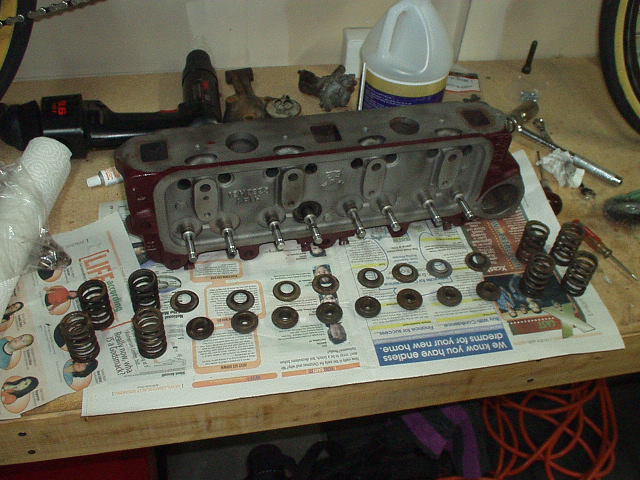
- In November I pick up a $15 valve spring compressor from Sears and procure some valve seals from the local Car Quest auto shop.
- After much procrastination I cleaned up/ground down the valves with a wire wheel and Dremel rotary tool.
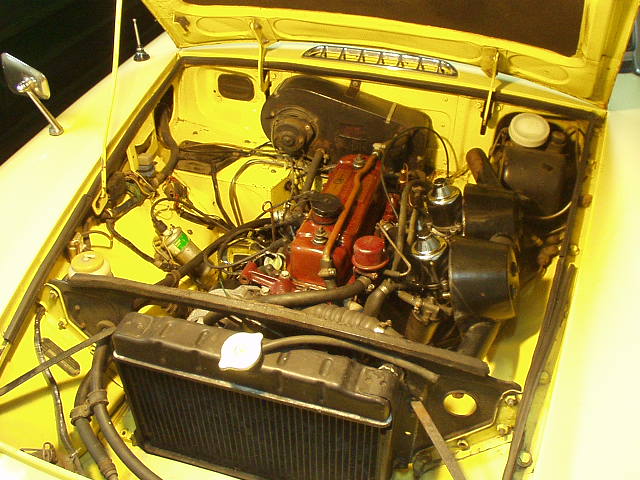
- Then I degreased and masked off the head, and sprayed it with the correct shade of MGB engine red, which I had procured from Moss Motors several years ago.
- I was about to reassemble the head when—it appeared to me—the valve seals I had obtained were way too small!
- I mail-ordered some new seals. As it turned out, the seals I had previously obtained were correct and just required some major stretching to fit on the valves. It also turned out that I had ANOTHER set of valve seals in a gasket kit I had, but I did not know that until later.
- After lapping the valves in the valve seats, I reassembled the head with the Sears Craftsman valve spring compressor.
- Reinstalling the head on the car entailed torquing the head down in proper sequence, installing the rocker assembly, adjusting the valve clearances, making (and installing) some circular gasket seals for the tappet covers since near their bolt holes there were tiny oil leaks, attaching the intake and exhaust manifolds, carburetors, air cleaners, etc. All of this took maybe eight hours over two days.
Finally, it was time to fire her up. It took some cranking, but success! At 9:00 p.m. on 11/16/06, we were back on the road. In subsequent days I still had to adjust the dwell angle of those dreaded distributor points which seem to need adjustment every 2500 miles, but after that, she was running particularly well.
I actually still need to attach the air pump and air injection manifold and get the smog test done, but the end is now in sight at least. I have a month to do so before my CA registration expires, but will try not to wait that long this time…


One comment:
Just completed the same task on my MGB, but I have lost the tappet somewhere down in the camshalf. one push rod did not sit properly. The only hope is removing the access plates on the manifold side of the engine, another day.
Like the head colour, whats it called?