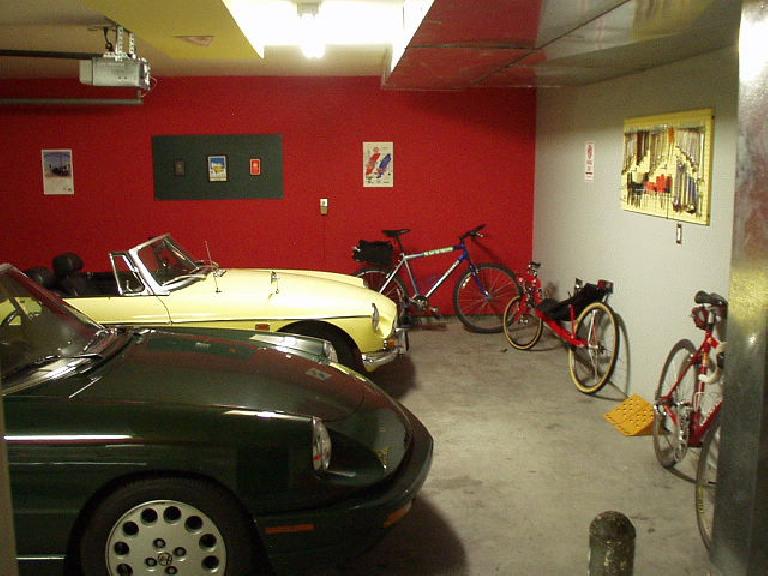
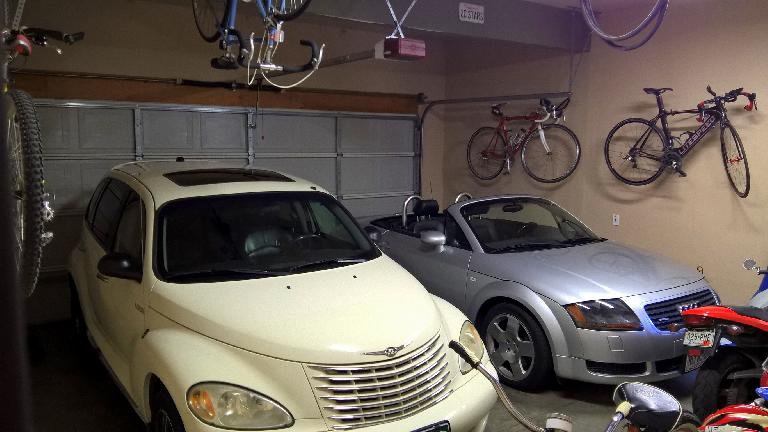
Garage Mahal 2
I’ve passed more time in the garage in the last couple of weeks than most people do in their bedrooms, but with good reason. The Garage Mahal has been resurrected! Well, if not in original form, than in spirit. Introducing the Garage Mahal 2.
When I moved into my new home two years ago, the garage was finished aside from a bunch of drywall seams needing to be taped, something that could be rectified in, oh, two hours. Or, at least, that is what my naive mind thought at the time. Needless to say, everything seems a whole lot easier in my mind than in actuality, and even my empirically proven formula of “take your best estimate and multiply by pi” for determining how much work would be required was way off.
This is ultimately what I did:
- Removed cheap shelving held up by ugly angle brackets. They simply did not meet my aesthetic requirements for a shrine for my vehicles.
- Replaced two 4′ X 8′ pieces of pegboard on one of the side walls with drywall. Initially I had outsourced this to a guy for $11/hr, but he only got partway done. Then, while helping his friend remove a car’s transmission, he broke his wrist! So I ended up finishing this up myself along with all the following tasks.
- Routed a yellow wire (that powered an electrical outlet on another wall) within the ceiling. Initially, this wire was exposed. Routing it through the ceiling required cutting away some drywall and drilling 3/4″ holes through ceiling joists. Then, the drywall I removed had to be replaced.
- Taped all of the drywall seams in the garage. You’d think that all one would have to do is slap some drywall compound in the seams, press drywall tape over the compound, apply a little more compound over the tape, and smooth it all out a couple of times with a trowel, right? If so, you’d be correct—except that this takes ten times more time and effort than you’d imagine. Or at least ten times more than what I imagined.
- Sanded all of the drywall seams with a drywall sponge. Not only did this take days, but my deltoids and latissimus dorsi became sorer than if I had worked out on a Nautilus machine for an hour.
- Applied one coat of primer and two coats of topcoat on all of the walls AND the ceiling. This amounted to almost 1100 square feet of wall space. I was handling paint rollers and brushes for more than an entire weekend.
- Cut, painted, framed and mounted a 3′ X 3′ piece of pegboard to the front wall for tools. Hung tools on them.
- Relocated a cabinet from a side wall to the front wall. This is now my shoe cabinet.
All in all, I’d say I spent at least 50 hours on this project—or about three times more time than the original Garage Mahal (which required no drywall work and already was covered with primer when I began work on it). I should have learned from my landscaping project and outsourced the bulk of the work to some college kids.
Anyhow, below are some photos showing the fruit of my labor. Actually, the garage is not entirely done, as I still need to hang artwork. But, that is easy (ha!) At least everything is clean and organized now.
![[Intermediate stage] The left wall with drywall instead of pegboard.](https://felixwong.com/gallery/thumbs/g/garage07-4.jpg)
![[After] The view of the garage from inside the house. I still need to hang artwork.](https://felixwong.com/gallery/thumbs/g/garage07-10.jpg)
![[Before] While the garage at least was 95% drywalled, most drywall seams were untaped. Also note ugly shelving.](https://felixwong.com/gallery/thumbs/g/garage07.jpg)
![[After] All my vehicles back in the garage.](https://felixwong.com/gallery/thumbs/g/garage07-9.jpg)
If you are wondering about how I chose the new colors, I simply matched the colors of the interior and exterior walls of the house. The grey matches the exterior trim of the house. The garage, then, ties in nicely with the color scheme of the rest of my home.
While that should make resale of the house easier, an unfortunately result is that the Garage Mahal 2 looks a little less inspired than the original Garage Mahal, yes?

Ah, well. After I hang some artwork and automotive memorabilia, the new garage should approach the original in terms of sheer inspiration.
In the meantime, I’m looking forward to spending more time in the human quarters than the cars’, like a normal person!
![[Before] The garage had these pieces of ugly pegboard in place of drywall. Note untaped drywall seams.](https://felixwong.com/gallery/thumbs/g/garage07-1.jpg)
![[Before] This yellow wire provided power to an outlet on a side wall, but was left exposed! I ran it through the ceiling.](https://felixwong.com/gallery/thumbs/g/garage07-2.jpg)
![[Before] More ugly shelving and untaped drywall seams.](https://felixwong.com/gallery/thumbs/g/garage07-3.jpg)
![[Intermediate stage] The garage with all drywall seams taped and ready for painting. It took A LOT of work to get to the stage.](https://felixwong.com/gallery/thumbs/g/garage07-5.jpg)
![[Intermediate stage] Almost done applying white primer to every wall and ceiling surface.](https://felixwong.com/gallery/thumbs/g/garage07-6.jpg)
![[Intermediate stage] The garage all primed and ready for topcoats.](https://felixwong.com/gallery/thumbs/g/garage07-7.jpg)
![[After] The walls have been painted! I was even able to bring Goldie back in at this point (she was relegated to the street while the garage was primed).](https://felixwong.com/gallery/thumbs/g/garage07-8.jpg)
![[After] The front of the garage with pegboard, tools, and relocated cabinet. Note that the recumbent now has a space all to herself -- under the workbench!](https://felixwong.com/gallery/thumbs/g/garage07-11.jpg)

![[After] The view of the garage from inside the house. I still need to hang artwork.](https://felixwong.com/gallery/images/g/garage07-10.jpg)