How to Replace Clutch Cable for Buell Blast
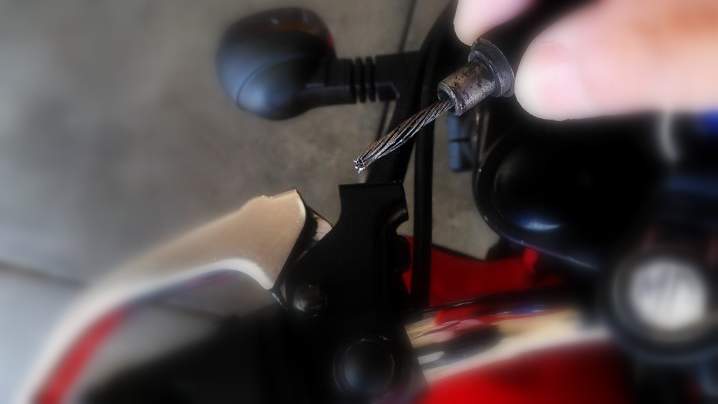
It was a beautiful November day, perfect for motorcycling. Having an excuse in hand—it was fetching groceries or going to an appointment; I don’t remember which—I donned my motorcycle jacket, helmet, gloves, and hopped on the Buell. I then grabbed a fistful of the clutch lever and—crap! The clutch cable snapped at its end at the lever. While I was thankful that this happened in the garage before I even started the bike, this meant a ride on the Buell would have to wait another day. The Audi would get the transportation duties for the next few months.
Part of the long delay was due to 1) procrastination on fixing the bike due to slight intimidation of never having done it before, 2) time it would take to research and order the correct parts, and 3) breaking the replacement clutch cable due to overzealous assembly. By writing this article, I hope to help other Buell Blast owners faced with this task avoid these three issues.
First off, I highly recommend having a motorcycle jack to do this job. It may be possible to do it without it, but I haven’t thought it through and thus it is beyond the scope of this article to do the job without it.
If you plan on replacing the transmission oil (might as well since you will be going through quite a bit of work to remove the transmission cover), it is mandatory to jack up the rear of the bike. Otherwise, it will be hard to refill the transmission with one quart of oil without it spilling out of the transmission fill hole. So again I’d suggest investing in a motorcycle jack (I use Harbor Freight #65620 which costs $35), borrowing one or else having a motorcycle shop do this job for you.
You will also need a “wiggler” (e.g., Harbor Freight #67986) to help you remove the left footpeg. Even with this tool to attach to a ratchet, the loosening the nuts for the footpeg is difficult. Without it, it is next to impossible.
You will also need some sort of oil drain pan to catch the oil you will need to drain from the transmission.
Below are the basic parts needed for replacing the clutch cable:
- Cable: Bikers Choice TR-060332 available from Amazon for $37
- Clutch cable o-ring: Harley #11179. I found this off eBay for $6.
- 1 quart 20W-50 for replacing the oil in the transmission.
- Optional: As you are going to have the bike apart you might as well change the oil and filter. I use Mobil 1 10W-40 Racing synthetic oil and Bosch 3311 filter, available from Autozone for $10/qt. and $7, respectively.
Basic procedure:
- Jack up rear of motorcycle.
- Remove the seat and, optionally, the battery. This will give you more room to remove those hard-to-access nuts for the left foot peg.
- Remove the three hard-to-access nuts with the “wiggler”. Allocate 20-30 minutes of your time for this.
- Remove the exhaust: Remove the nuts at the exhaust flange at the engine, and then undo four or so screws/nuts near the bottom of the exhaust. It is obvious which bolts/nuts hold the exhaust on. You will likely need a flashlight and socket extensions for this. Allocate another 30-45 minutes for this job.
- Remove the drainplug for the transmission (it is a few inches away from the primary chain adjustment screw) and drain the oil from the tranny.
- Remove the side transmission cover by unscrewing two screws.
- Unbolt the clips securing the clutch cable housing to the motorcycle. I think there are two or three places.
- Unscrew the cable housing from the front of the transmission. Note that there will be an o-ring sealing this junction that you should replace.
- You should be able to remove the cable housing completely now. By unscrewing a screw on the clutch assembly inside the transmission, you should be able to remove the assembly and then the clutch cable.
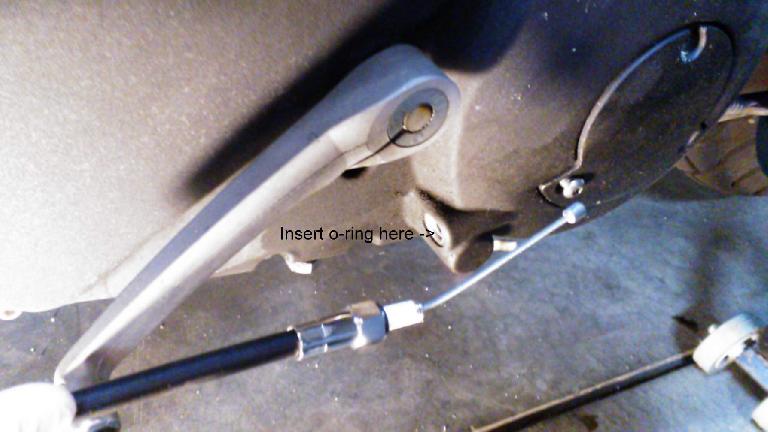
- Connect the new cable to the clutch lever, and feed the other end into the hole on the front of the transmission. Remember to install the new o-ring into the hole first.

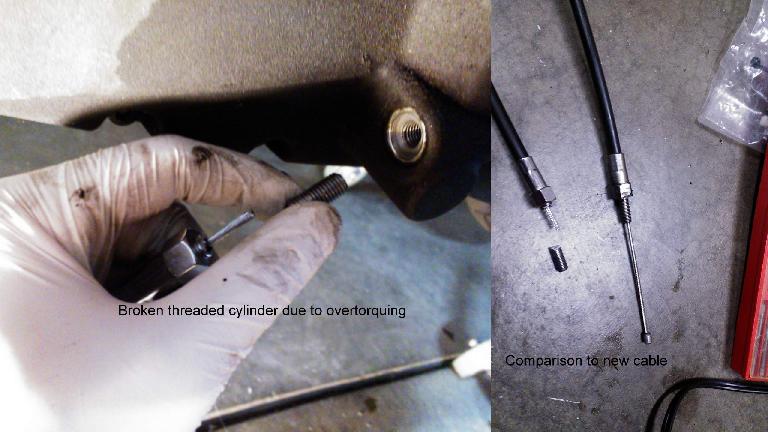
The clutch cable screws into the transmission cover housing. Don't forget to insert the clutch cable o-ring. - Using your fingers only, tighten the threaded cylindrical end of the cable housing into the hole. Do the final tightening with a wrench, but only apply torque on the wrench very close to the neck of the wrench so that you do not over-torque it. IMPORTANT: Do not overtighten. This threaded cylinder is very fragile and you can easily shear it by overtightening. I did, as shown below.

What happens when you over-torque the threaded cylinder into the transmission cover housing. - Insert the cable end into the clutch assembly and reattach the clutch assembly in the transmission.
- Secure the clutch cable to the bike with the clips/screws you removed earlier.
- Fill the transmission box with one quart of 20W/50. The oil should just touch the bottom of the teeth in the box.
- Adjust the clutch cable tension so that there is 1/16″ of play in the clutch lever before the clutch cable has tension on it.
- Install the transmission side cover.
- If you are going to change the engine oil and filter, do it now before reinstalling the exhaust.
- Install the exhaust.
- Reattach the left side peg.
- Reinstall the battery (if removed) and seat.
Total time for me to do all this was about three hours. It was quite involved as you can guess from all the steps above. It is much more difficult than, say, replacing a shifter cable on a bicycle.
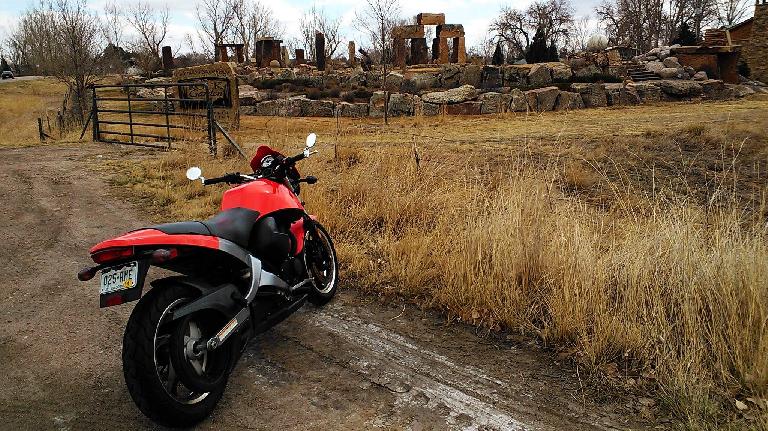
Of course, the effort was worth it once I was able to get back on the road for the first time in several months. Just in time for springtime, too.

Good luck and if any steps above are unclear or you are confused, feel free to leave a comment below.

One comment:
Glad to see someone still rocking a Blast! I always thought they were cool bikes, nice and simple. The essence of motorcycling.
I sold my Buell Ulysses in Sept to fund a major home remodel. The motorcycle shaped hole in my garage will probably be filled by a Blast. Gotta love thumpers!
Keep the rubber side down!
red
self sufficient slackers