Piano Refreshening
What do vintage sports cars and pre-Great Depression-era pianos have in common?
The answer: more than you think. And since I had gotten Goldie the MG on the road last week, I decided that for Thanksgiving, it was time to tackle the 1924 Chicago Cable Co. piano.
The first order of business was to give the venerable instrument a thorough tune-up. Tuning a piano is easier than you think, though it also took much longer than I thought (over 3 hours for my inexperienced hands). Yet, tightening each of the the 200 or so strings seemed eerily similar to adjusting the MG’s valves, albeit with different tools.
For example, instead of handling feeler gauges, a spanner, and screwdriver, I used a piano tuning hammer, and two rubber mutes. Even with the precise electronic tuner, however, a good ear for pitch is mandatory in piano tuning, just as a mechanic’s sense of feel is necessary when adjusting valve gaps with a feeler gauge.
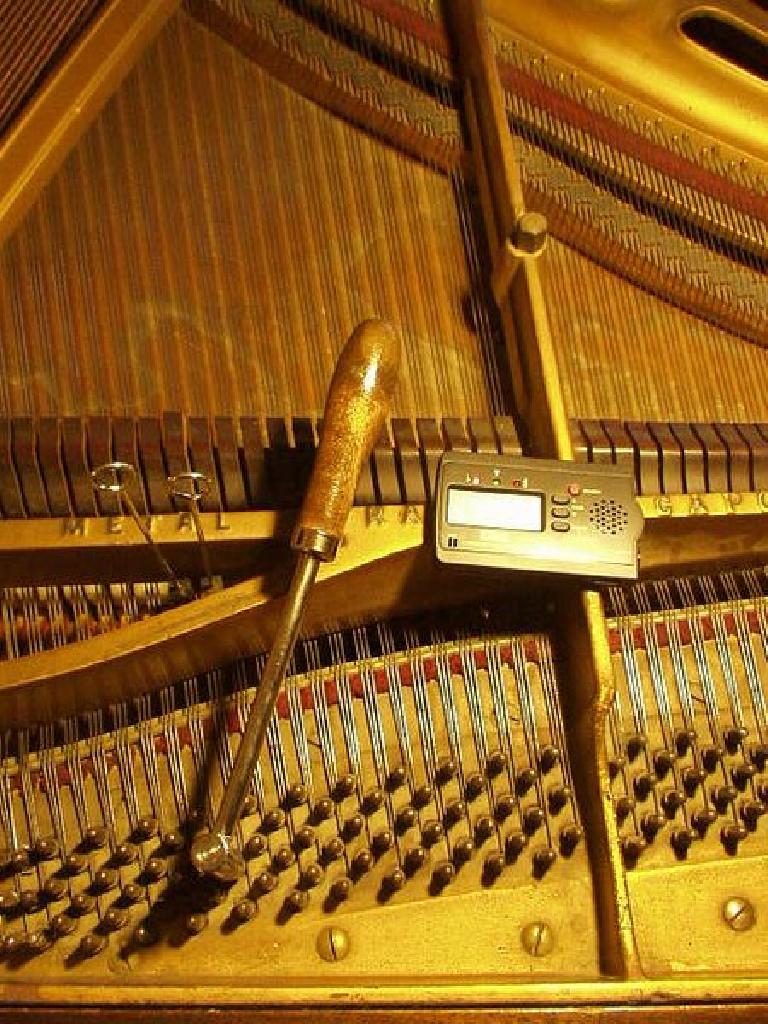
For the lowest and highest octaves, possessing perfect pitch is especially useful, since the $13 electronic tuning device—while great for the middle octaves—wasn’t particularly so. Sometimes the CA-30 could not “hear” the note, and sometimes when it did, it displayed an erratic reading. Supposedly, the electronic tuners are only tuned 100% precisely for middle C (440 hz) and start getting more and more inaccurate the farther down the keyboard you get.
Alas, not being blessed with a Mozartan sense of pitch, my handiwork at the far ends of the scales was less than impressive. Especially since I broke a string! (B natural of the second-to-the-last-octave.) No worries though: I hardly have to use the keys in the extreme octaves anyhow; with my newfound tuning skills I can “touch up” individual notes at will; and I imagine that replacing the broken string is no more difficult than replacing distributor points!
After I had tuned the piano such that merry melodies no longer were turned melancholy by being half-a-key flat, I was amply inspired to do some interior cleaning and restore part of the venerable machine’s exterior.
Much like for a car, Step 1 of cleaning the innards of a piano entail busting out the shop vac. With the brush attachment plopped onto the end of the air-sucking wand, decades of dust and dirt were resigned to the black hole known as the vacuum canister.
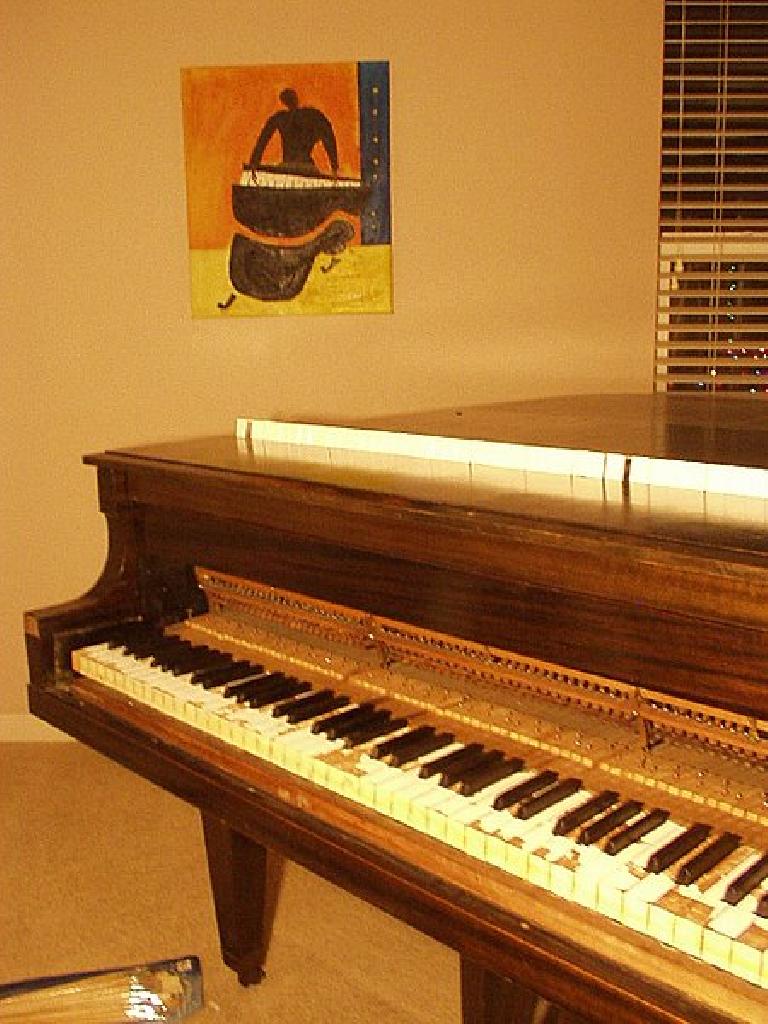
The shop vac was also most useful for cleaning up debris from the next task: removing the chipped, faded, or cracked keytops (which were all of them). Considering that the piano was built almost half-a-century before Benjamin Braddock was given the sagacious advice of “plastics” in The Graduate, it should be no surprise that composite materials used in the 1920s were particularly weak and brittle. Unfortunately, this made peeling off the keytops with a razor blade and putty knife rather difficult, since instead of cleanly coming off, the keytops would shatter into smaller fragments like a window pummeled by a baseball. (It took removal of just one keytop to convince me that putting on safety glasses was a good idea.)
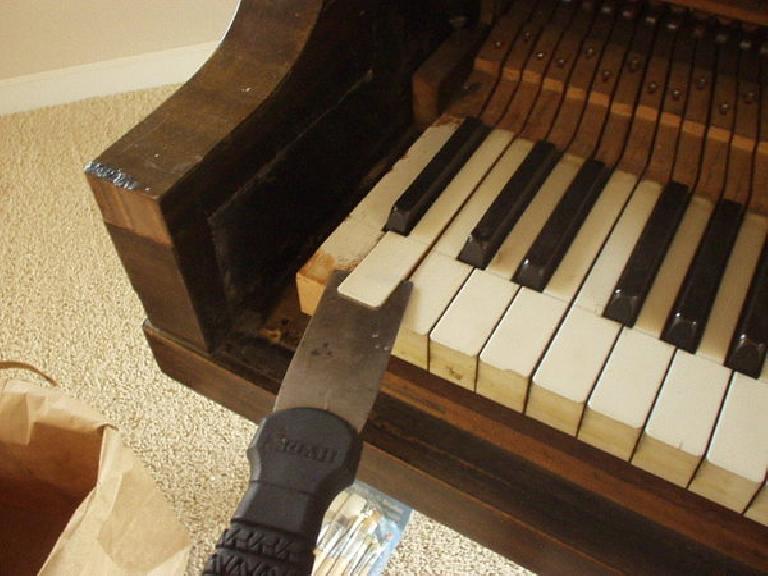
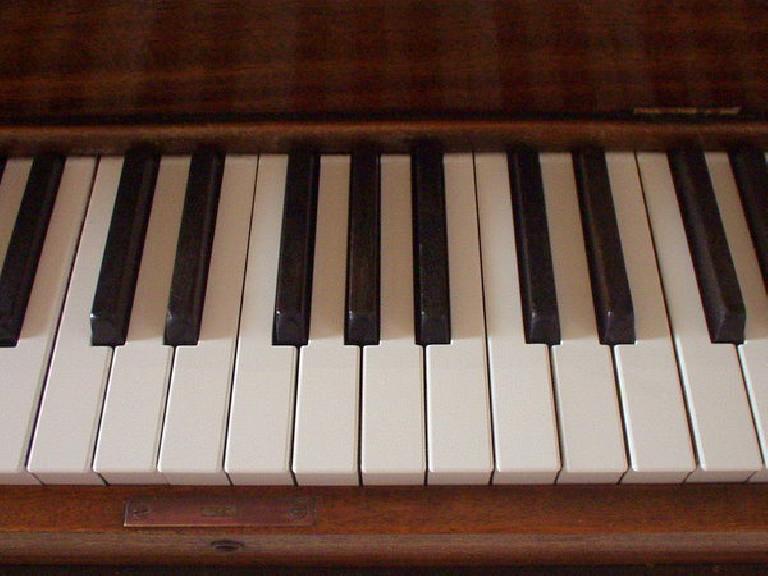
Persistence paid off, however, and in time the old keys were naked enough to put on new one-piece keytops that I had found on eBay for about $25. These keytops—including being whiter than Julia Roberts’ smile—were about double the thickness as the old ones and even smoother than a BMW inline-6.
Finally, after using a copious amount of contact cement, all of the piano’s new pearly whites were installed!
Here are some “before” pictures:
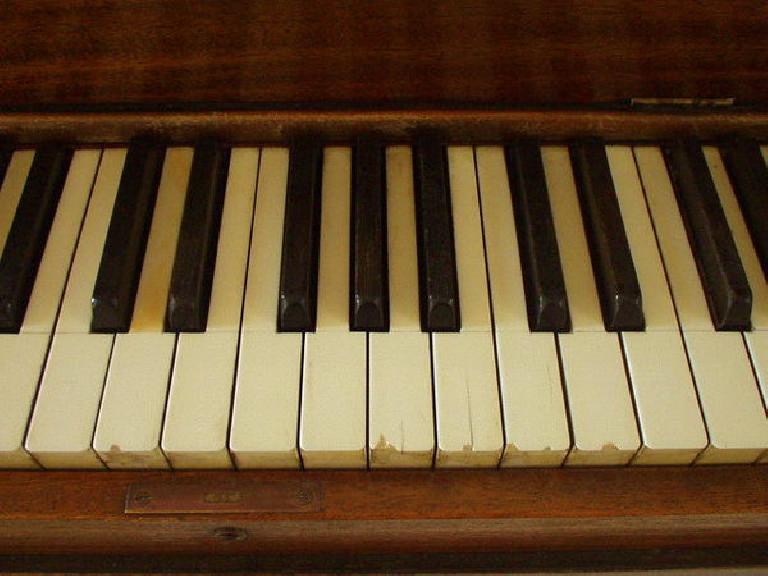
And “after”:
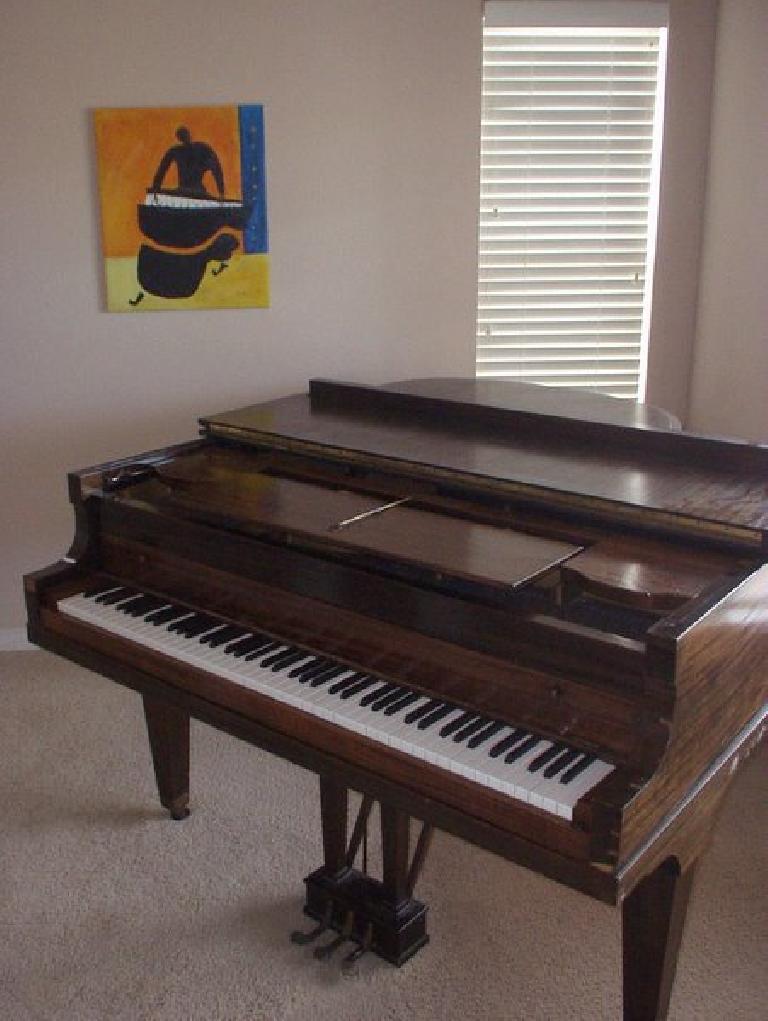
Looks much better, yes?
And so, within the span of a day, the piano now sounds as great as Goldie’s exhaust note and looks the part too. Now if only the restoration of a sports car could be quite as straightforward!
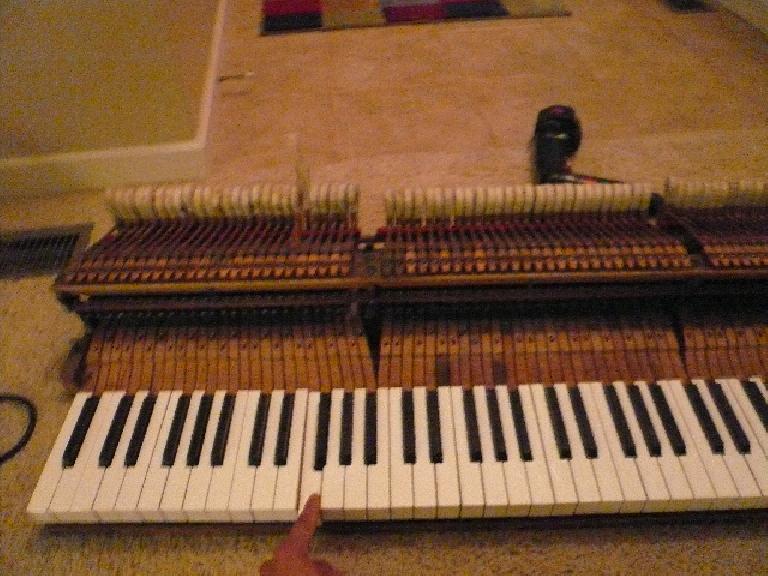
August 6, 2007 (Mon): Well, the piano needed just a little more work to play great. One problem that plagued the keyboard were two adjacent keys that would play “dead” half the time: the second-lowest-octave F and F#. Happily, I was able to fix this by removing the entire keyboard and making some adjustments (e.g., bending some wood-pieces-on-wire that I do not know the technical terms for). Now the offending F and F# play every time.
Thanks to John who during his January visit claimed that I should be able to slide out the entire keyboard assembly from the piano for servicing. He was right!
