Buell Blast Handlebar Swap
With its light weight, torquey motor and centralized mass, the Buell Blast is a fun and agile small-displacement sportbike. The stock handlebars, however, are several inches higher and rearward than a typical crotch rocket’s or streetfighter’s and puts the motorcyclist in an almost cruiser-like riding stance. A solution, then, for riders wanting a more aggressive position befitting the sporty nature of the bike is to swap out the handlebars.
Typical aftermarket options include clip-on, clubman, drag, and superbike bars. Clip-ons are the most adjustable but usually cost over $200. Clubman and drag bars will not allow locking on the Buell Blast because upon full rotation they will hit the gas tank before reaching the “locked” detent. For these reasons I defaulted to Bikemaster Superbike handlebars ($24) like many Blast owners.
It took me about two hours to install them. For other Blast owners considering the swap, below were the steps for removing the old handlebars:
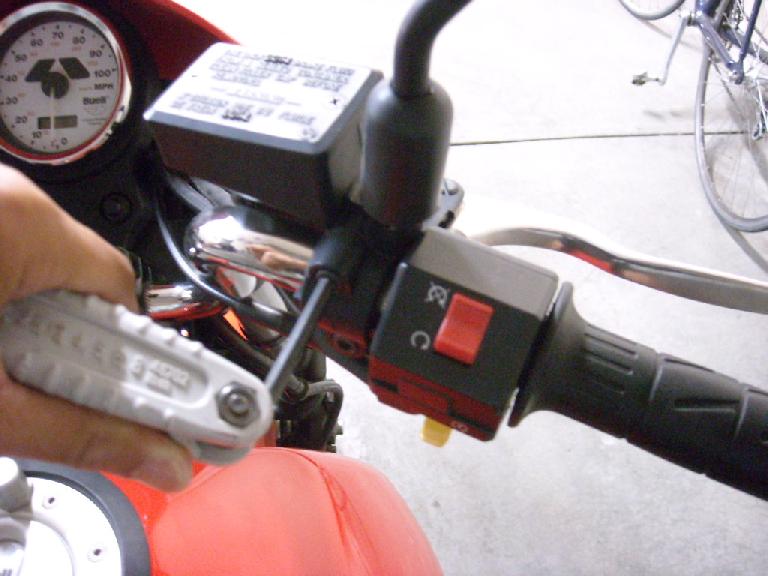
- Detach the assembly for the brake fluid reservoir, right mirror, and front brake lever from the old handlebars by unscrewing two metric screws.
- Detach the throttle assembly by unscrewing the two SAE screws.
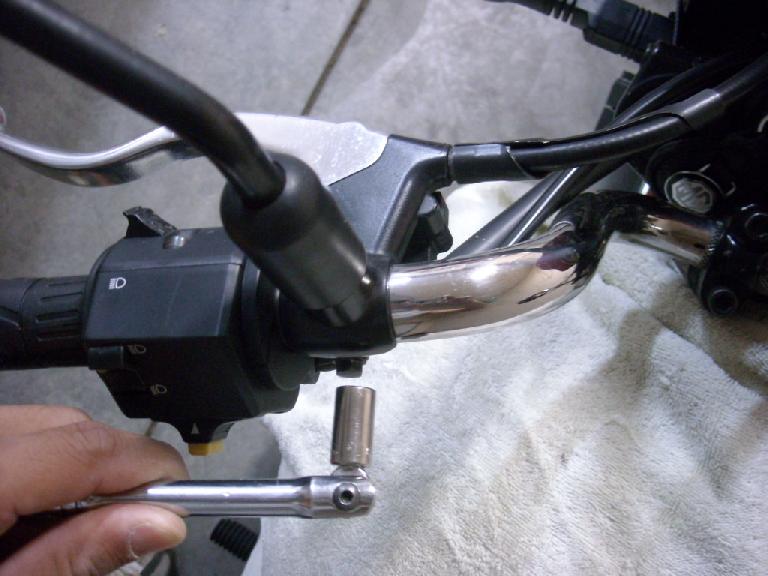
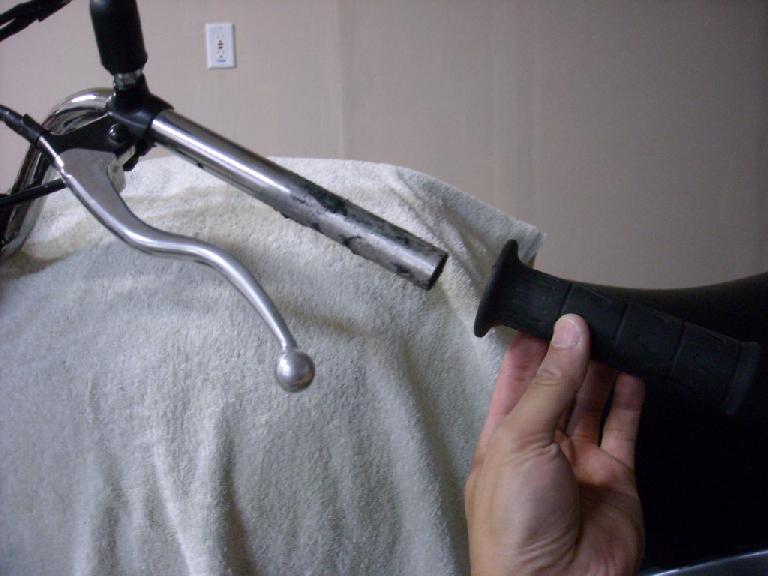
- Using a metric socket, loosen the screw clamping the assembly for the clutch lever and left mirror to the old handlebars. This assembly cannot be detached until the left handlebar grip is removed.
- Detach the assembly for the turn signals, horn and lights from the old handlebars by unscrewing two SAE screws.
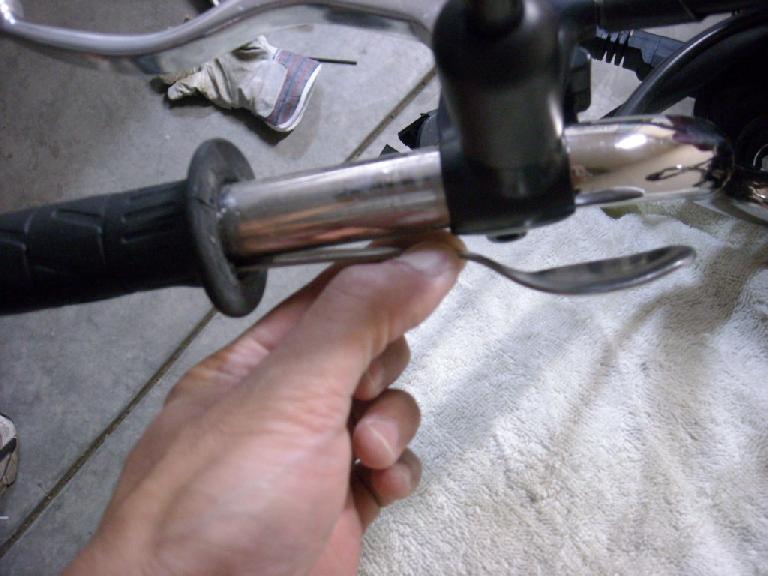
- Remove the left handlebar grip from the handlebars after breaking the adhesive bond between them. I did this by jamming a spoon handle and flat screwdriver between the grip and the handlebars, working the tools around the inner circumference of the grip from both the outside and inside ends. (Fortunately, this time-consuming step was not necessary for the right-hand grip, as that is bonded to the throttle body, not the handlebars.) Those who are going to install new grips anyhow could remove the old grip by cutting it off with a knife.
- Slide off the assembly for the turn signals, horn and lights, which was loosened in a previous step.
- Unscrew the four SAE screws at the middle clamps attaching the old handlebars.
Installation of the new handlebars was pretty much the reverse of disassembly, with the inclusion of steps below:
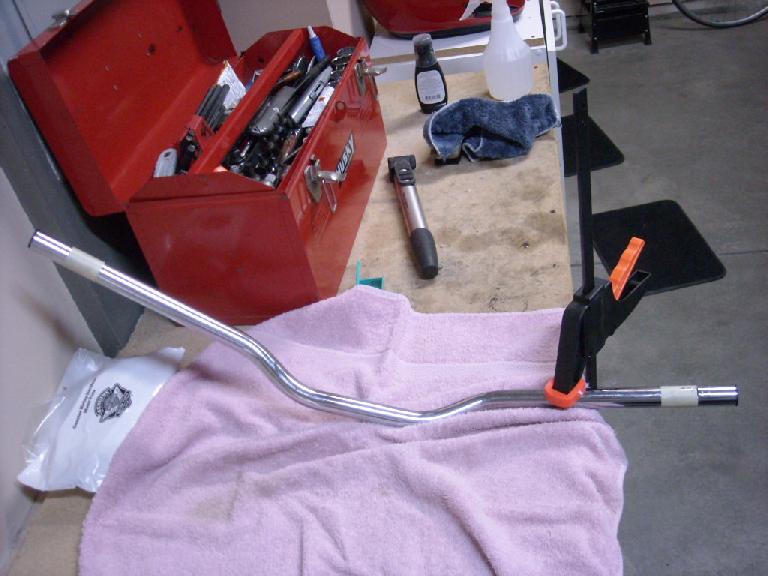
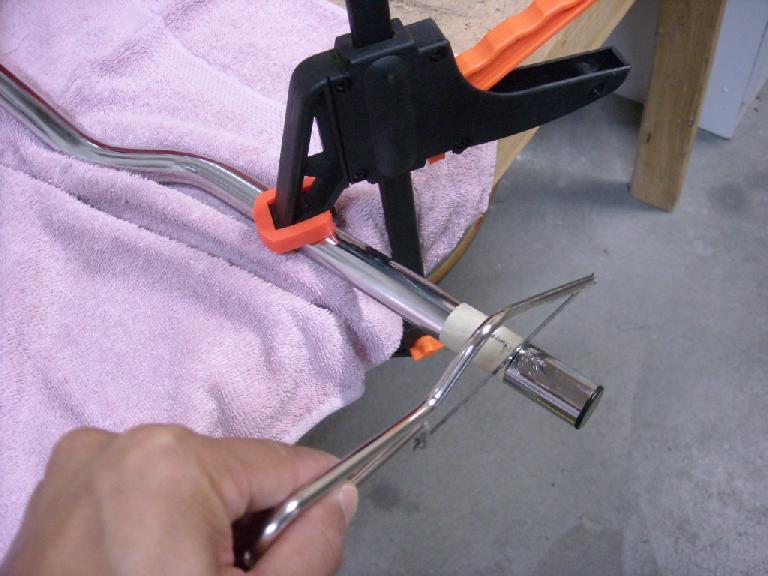
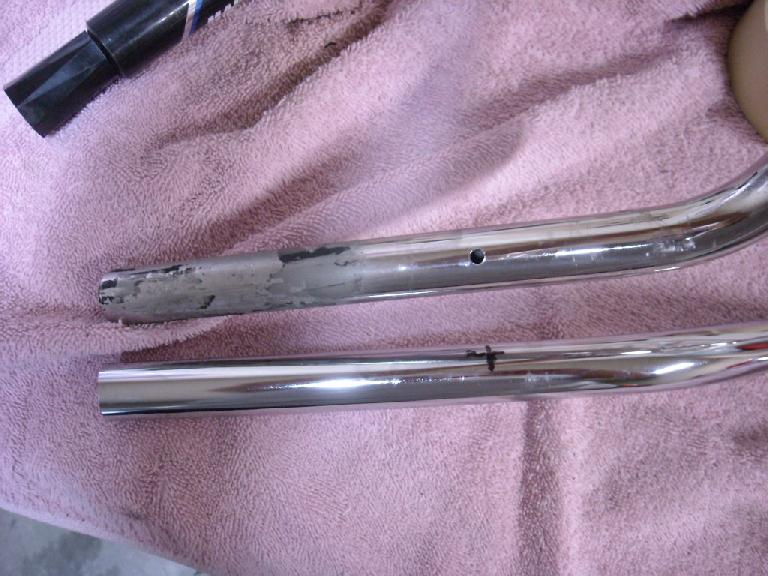
- Cut off 1.5 inches from each end of the new handlebar with a hacksaw. The Bikemaster Superbike handlebars are 32″ wide whereas the Blasts’ OEM bars are 29″. I wanted to keep the width stock. Those who wish to have wider handlebars may skip this step.
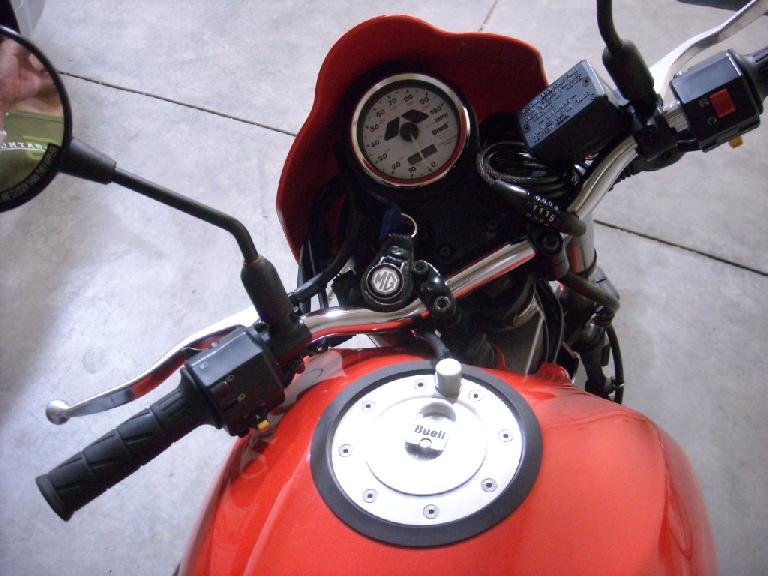
- Figuring out the optimal (most comfortable) position of the handlebars. For me, this was with the handlebar essentially level and their ends angling towards the rear of the bike.
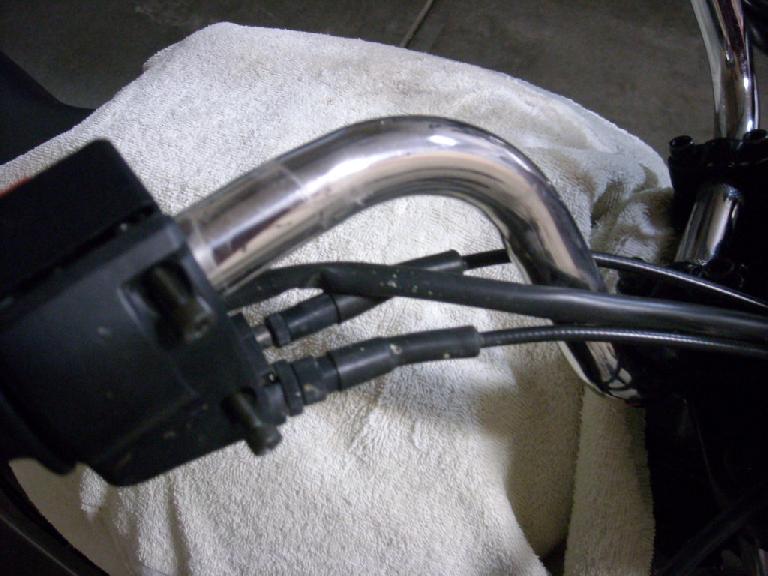
- Figuring out how the assemblies for the turn signal/lights/horn, throttle, and levers/mirrors will be positioned on the new bars. The horizontal locations are no-brainers, but the axial positions on the bars are tricky because if they aren’t installed just right, they could hit the gas tank when the handlebars are turned to their extremes. Such interference could prevent you from being able to lock the handlebars, and the horn or starter could be activated when their switches hit the tank!
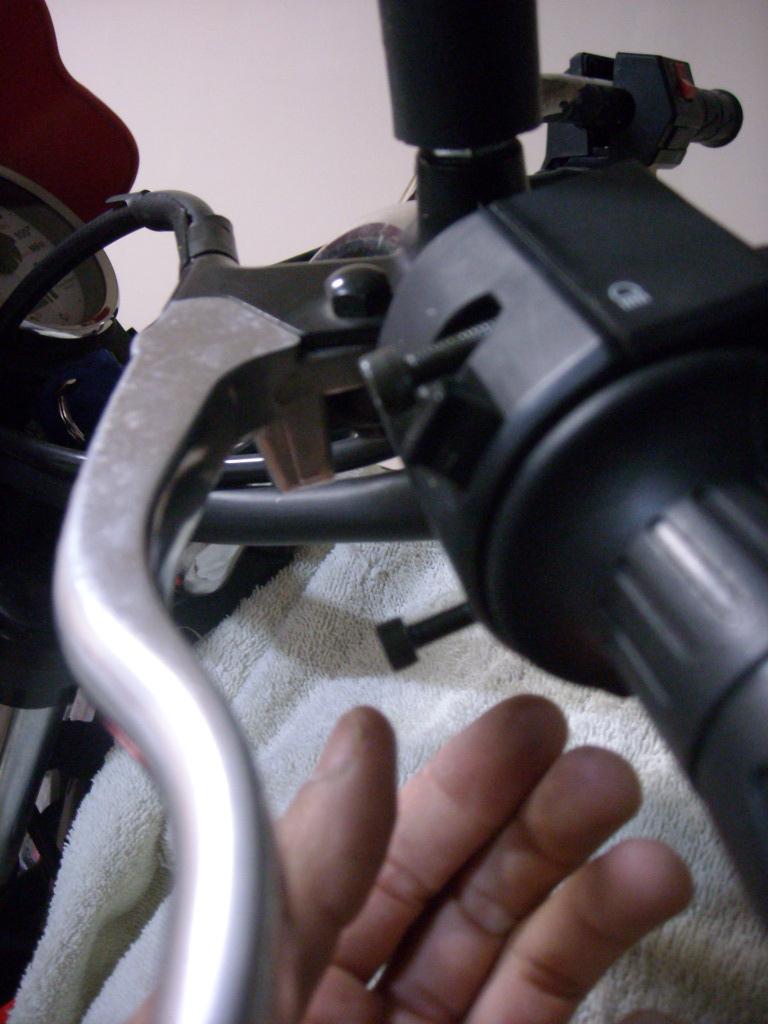
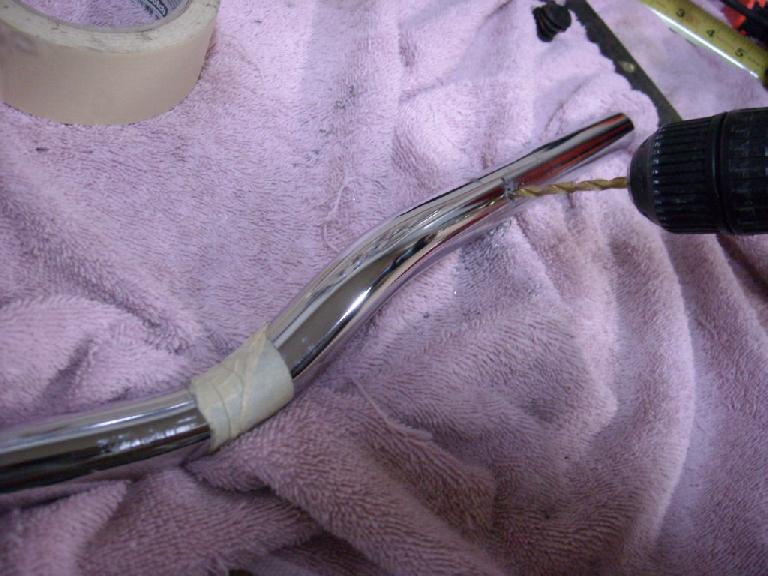
- Once the locations of all the switchgear are sorted out, drill two 3/16″ holes in the handlebars for the nubs on the inside of the assemblies for the signal/lights/horn and throttle. These nubs prevent the throttle and turn signal assemblies from rotating. I marked their locations on the new handlebars by putting a drop of blue Loctite on the nubs and then pressed the assemblies onto the bars as if I was going to install them. The blue Loctite “marked” the location on the bars for the nubs.
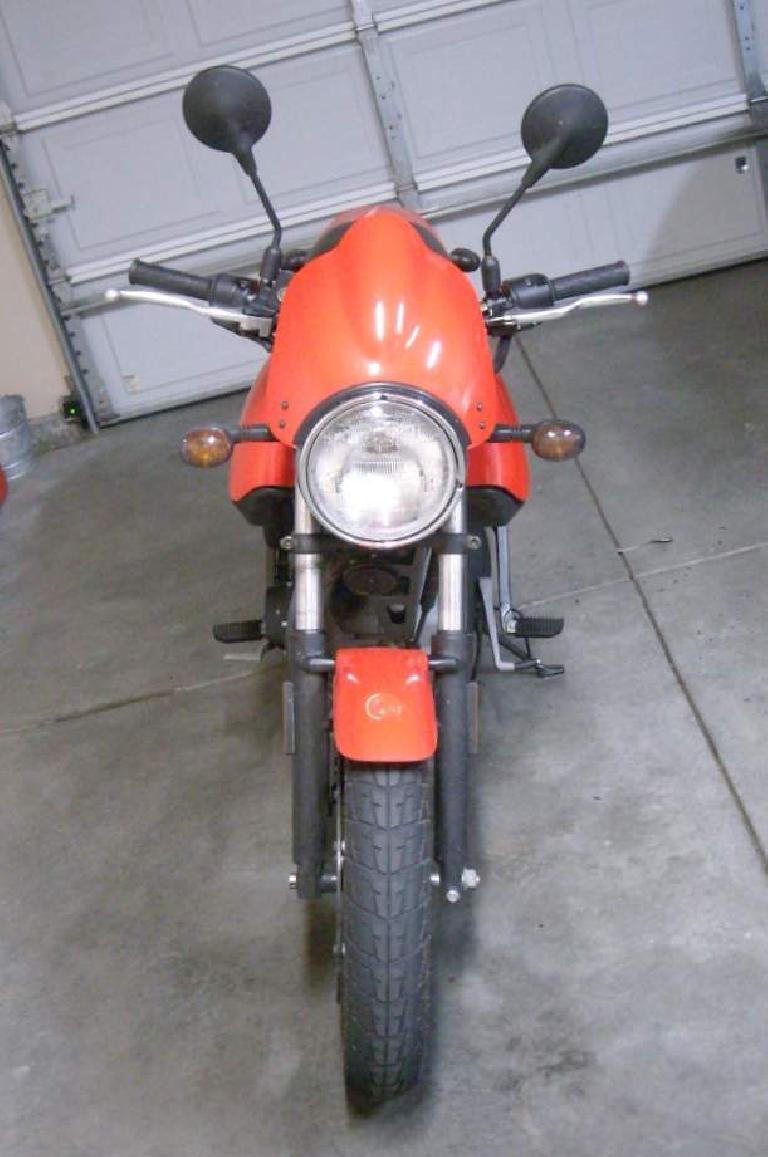
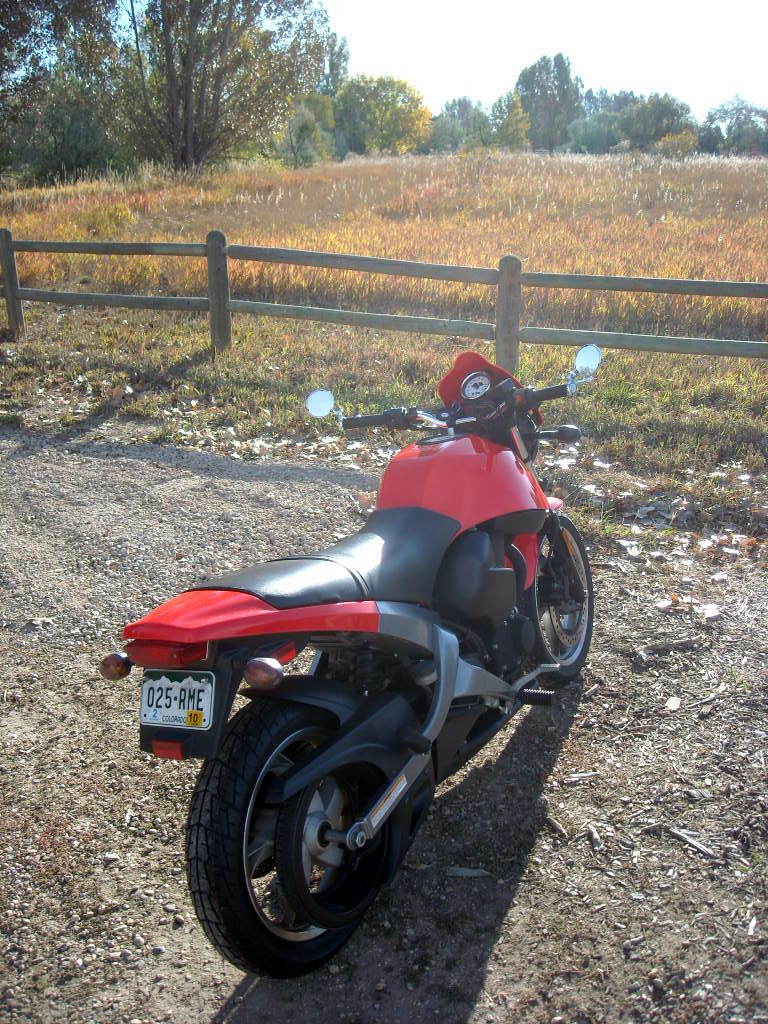
See photos below to visualize most of the above steps.
What did not need to be done: sanding the area on the new Bikemaster Superbike handlebar where it would be clamped to the bike. Even though this area is smooth and not knurled like the OEM bars, the bars will not slip within the clamps as long as the clamp screws are tightened well. (I’m not sure what the torque specification is for these so I tightened by feel.)
These are my impressions of the handlebars after installing them and riding the bike a few times. Compared to stock, the new bars put my hands a couple inches lower and about 4″ more forward, which felt much sportier but still very comfortable. Handling, if anything, was improved.
With my arms straight, I would be leaning forward about 20-30 degrees; with my elbows bent, I could get into a nice tuck with my helmet just behind the Buell’s windscreen, a couple inches above the speedometer. If I wanted to, I could actually lay on the gas tank (something I could not do before) with my elbows bent at my sides, over and behind my knees. Doing so at 70 mph reduces wind buffeting considerably.
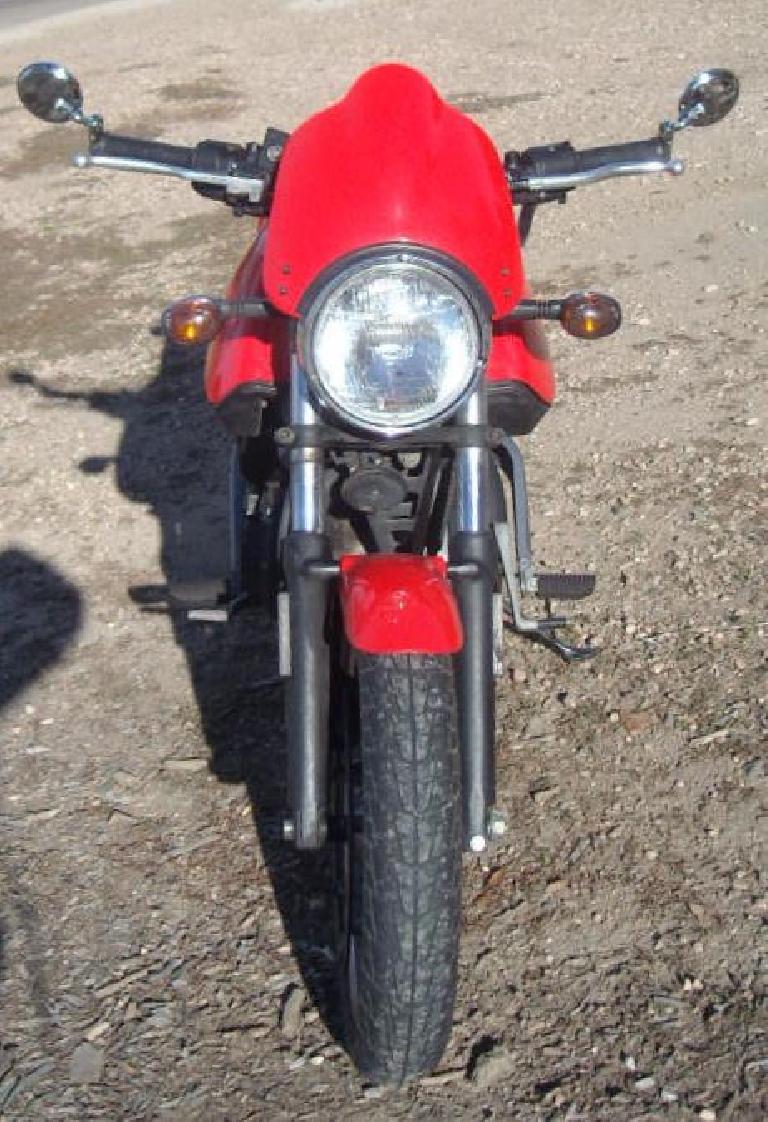
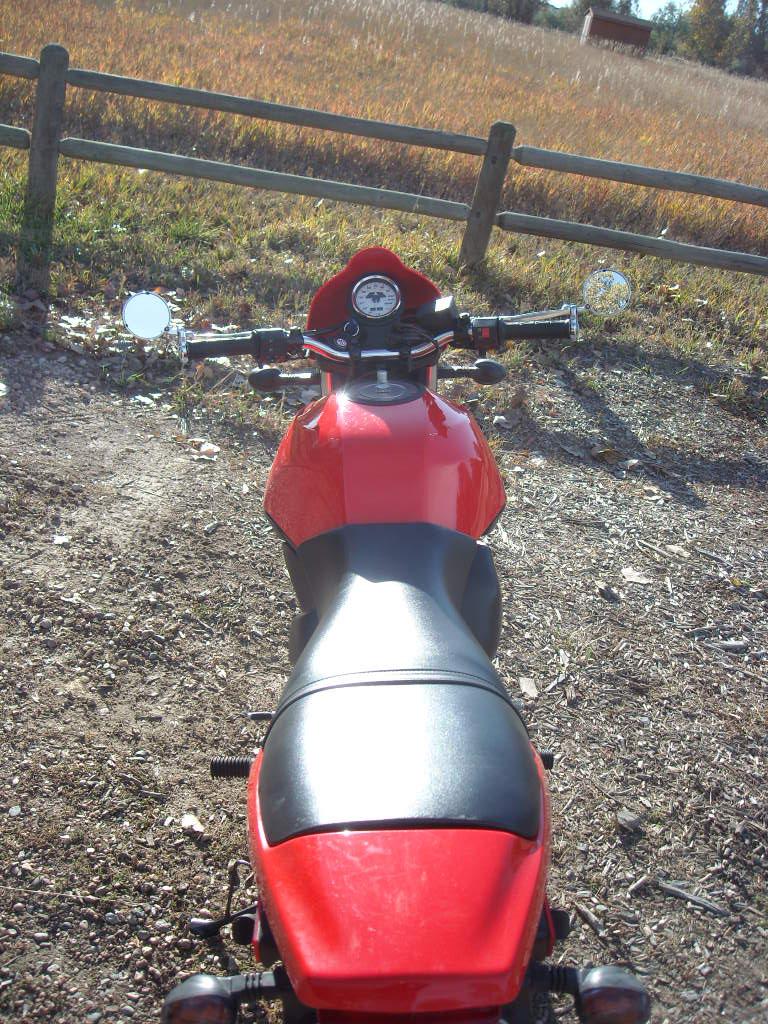
Unfortunately, with the Bikemaster Superbike handlebars, the stock mirrors don’t work very well as my shoulders blocked half of their rearward view. I would have to shift my body out of the way to see directly behind me with the stock mirrors. So after a couple weeks of this, I removed the stock mirrors and installed chrome bar-end mirrors by Volar Motorsports ($20 from eBay, new, including shipping and handling). Despite being smaller than the stock mirrors (3″ versus 4″ in diameter), their rearward vision is much better since the rider’s body doesn’t obscure any of the view at all. They also look considerably less Mickey Mouse-ish.
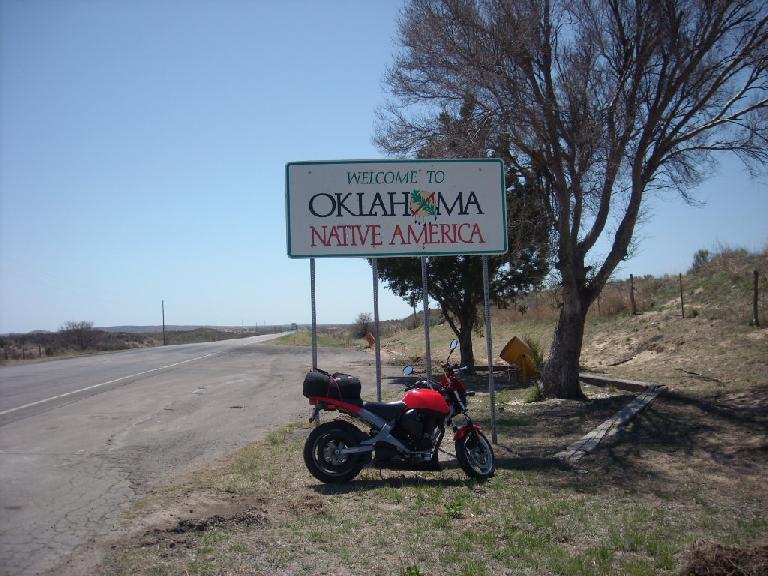
Here’s a before shot:
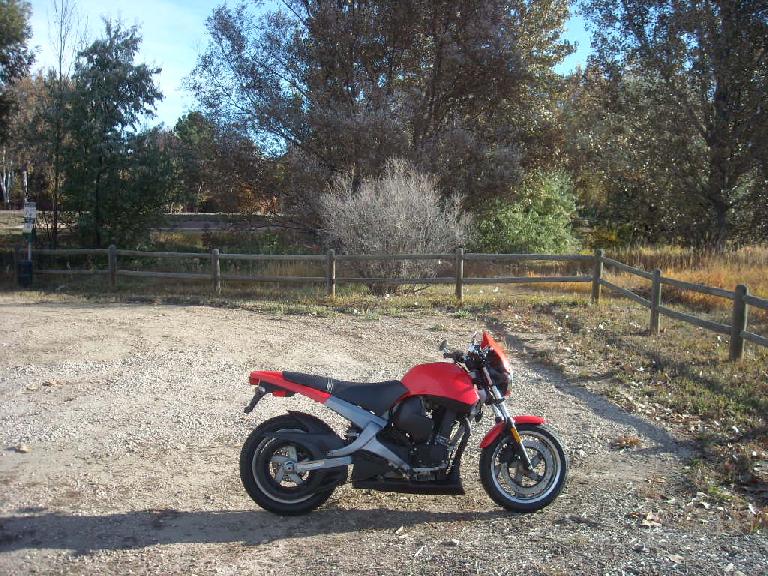
And after:
In conclusion, the Bikemaster Superbike handlebars are an inexpensive and worthwhile improvement to the Buell Blast. As another Blast owner stated, “the superbike bars are what the Buell should have come with in the first place,” and I’d extend that thought to bar-end mirrors too.
There are 10 comments.
Nice Article and really cool web site. I have been reading parts over the past few months and I am amazed at how much stuff you do and at the level!
Well Done,
-Steve
Very informative!!
I have recently been looking ways to customize my 06 Buell Blast, coming across your pictures and artical has given me some nice ideas. I am new rider and actually bought one the Buells Blast's from the HD riders edge course that I took last Nov. Thou I have one question the picture of the motorcycle superbike web site, shows that the bikemaster superbike handle bars do not have a bend. Your's show two different bends.
Adam, I'm looking at doing the same thing. If you look at the black handlebars you can see the bends. I think its just the way the picture was taken with the chrome handlebars.
Felix, awesome job and THANK YOU for giving me awesome ideas to make my bike cooler. I bought my blast last july and rode it for the rest of the season and love it. I just put a vance and hines exhaust on it which made it so much cooler but I'm also looking at swapping my handlebars now that I saw this. Good job with your bike and thanks again!
Peter
Thank you very much, you're correct about the stock handlebars not befitting the sport bike/street fighter style, especially when taking the turns aggressively. Very thorough and informative directions!
Looks like you used your old grips on the new handlebar. Did you have to use any adhesive or anything ?
I don't think I did; the fit was tight enough!
How do the mirrors attach? Great article BTW!
Hi Michael. The mirrors have an expanding cylindrical "plug" that plugs into the ends of your handlebars. There is a screw that screws into the center axis of this plug. You tighten this screw with a hex key; doing so causes the "plug" to offset or "expand."
My description might sound complicated, but the bottom line is you just push the mirror into the end of the handlebars and tighten a screw. :)
As soon as I acquired my buell off my neighbor, I knew I wanted to change the bars. Even tho this is my first bike it just felt like a scooter which was one of the reasons My neighbor hated it. Since changing things out they are kinda regretting letting it go. Thanks for making this extremely informative. Being a lady rider I definitely wanted to do things myself ? nothing to it but to just do it :) cheers
Hi Jenn, thanks for stopping by my website and for your comment. That?s so great you swapped out the bars! Great job in doing it yourself too.
I?d love to see pics of your bike! Happy motoring!