2012 Huffy Cranbrook

“My next bike,” I told neighbor/best bud Tim a couple weeks before he moved away to Florida, “will most likely be a cruiser.” That statement got me perusing Craigslist for a vintage Schwinn and the Internet for some sort of stylish balloon-tired beach bike.
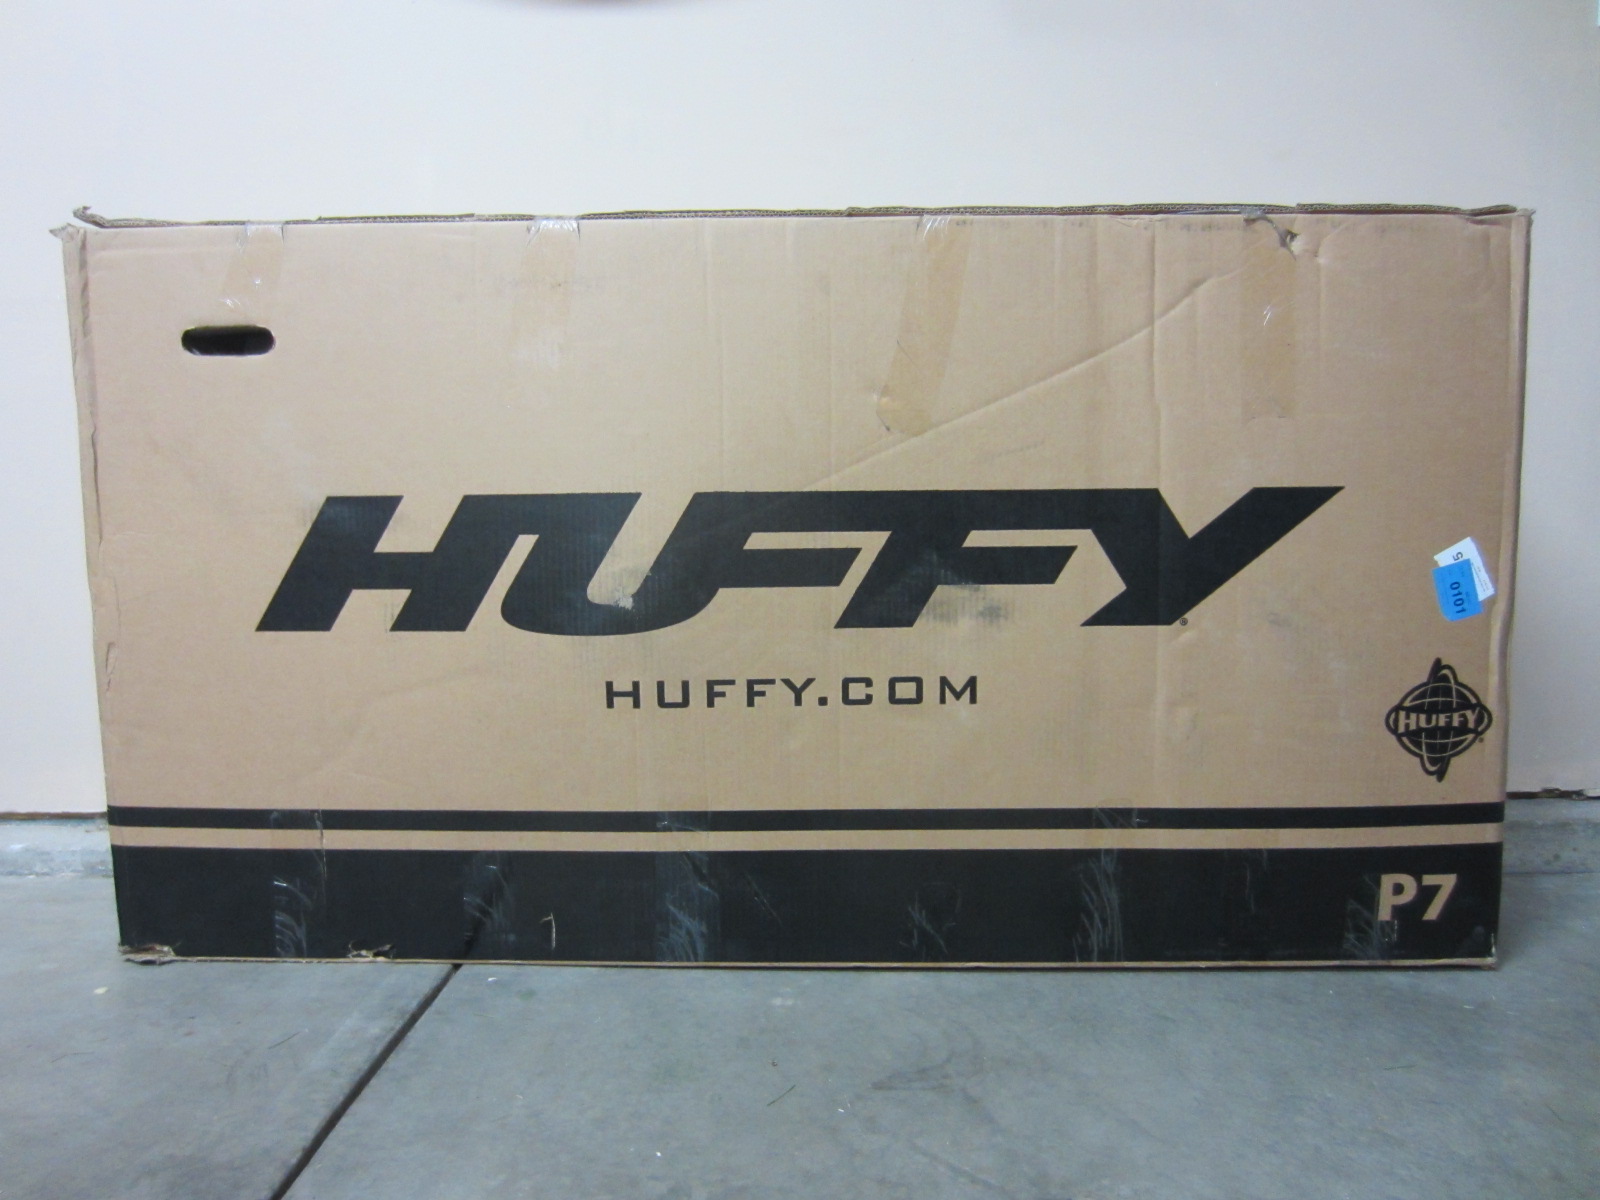
There were several acceptable candidates, but I became particularly smitten with one from an unlikely source: a bronze Huffy Cranbrook from Walmart.com for just $88, not including 97-cent home delivery and $6 sales tax. What a deal! I decided to deviate from my self-imposed Walmart embargo just for this. This was one sweet-looking bike, one of which I had some major plans.
A few more numbers: it took five business days for the Huffy to arrive at my doorstep by FedEx:
The weight of the entire package was 44.6 pounds. The bike, after assembly by me, was 37.0 lbs.
Assembly would have been pretty straightforward: attach the front wheel, the pedals, the seat, and voila—good to go.
However, this being a Huffy, I didn’t trust that the bearings were packed or greased well or the wheels were true. So I spent quite a bit of time disassembling the bike and correcting “issues.” These quality problems included the following:
- Each wheel had a wobble at least 5mm out of true.
- Rear wheel too tight. So repacked bearings with grease. Also did the same for front.
- Headset too tight and very notchy. Backed off locknuts.
- Bottom bracket felt dry. Repacked bearings with grease.
- Rear fender had big dent in it. Was able to push it out (mostly) with fingers.
- Missing washers: some sides would have them, some not.
- Pedals turned very tightly. Unfortunately, their axle sizes are smaller diameter than any of my other pedals.
- Weld quality, while better than the huge toothpaste MIG welds of old, still look amateurish with a bit of weld “dribble” that nobody bothered to clean off before painting.
- Some decals were already peeling and not aligned.
- One of the handgrips had a depression in it.
- One of the welds on the attachment plate for the kickstand did not penetrate the frame well. A couple weeks later, that weld would break so that the kickstand would not be as stable.
I assembled the bicycle using threadlocker or grease in appropriate areas. I also removed the chain to degrease and wax it.
On the positive side, there was the following about the bike:
- Gorgeous bronze paint that was mostly sprayed well.
- The welds at tube junctions—with the exception of really sloppy welds at the top tube and chainstays, and of course the aforementioned kickstand mounting plate—looked clean and high-quality. They were much better than the huge toothpaste globs I remembered about Huffys from the 1980s and 90s.
- Beautiful graphics (stickers) design.
- Rims were painted same color as frame.
- Nice-looking white wall tires.
- Chroming looked decent.
- Saddle looked fancy and plush.
- Has fenders, kickstand, and reflectors for front, rear, wheels and pedals. (Never mind the pedal axles were smaller diameter than any of those on my other bikes, so I could not, say, swap them out for clipless pedals!
- Quick release for seat.
- Braze-ons for one standard water bottle cage.
One additional vexing problem was that the tires, when inflated to more than 25 psi, would unseat from the rim, causing the tube to escape and explode—despite the tires being clearly marked as “inflate to 40-65 PSI.” It seemed as though these cheap “Vangom” tires (I cannot find any information online about this Vangom company) were simply too large for the rim, as if they were out of tolerance spec.
Ultimately, despite only getting about two miles out of these tires, I purchased new $11 Cycle-Pro tires and hoped they would fit on the rims a little tighter. They did, but at 45 PSI, one of the tires still unseated. It turned out that the rim strip was not wide enough, so I fashioned new ones out of the exploded tubes, making them wide enough as to cover the whole width of the inside of the rim. This effectively made the diameter of the rim that the tires sat on slightly larger, and I’d have no problems with the tires blowing off again.
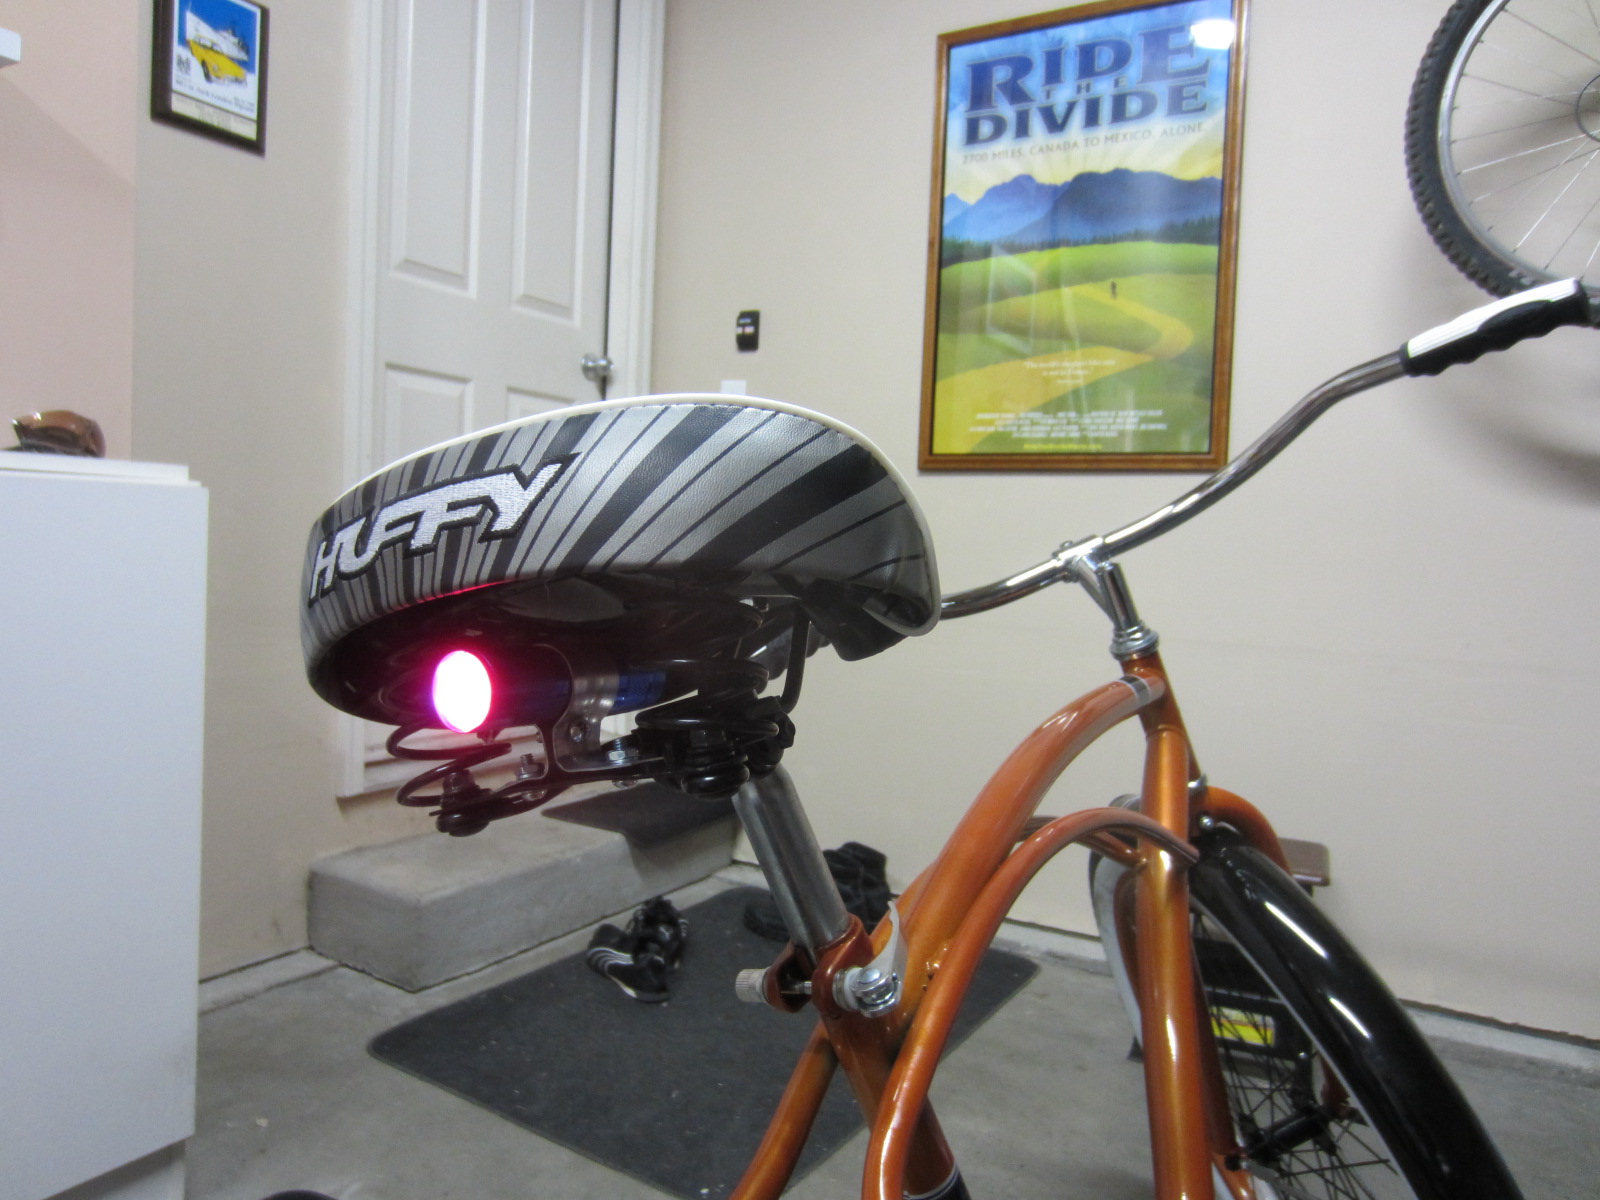
Then it was just a matter of accessorizing my ride. Yes, I wanted it to be all pimped out! I started out by creating a rear taillight for it using a $2, 1″-diameter LED flashlight from Harbor Freight and a 1.5″-diameter electrical conduit clamps from Home Depot:
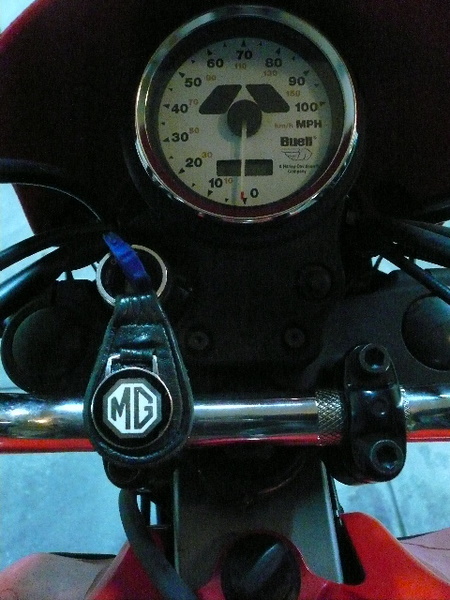
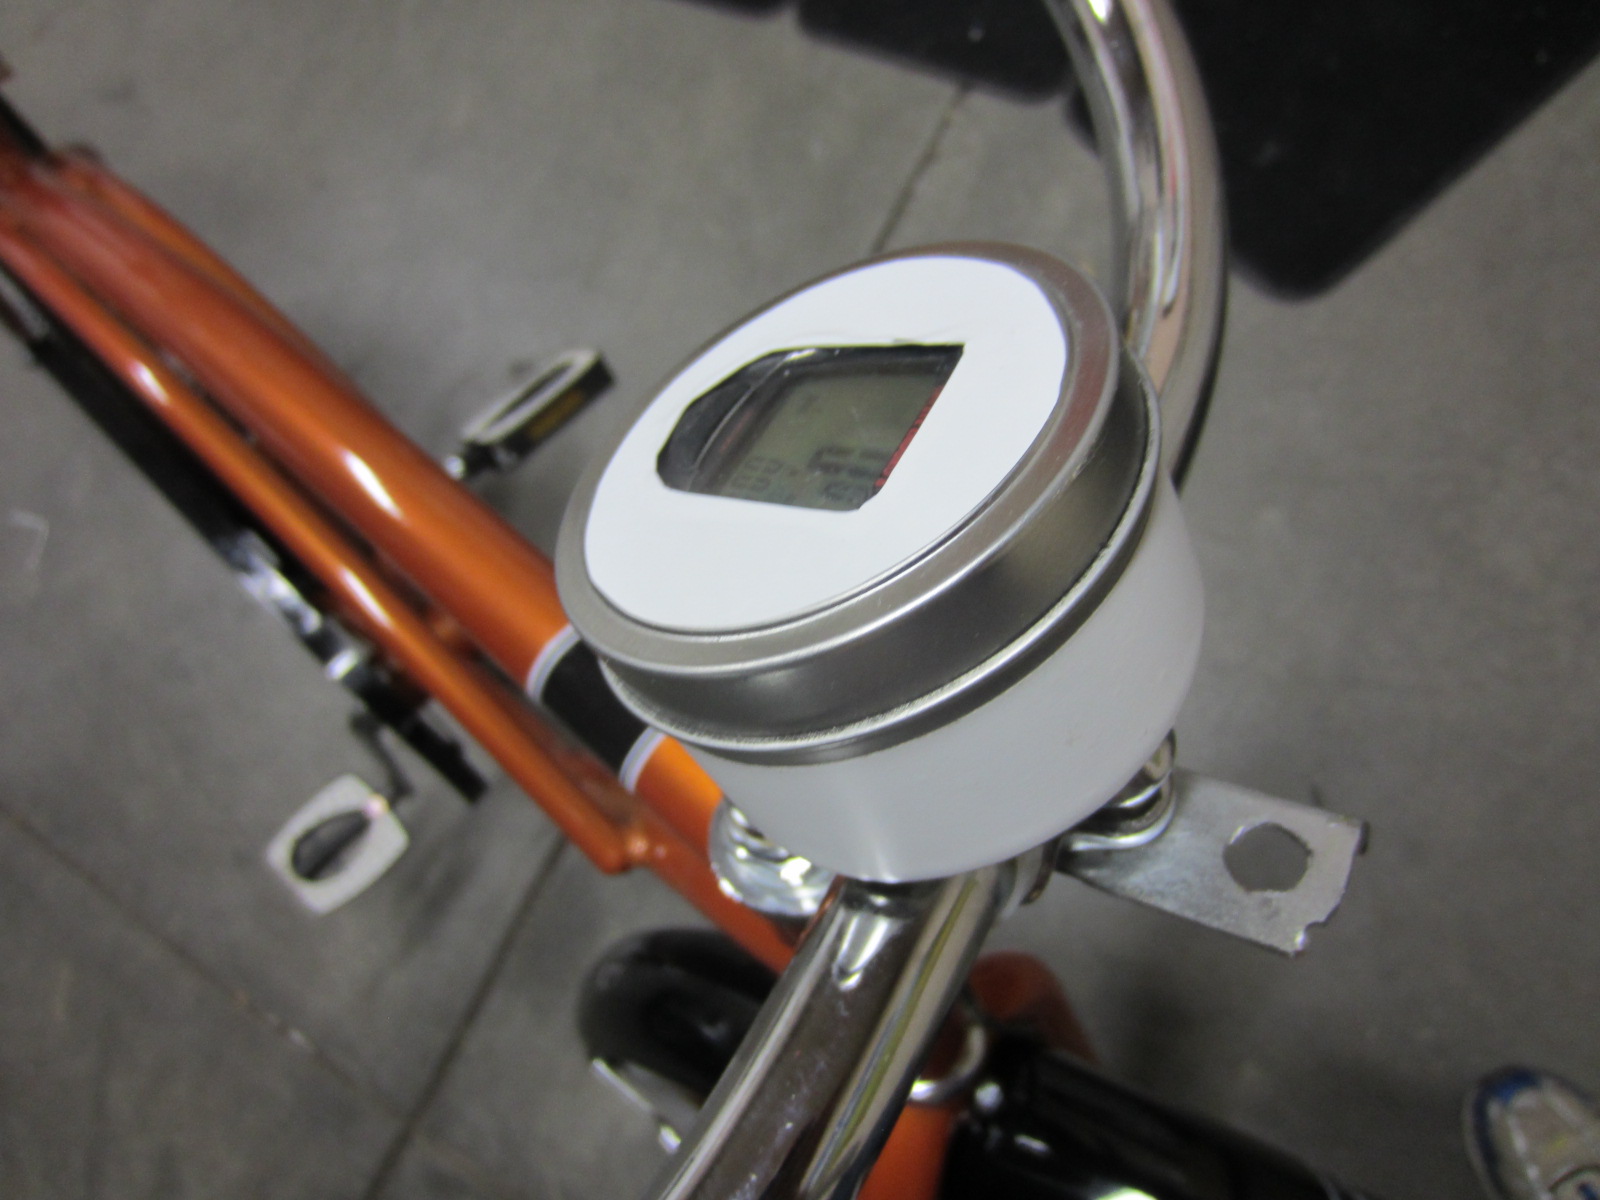
Then I made a speedometer housing out of a $1 can of wax I picked up in a thrift store. I removed the wax by melting it in a double-boiler setup on the stove, and then used snippers and Dremel for the cutout. Basically, I wanted a speedo reminiscent of that of my Buell:
Lastly, I made a headlight. Using a $5 outdoor light cannister picked up from Resource, a $10 12-volt halogen flood lamp from Home Depot, eight AA-size rechargeable NiMH batteries from Harbor Freight (I will increase this to nine later), and a switch and 1/8″ jack (a provision for charging) from Radio Shack, I created this:
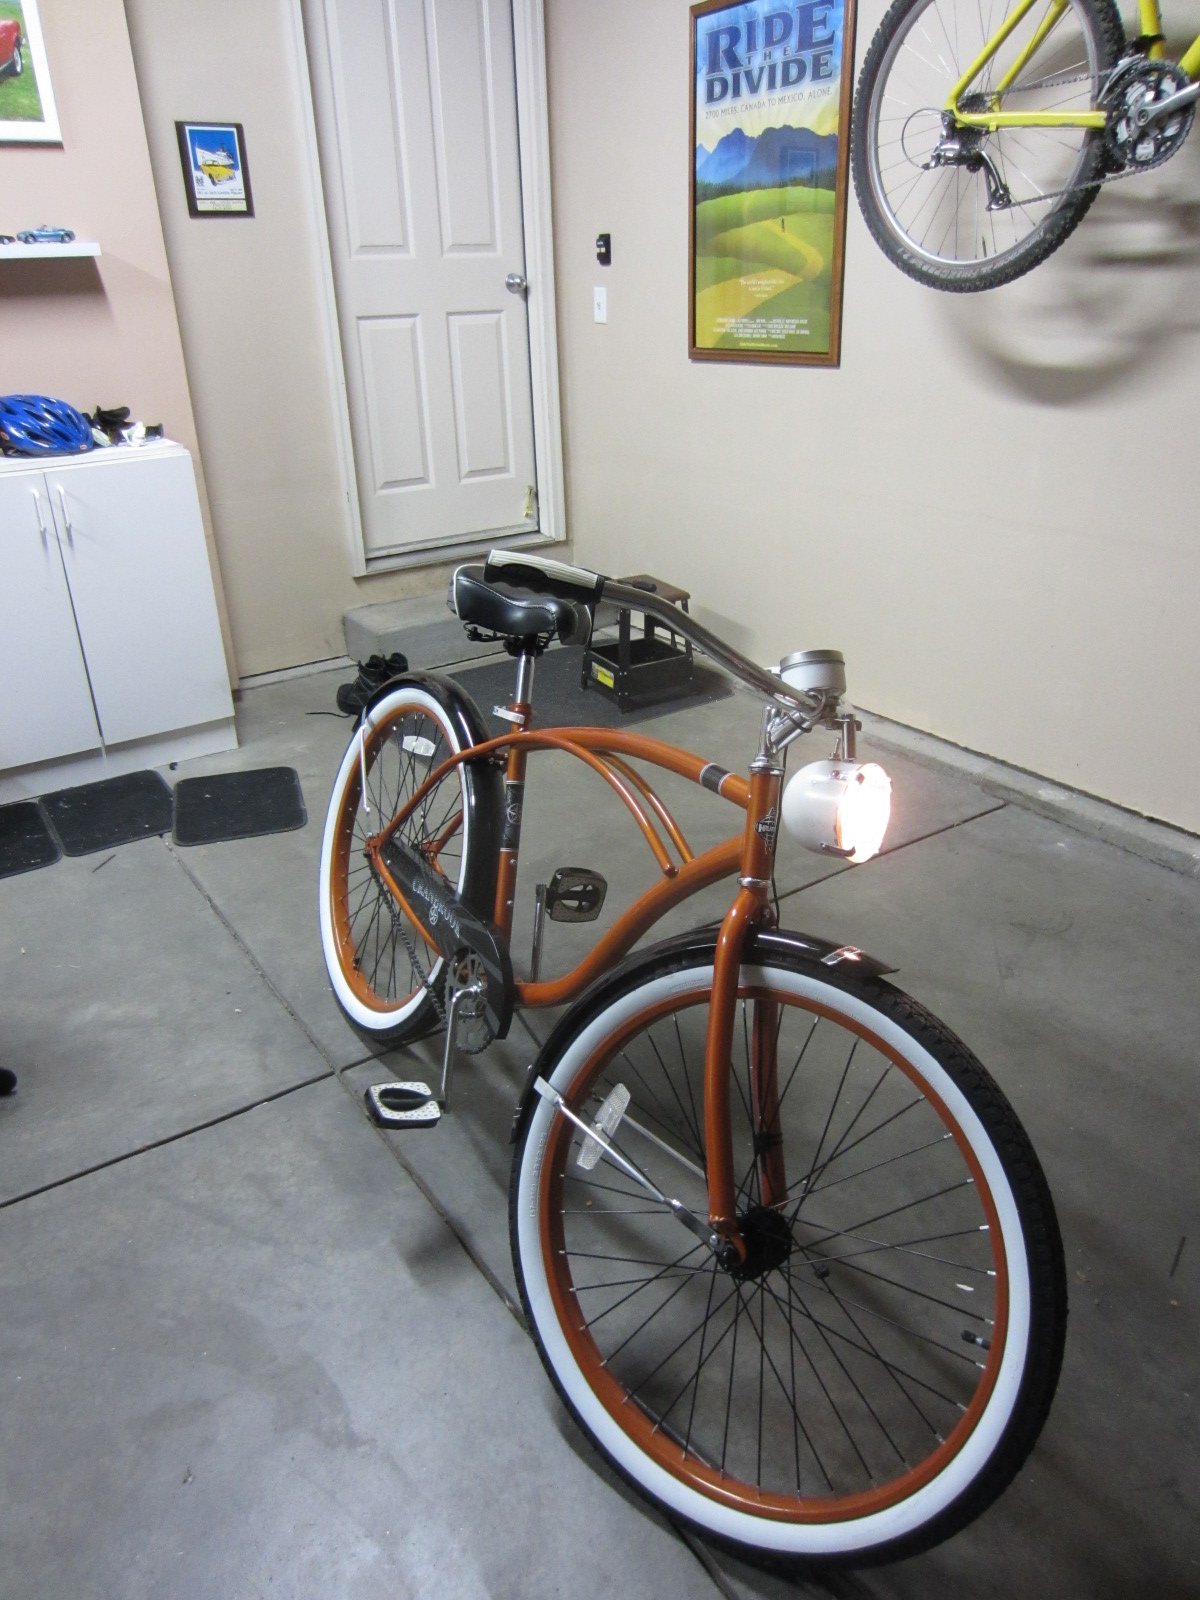
Total weight of the bike with all these accessories, water bottle cage, and 20-ounce water: 41 lbs. That is 2.73 times as heavy as the Super Bike. The nickname for the whole rig became “The Huffster.”
I created all the lights and speedometer the afternoon before embarking on what would turn out to be one of my most epic adventures: a 300-mile, 2-day cruiser ride down to Colorado Springs and back to visit my friends Jeremiah and Lisa.
How did that go? Here’s a report!
Update July 11, 2019: The Huffster made it to Walden, Colorado and back, a distance of 200 miles, in under 24 hours! What a good bike!


, or $41.88 more than mine cost new!")


 I made with a 1.5")


There are 9 comments.
Have one I found. Looks a lot older but says all the stuff yours does. Would like to get rid of it. I'm too messed up to do any riding.
What size are the crank bearings in a Huffy Cranbrook bicycle?
Hi Dan. Unfortunately, I don't know what size are the bearings as I never measured them.
I did remove the cranks to regrease the bearings twice in the last five years, however, and can confirm that the bottom bracket uses ball bearings contained within races. I.e., it does not have sealed cartridge bearings like most (more expensive) bicycles do.
I am fairly certain you could find replacement ball bearings at, say, Ace Hardware.
#66 bearings 5/16 diameter
Thanks for the info!
Hey felix, if you ever thought of selling your bike. Let me know would you.
Hi Eric, I hadn't seriously thought about selling the Huffster before now, but you'll be the first one I reach out to if I decide to do so. Thanks for the interest!
I'm riding one of those too. Someone left it at the local garbage dump. I love the color. I call it, "You'll never take me alive copper!" It needed a fair bit of reassembly. Maybe the previous owner started practicing to be a bike mechanic and gave up. Mine came with a rear rack the same color as the bike so I guess it's original. It has been a bit noisy while coasting. After about 1500 miles, the smaller 7 ball bearing on the rear axle gave out. I got one from a little purple girl's bike. Same hub but 20 inch wheel. Nice and quiet now. I added a front brake when it occurred to me that if the chain jumps off, I would have no brakes at all. Easy enough to do. Even looks like it might have come that way from the factory. So, if Huffy only made each style for one year then mine is a 2012. I always wondered how old it was.
It is nice to hear from another Huffy Cranbrook owner. I don't know if Huffy switches colors every year, but I haven't seen the bronze color in Walmart before or after, say, 2011-2013. So maybe your Cranbrook is indeed of that vintage.
It has been manufactured long enough that I would consider the bike a classic! It appears the bike is still sold and largely unchanged (except for the colors), but for around $110-120 these days.